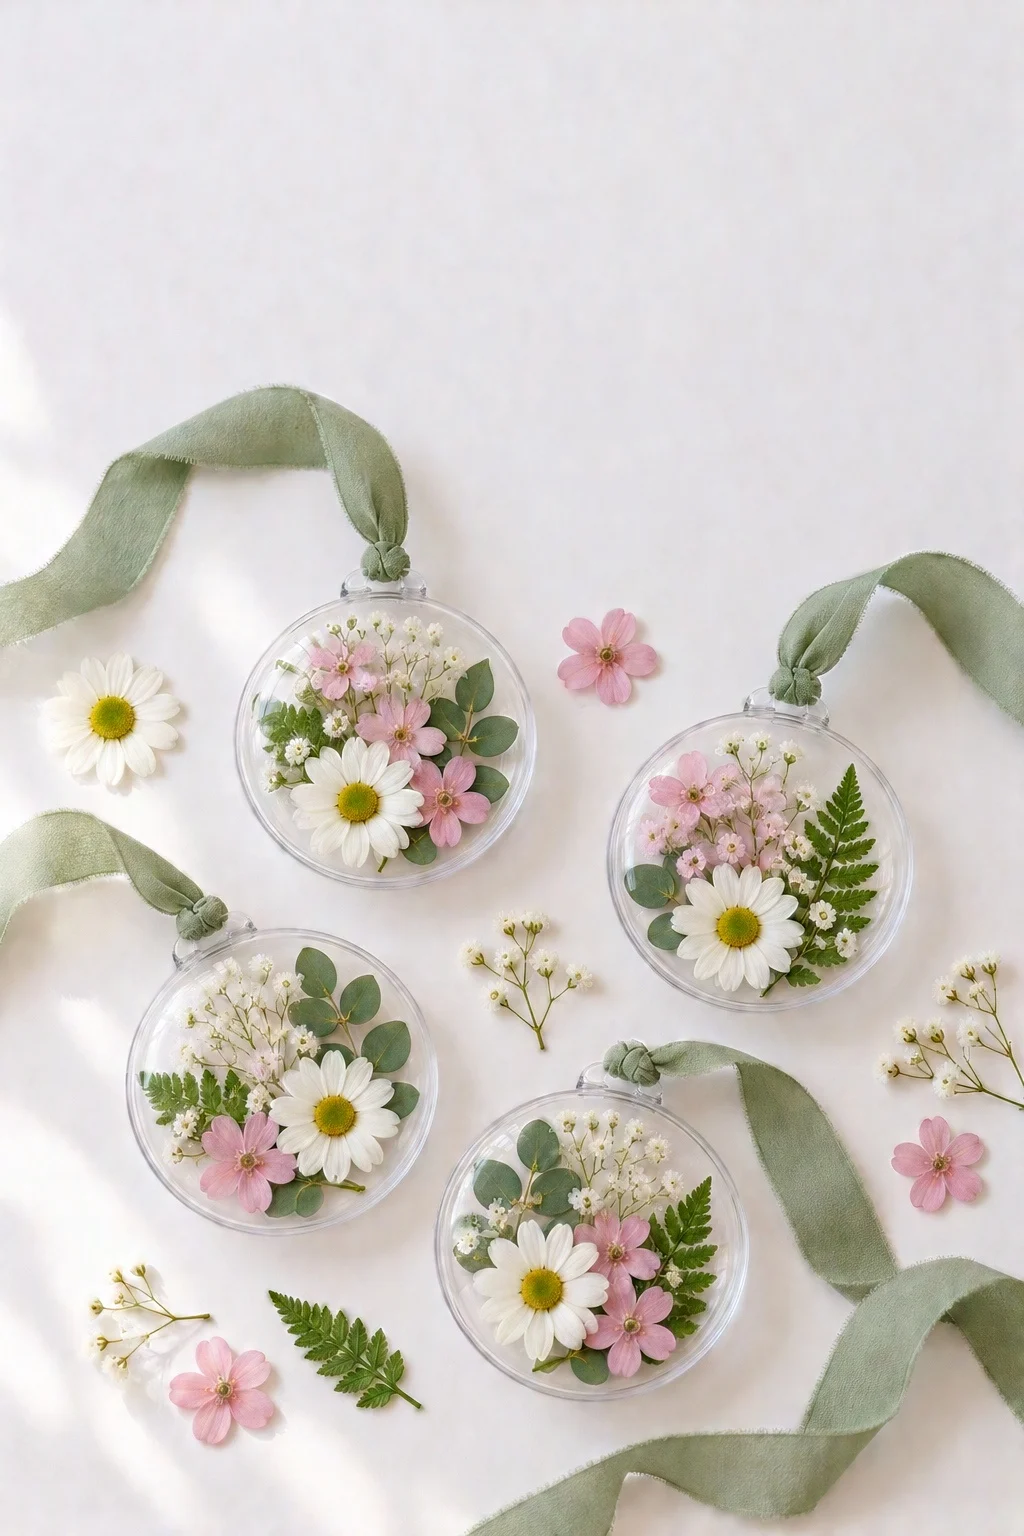
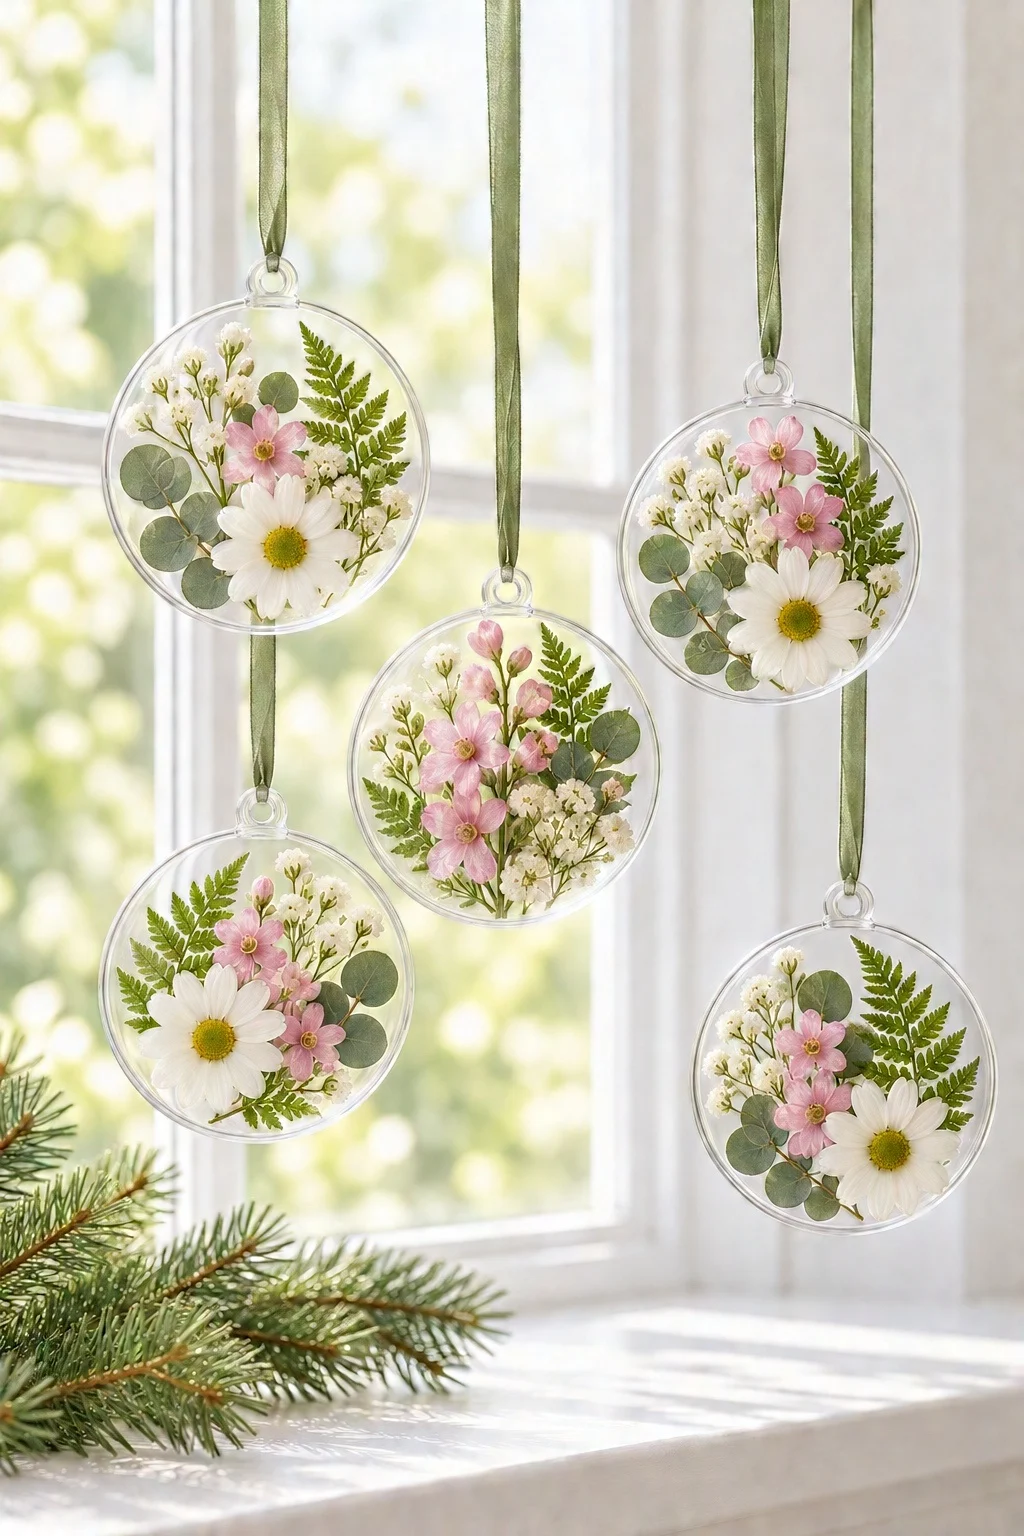
Make beautiful pressed flower ornaments with clear fillable ornaments and dried flowers! An easy, elegant Christmas craft and sweet gift idea!
These pressed flower ornaments are like little windows into summer. Delicate daisies, ferns and baby’s breath are sealed inside clear ornaments, and when the light shines through them on the tree, they’re absolutely beautiful.
They’re easy to make, and they make the most thoughtful gifts too. You can even use flowers from a wedding bouquet or a special garden to turn them into a keepsake. Keep reading for the step-by-step tutorial!
What you need to make pressed flower ornaments
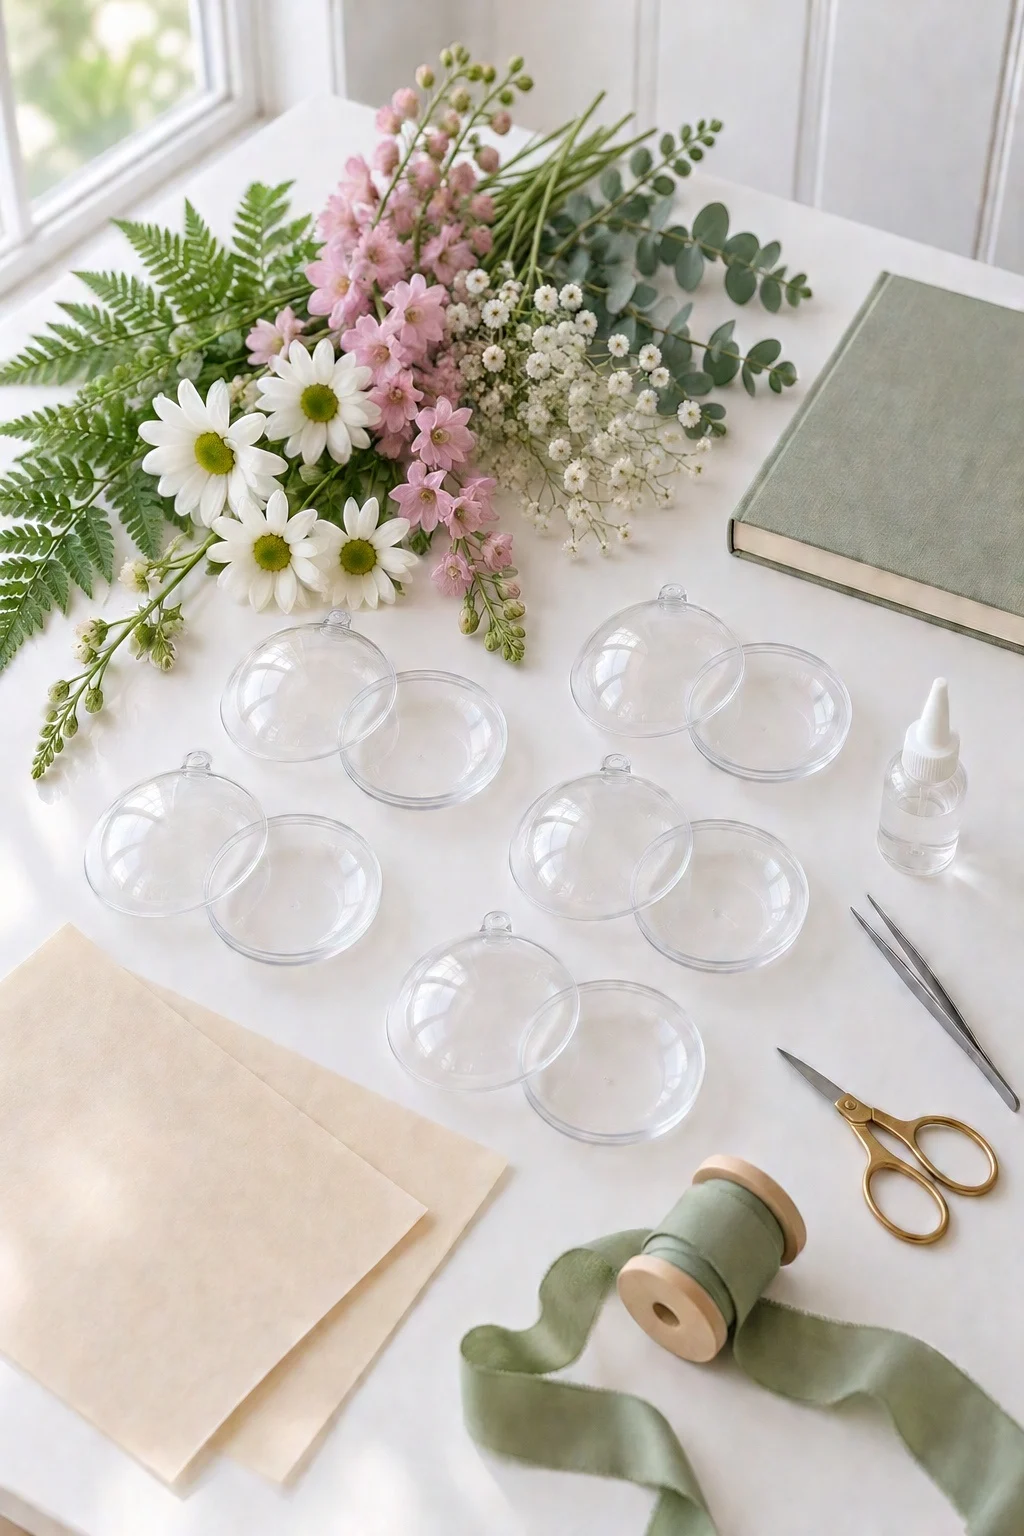
- fresh flowers and greenery: I used white daisies, pink larkspur, baby’s breath, ferns and eucalyptus
- clear fillable ornaments: flat, round clear ornaments that open into two halves are the easiest to fill
- a heavy book and parchment paper: for pressing the flowers
- fine craft tweezers: pressed flowers are delicate, so tweezers make arranging so much easier
- clear-drying glue with a fine tip
- small scissors
- silk ribbon: I love sage green
Which flowers are best for pressing?
Thin, flat flowers press the best: daisies, pansies, violas, larkspur, cosmos and baby’s breath are all great choices, along with ferns and small leaves like eucalyptus. Thick or bulky flowers like rose buds don’t flatten well, so save those for another project. Pick flowers when they’re completely dry, not after rain or watering.
How long does it take to press flowers?
Pressed in a heavy book, flowers take about 1 to 2 weeks to dry completely. Add a few more books on top for extra weight. In a hurry? A microwave flower press can do it in a few minutes, or you can buy ready-pressed flowers from craft stores and online shops.
How to make pressed flower ornaments
Step 1: Press the flowers
Lay your flowers and greenery flat in a single layer on a sheet of parchment paper inside a heavy book, making sure none of them overlap. Cover them with a second sheet of parchment, close the book and stack something heavy on top. Leave them for 1 to 2 weeks.
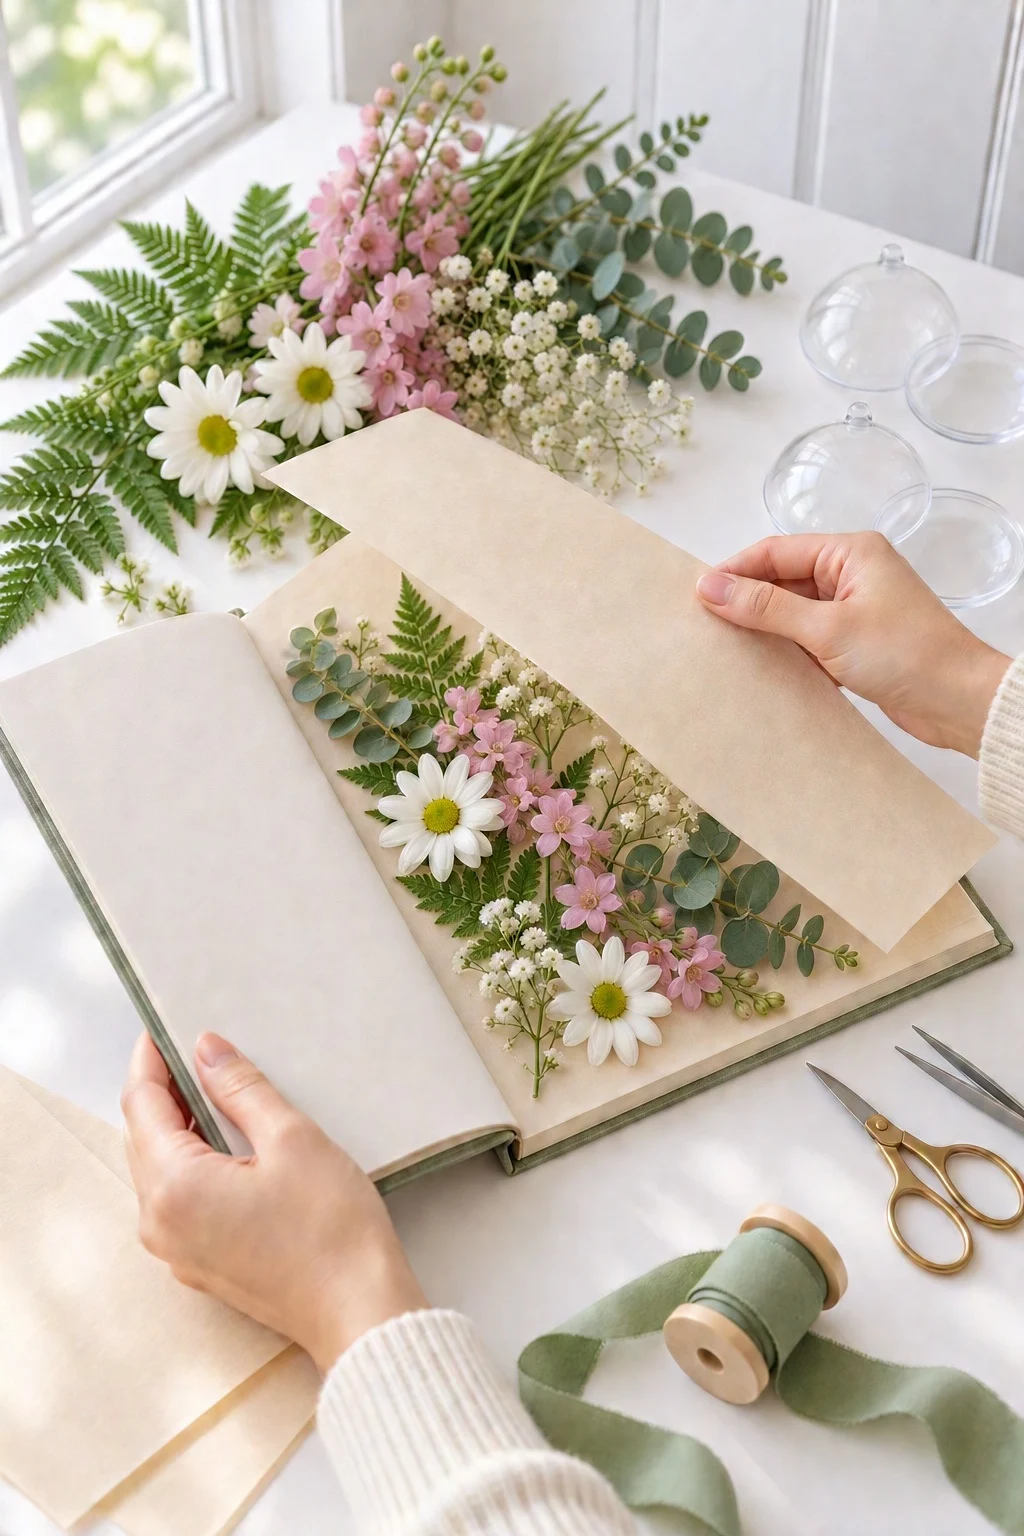
Step 2: Check that they’re ready
Your flowers are ready when they’re paper-thin, completely dry and feel a little crisp. The colors will be softer than fresh flowers, which gives them that pretty vintage look. Lift them gently with tweezers, as they’re fragile.
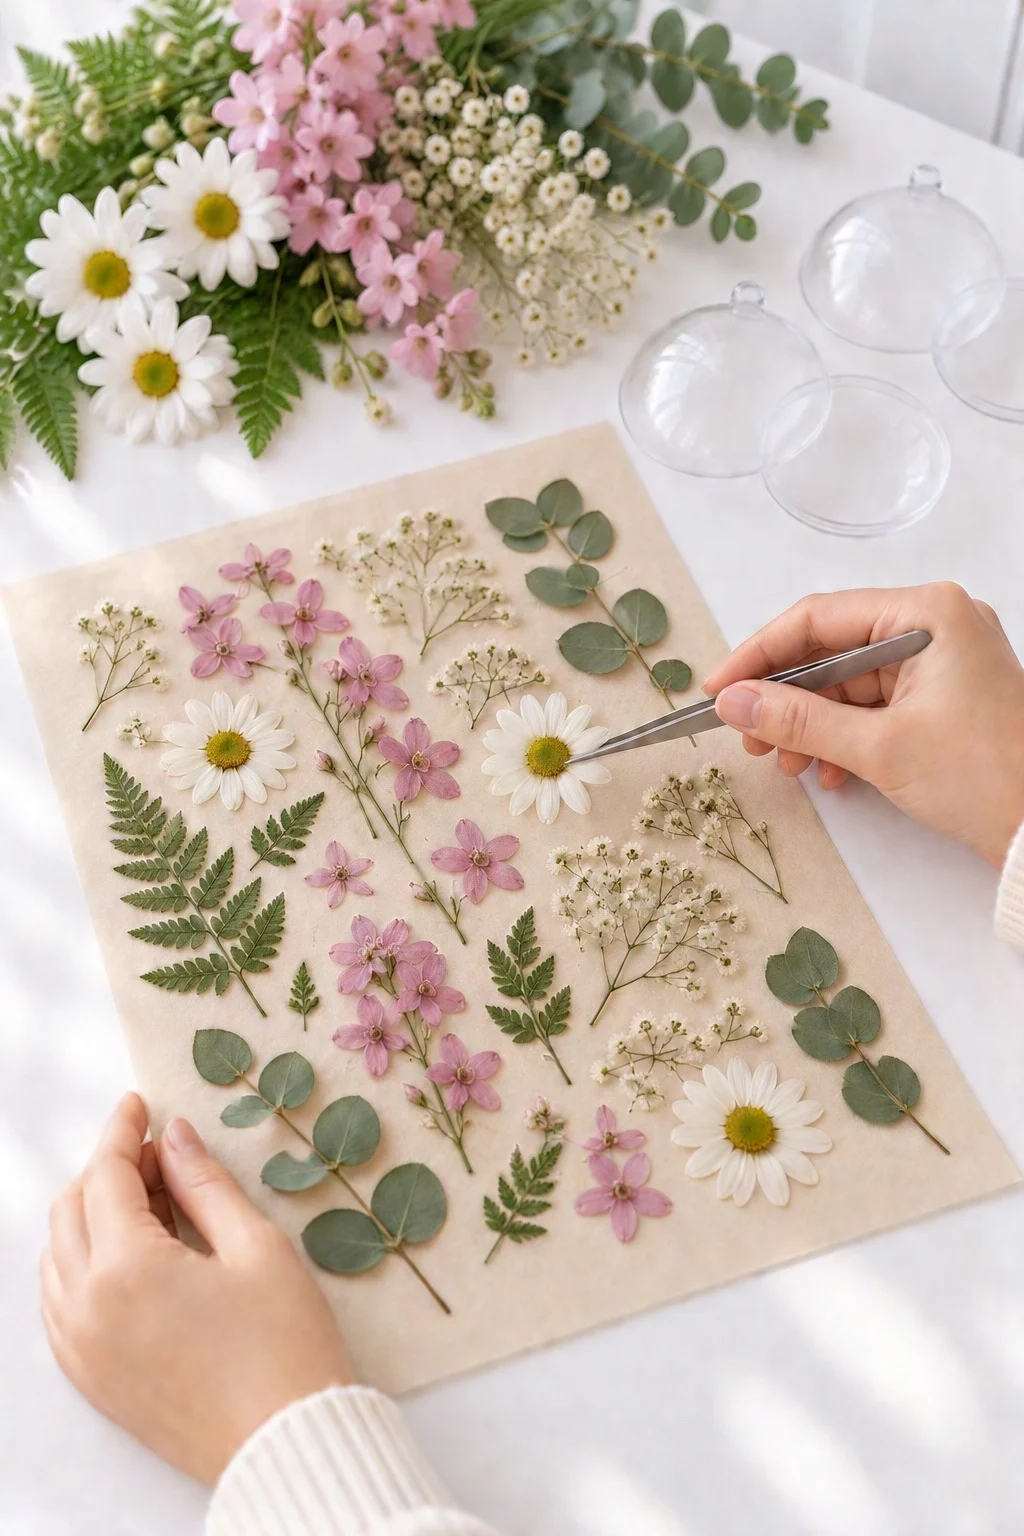
Step 3: Arrange your design
Open a clear ornament into two halves and lay one half flat. Start with greenery like fern or eucalyptus as a background, then add a focal flower like a daisy and fill in the gaps with tiny sprigs of baby’s breath. Less is more! A simple arrangement shows off each flower.
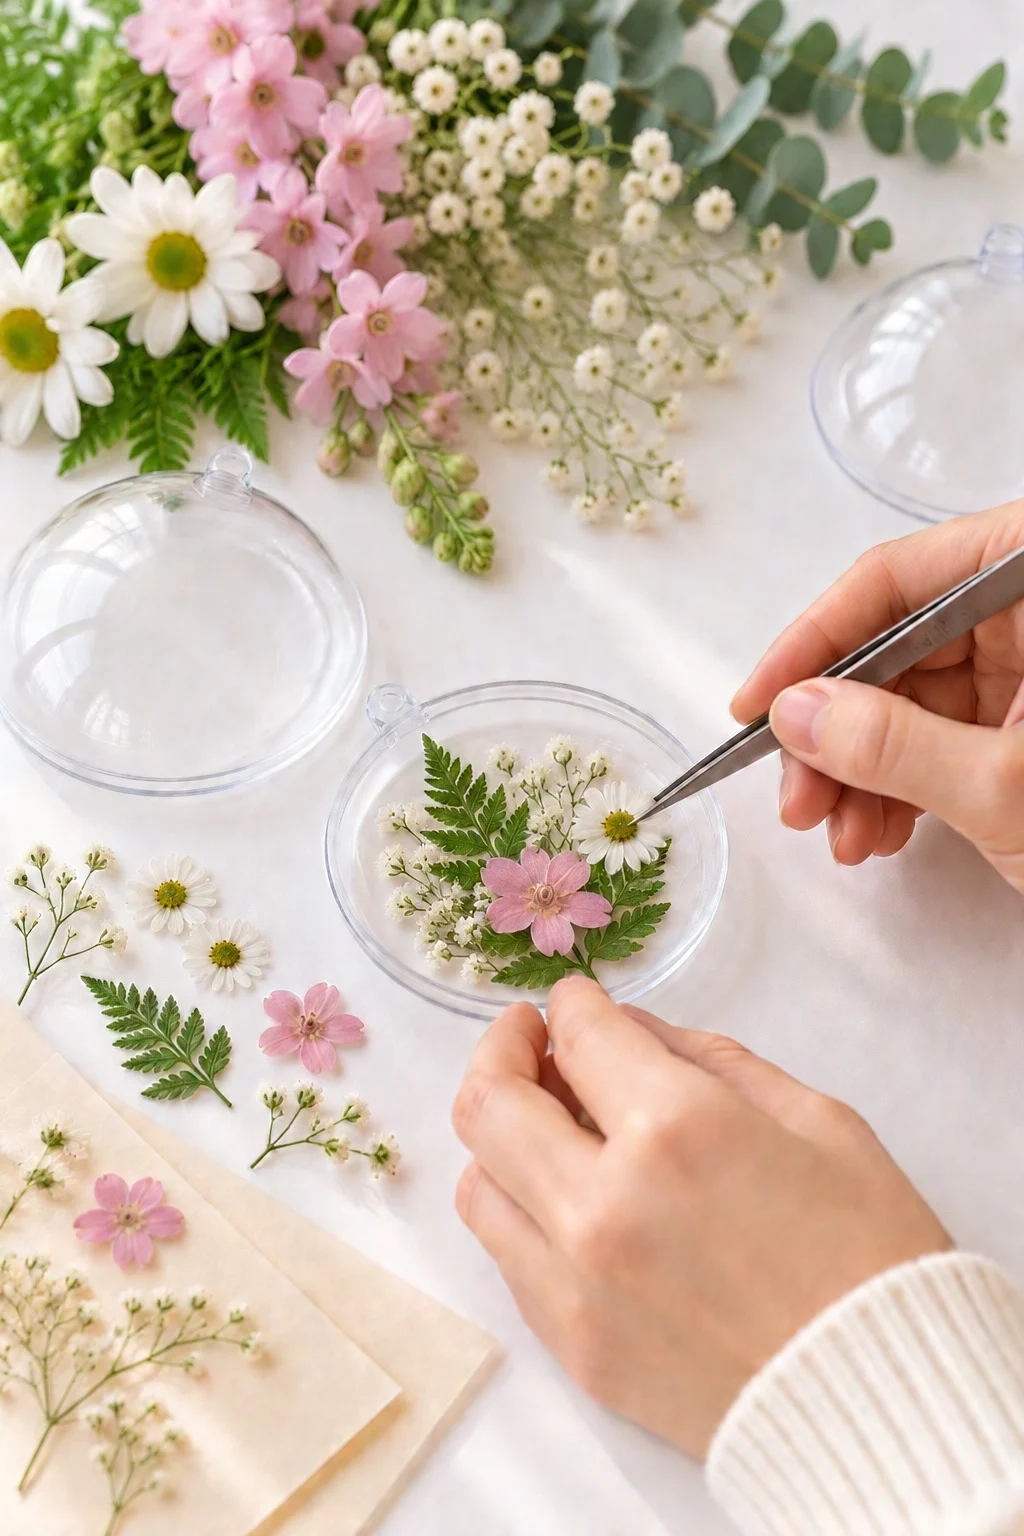
Step 4: Glue them in place
Once you’re happy with the arrangement, add a tiny dot of clear glue under each stem and the center of each flower to hold it in place. Use as little glue as possible so it doesn’t show through the clear plastic.
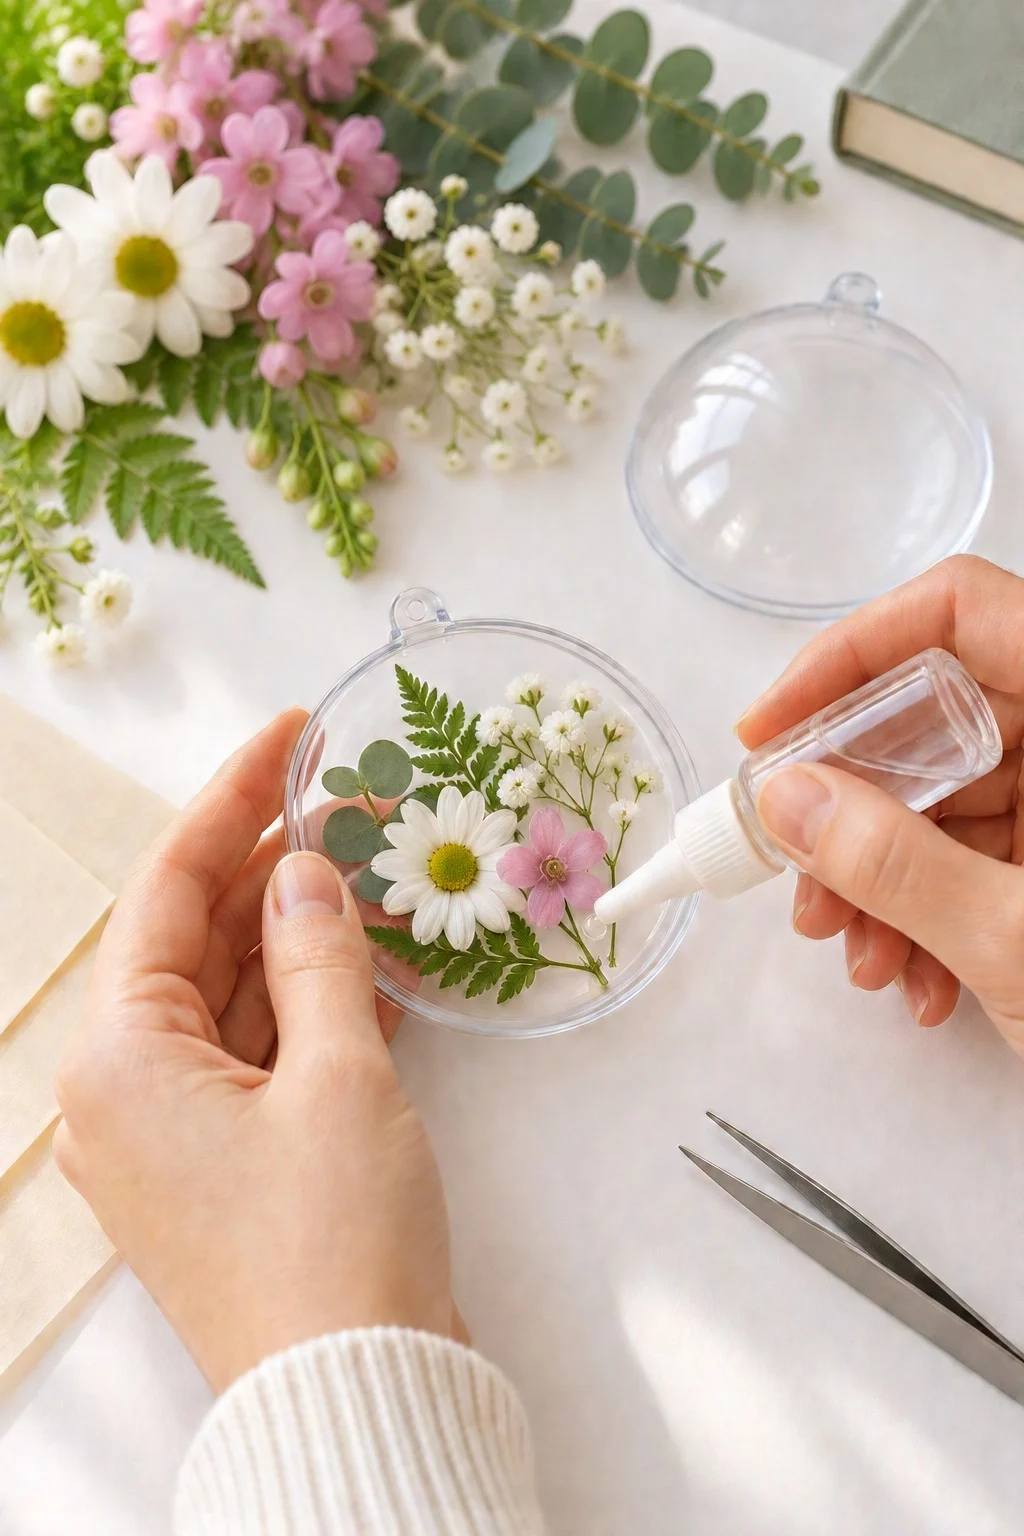
Step 5: Close it and add ribbon
Let the glue dry for a few minutes, then snap the second half of the ornament on top. Thread a piece of silk ribbon through the hanging loop and tie it in a loop or a little bow.
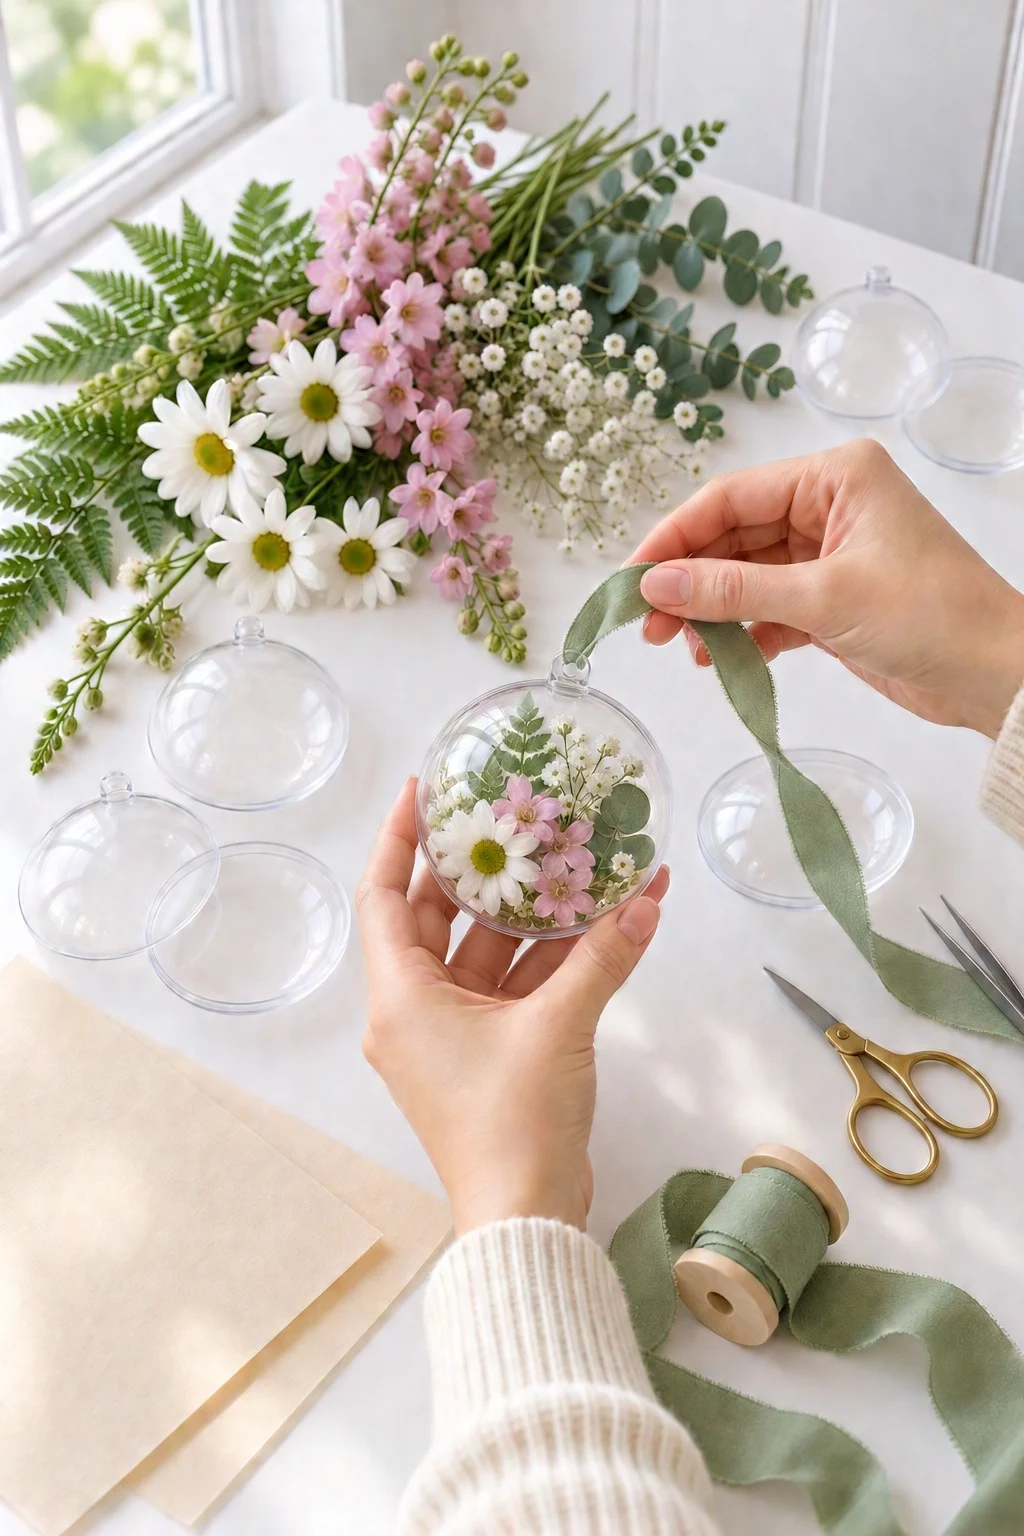
And you’re done! Look how pretty they are with the light shining through:
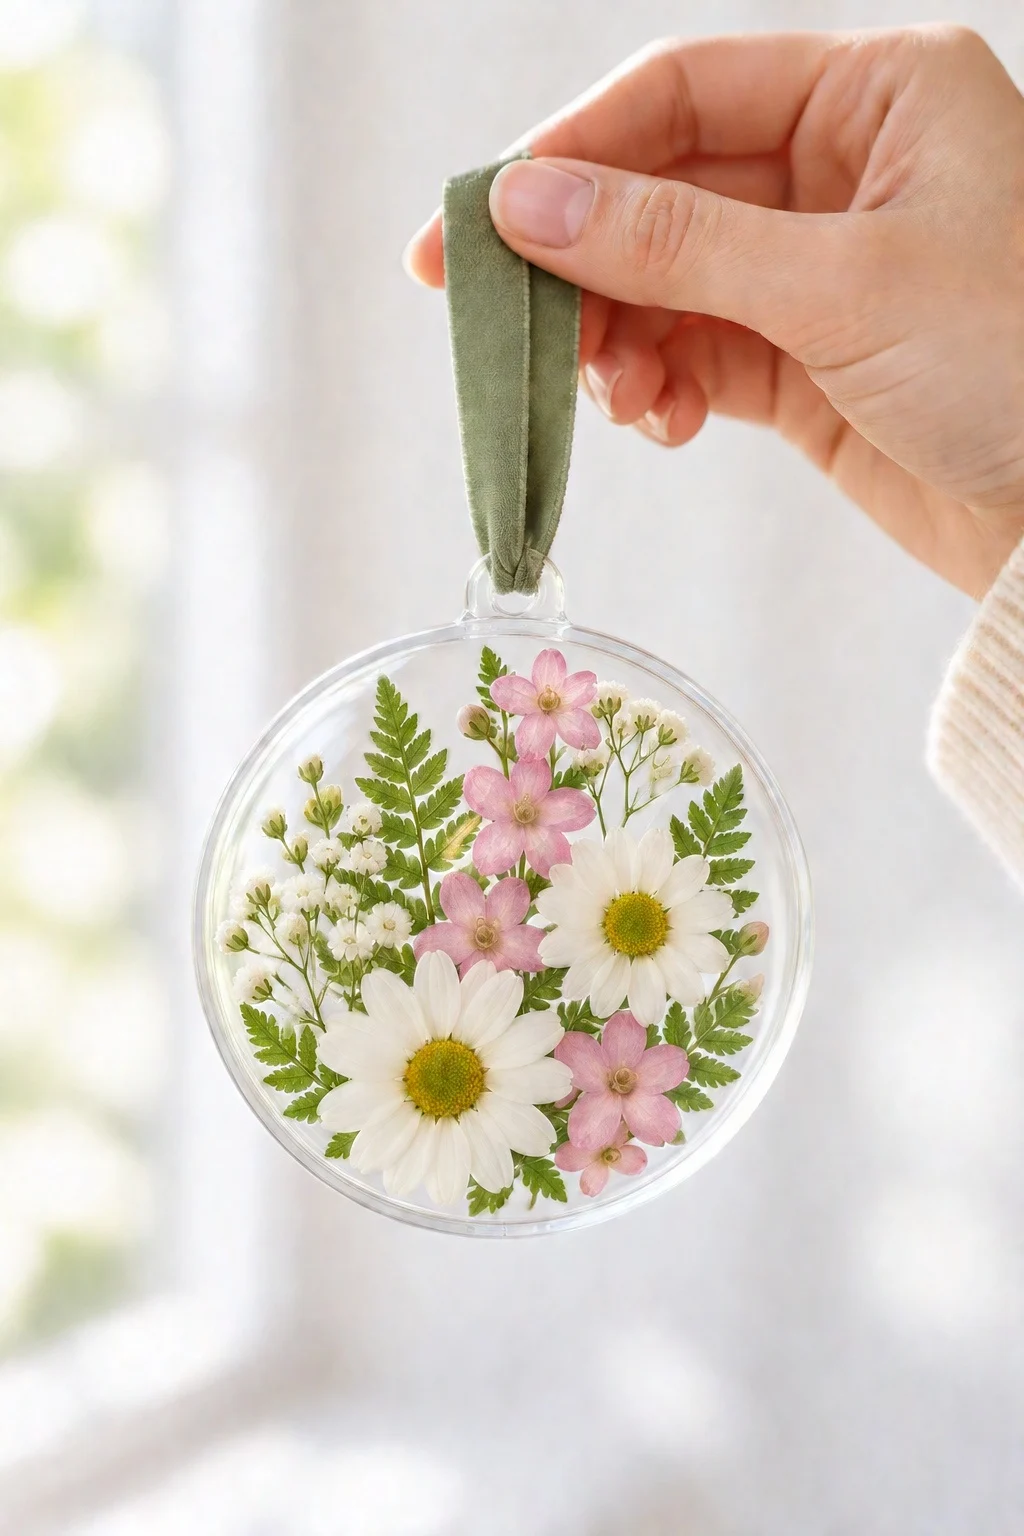
Here are a few ways to use them:
- on the Christmas tree, especially near the lights
- hanging in a sunny window like little suncatchers
- as a keepsake made with flowers from a wedding bouquet or a loved one’s garden
- as gift toppers or a handmade gift for a gardener friend
DIY Pressed Flower Ornaments
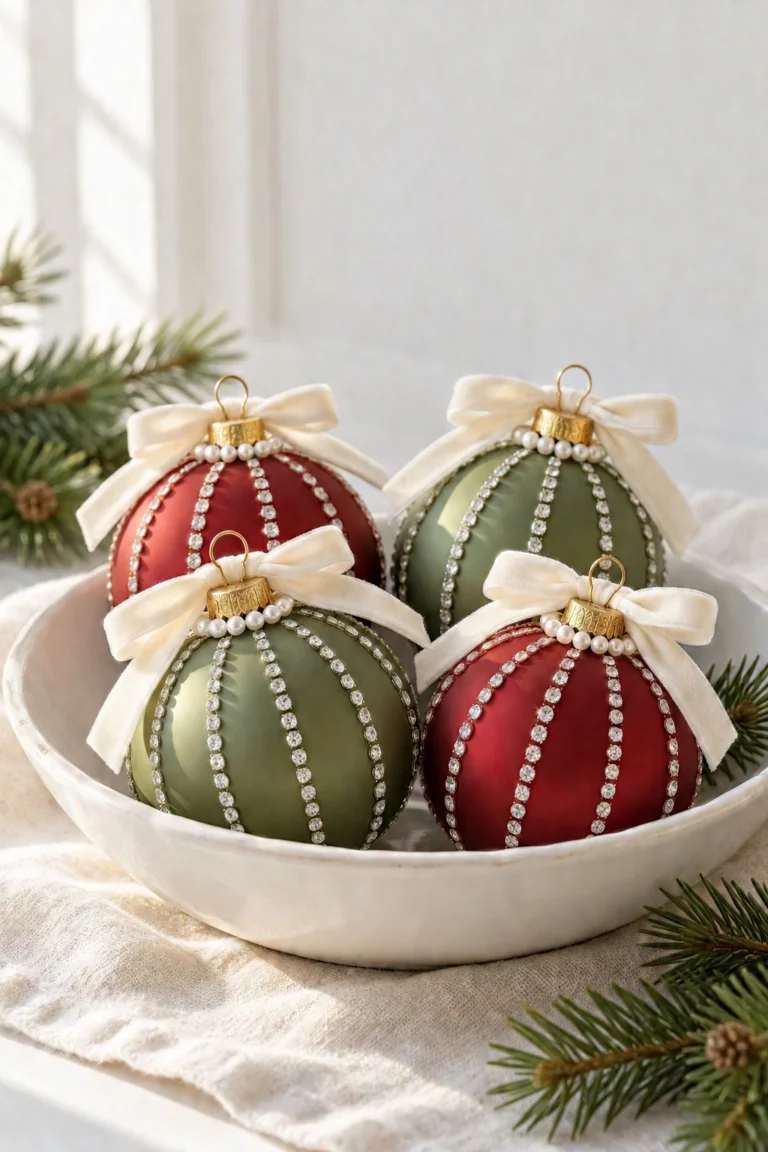
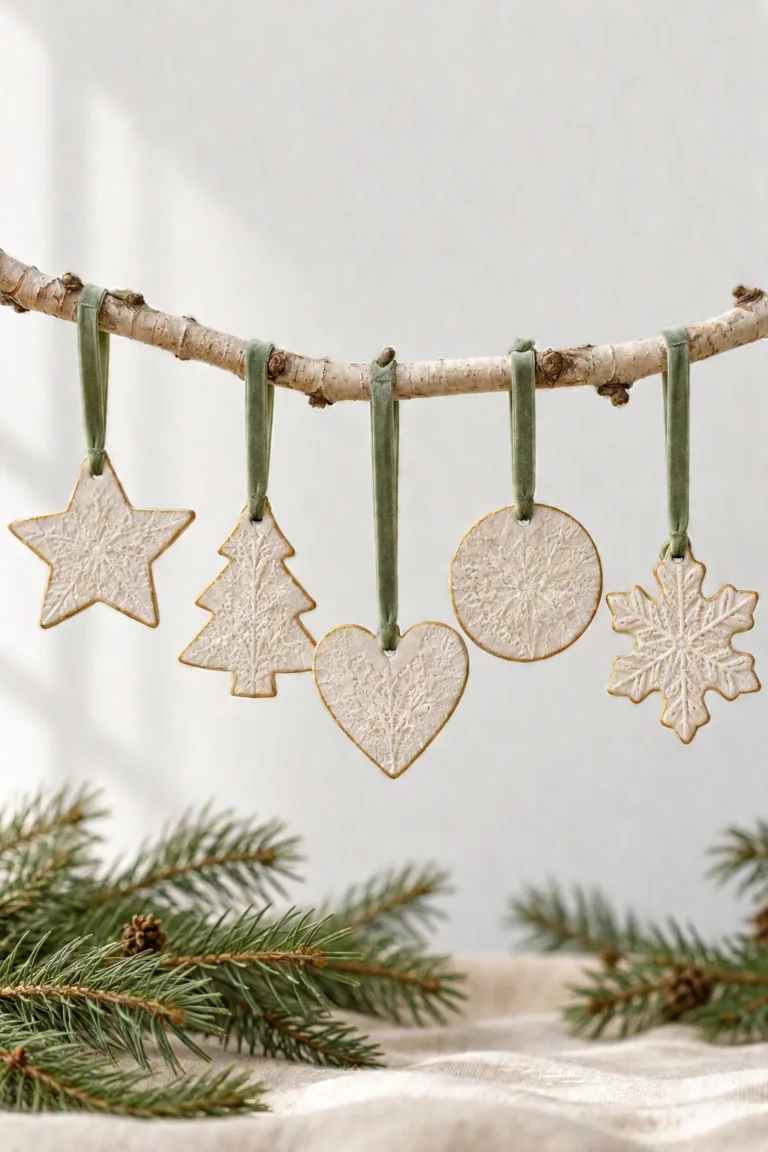
I hope you love making these pressed flower ornaments! They’re such a lovely way to bring a little bit of the garden onto your Christmas tree. Looking for more handmade ornaments? Try my air dry clay Christmas ornaments or my bedazzled Christmas ornaments.
Happy crafting!
Don’t forget to pin and save for later!