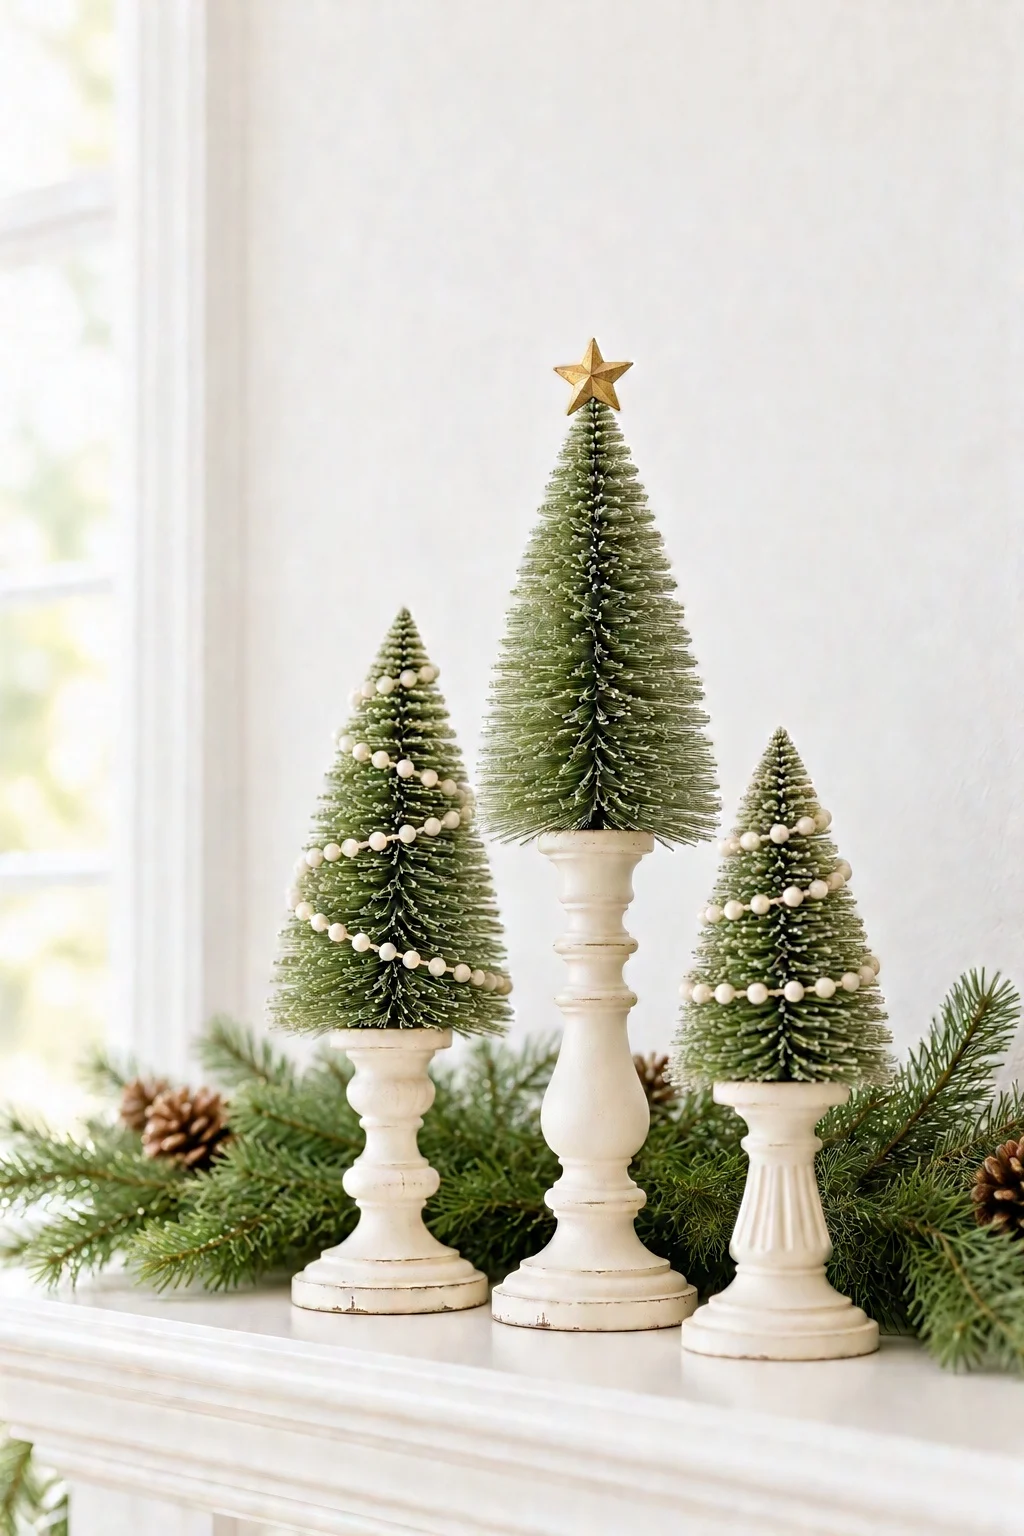
Turn thrifted candlesticks into charming Christmas trees with bottle brush trees and a coat of paint! An easy, budget-friendly thrift flip!
Thrift stores are full of mismatched candlesticks in dated brass, dark wood and glass, and they’re usually just a dollar or two. With one can of spray paint and a few bottle brush trees, they turn into the prettiest little set of Christmas trees for your mantel or table.
The best part is that they don’t have to match! Different heights and shapes look even better once they’re all painted the same color. Keep reading for the step-by-step tutorial.
What you need to make candlestick Christmas trees
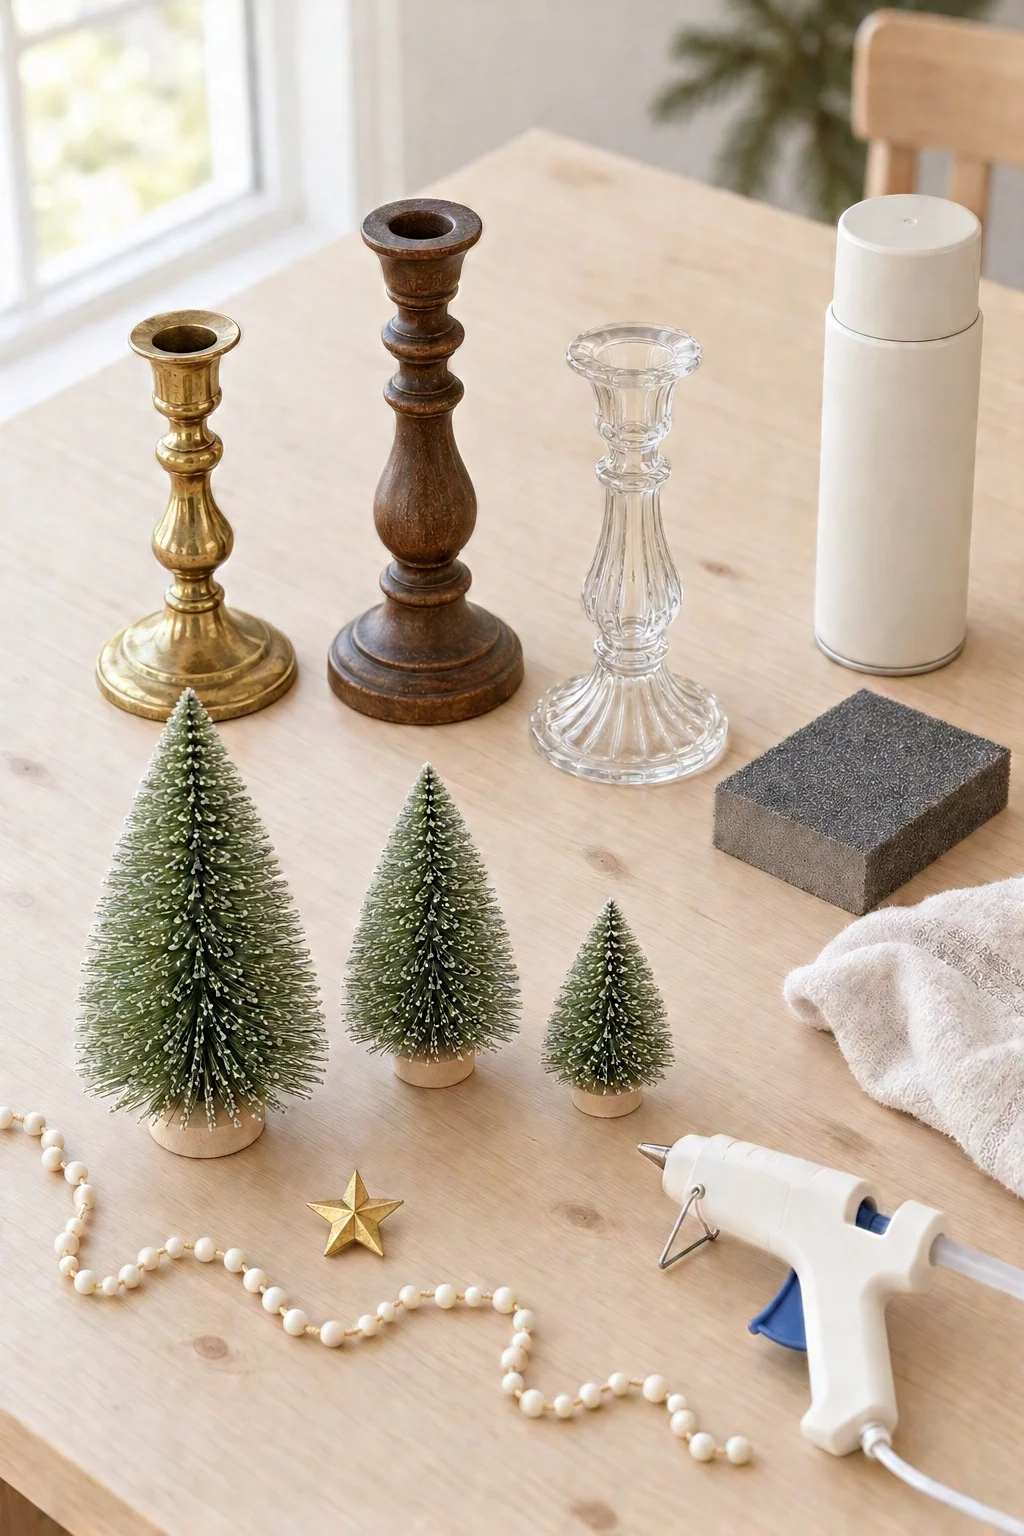
- thrifted candlesticks: 3 or more in different heights. Brass, wood and glass all work.
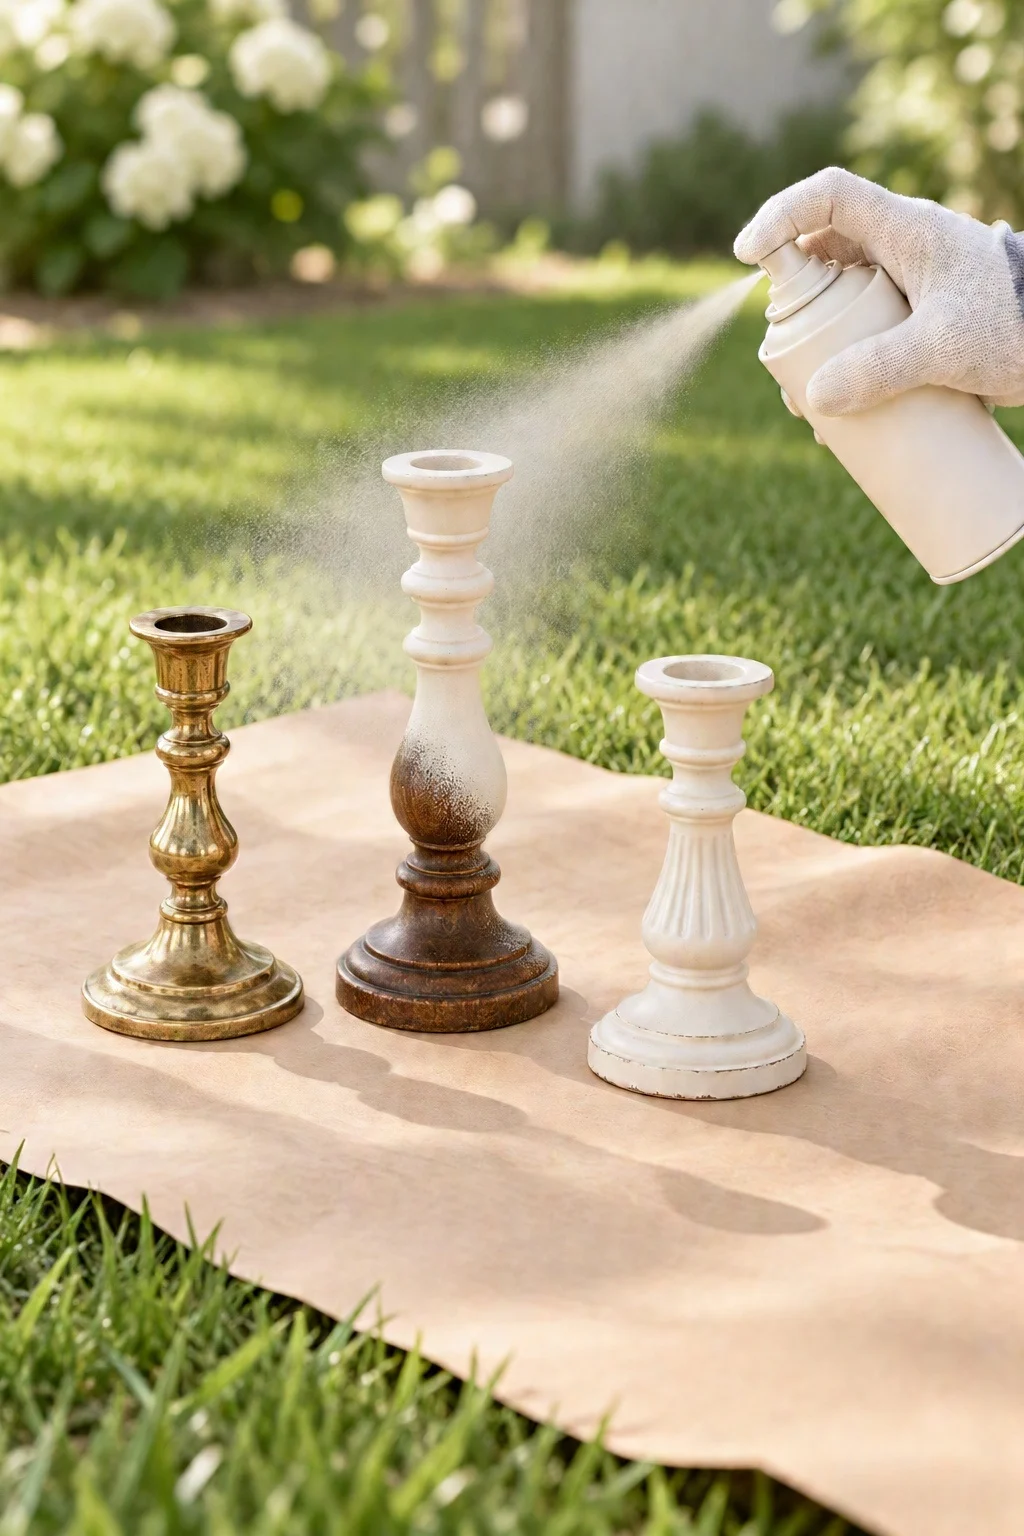
- spray paint: a matte or satin cream (choose one with built-in primer so it sticks to shiny brass and glass)
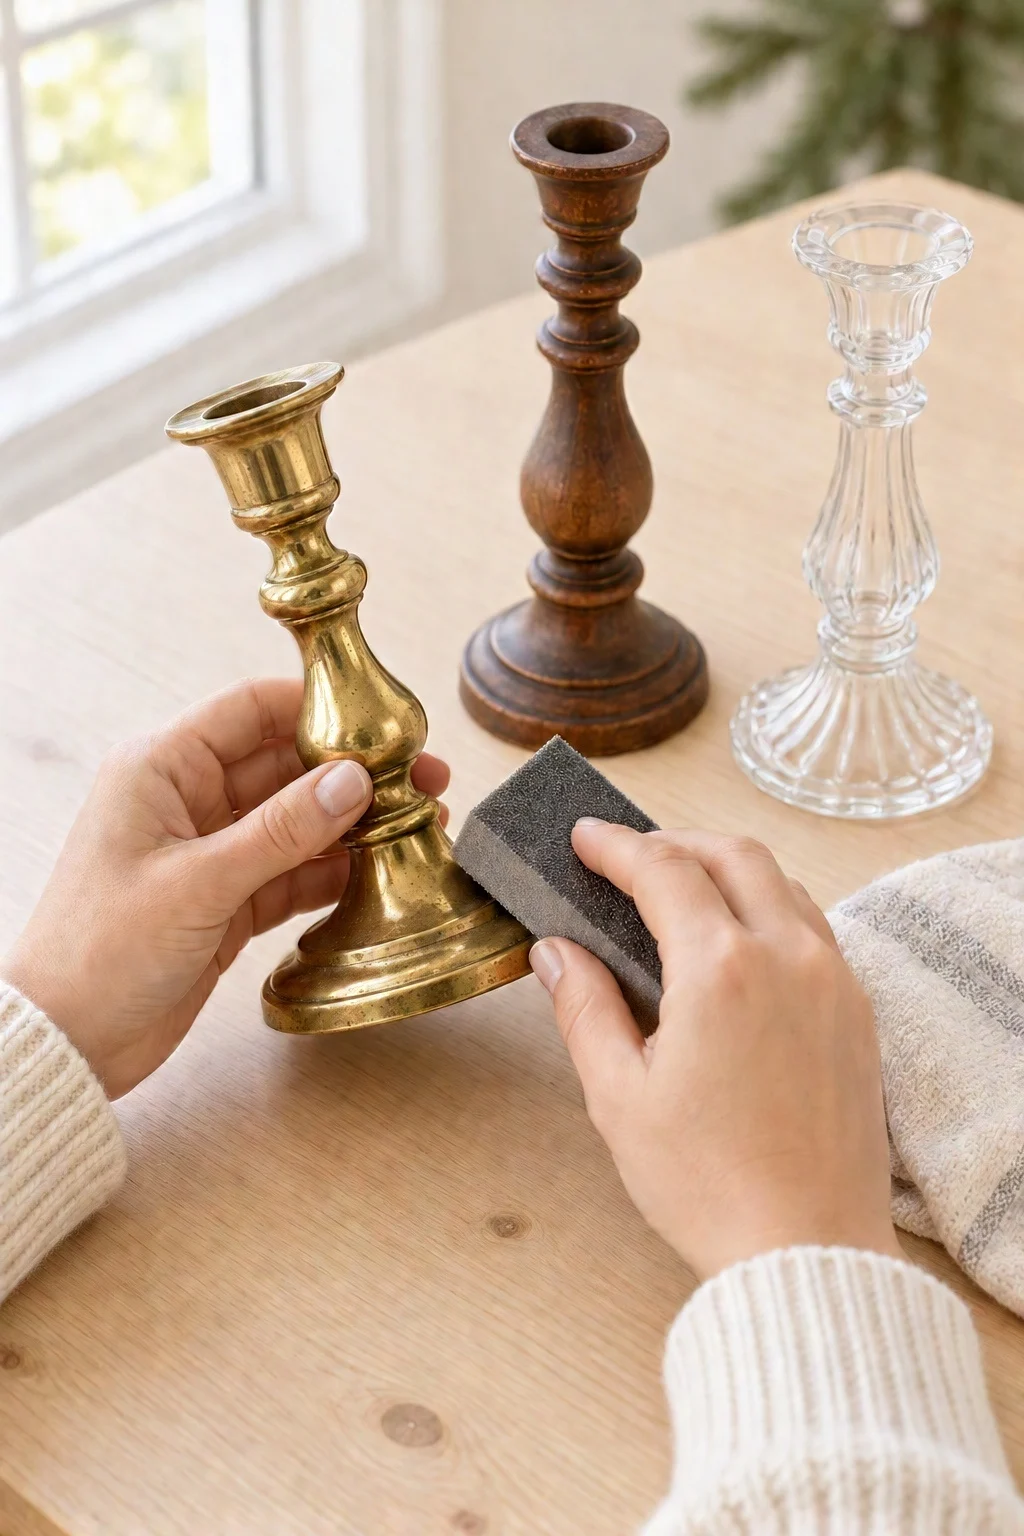
- a fine sanding sponge and a damp cloth: for prepping the candlesticks
- bottle brush trees: in a few different sizes, to match your candlesticks
- a hot glue gun
- tiny gold stars and a strand of small pearl beads: optional, for decorating
Where can you find cheap candlesticks?
Thrift stores are the best place to start, and garage sales and online marketplaces are great too. Look for interesting shapes rather than nice finishes, since you’ll be painting over them anyway. Craft stores and dollar stores often carry plain wooden candlesticks as well, if you’d rather start fresh.
What’s the best paint for candlesticks?
Spray paint with a built-in primer gives the smoothest finish and sticks to shiny brass and glass. Light coats are the secret to avoiding drips. Chalk paint is another good option if you’d rather brush it on, and it gives a soft, slightly vintage look.
How to make candlestick Christmas trees
Step 1: Clean and scuff the candlesticks
Wipe each candlestick with a damp cloth to remove any dust or old wax. Then lightly scuff shiny surfaces like brass and glass with a fine sanding sponge so the paint has something to grip.
Step 2: Spray paint them
Take the candlesticks outside and set them on a sheet of kraft paper or cardboard. Spray in light, even coats from about 10 inches away, letting each coat dry before adding the next. Two or three light coats are much better than one heavy one.
Step 3: Prep the bottle brush trees
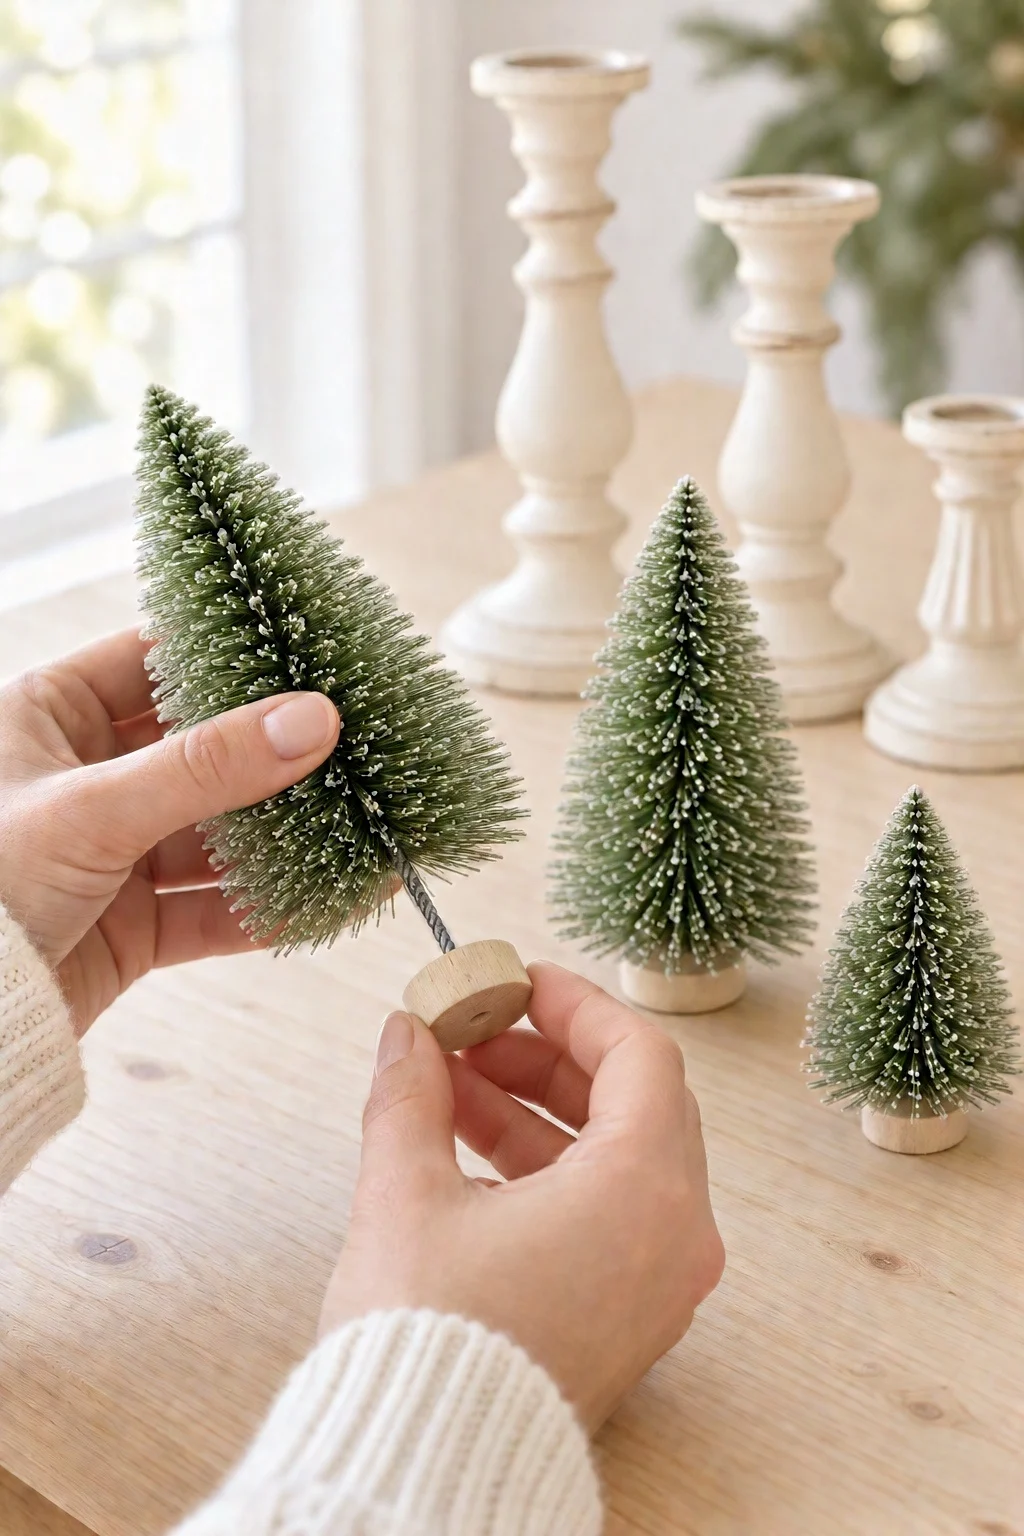
Most bottle brush trees come on small wooden stands. Twist or pull the stands off so you’re left with a short wire stem at the bottom of each tree. If the trees look a little flat, fluff the bristles with your fingers.
Step 4: Glue the trees on top
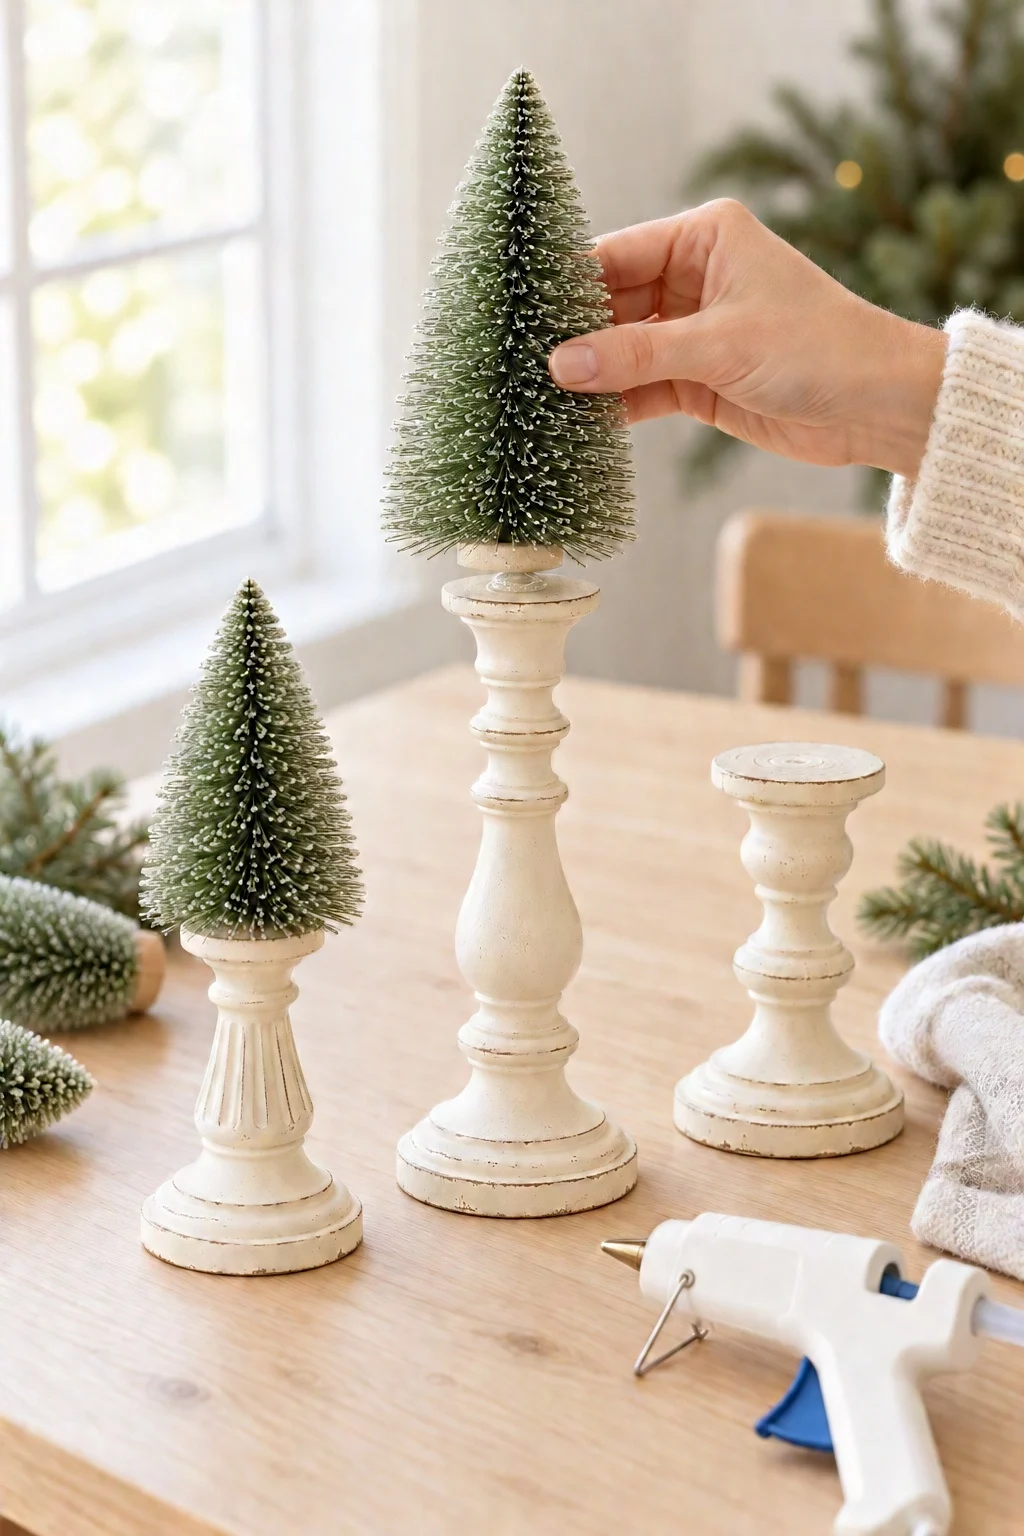
Once the paint is completely dry, add a generous dab of hot glue to the top of each candlestick and press a tree straight down into it. Hold it for a few seconds until it sets. Pair the biggest tree with the tallest candlestick for a nice balanced look.
Step 5: Decorate
Wrap a strand of tiny pearl beads around a couple of the trees like garland and secure the ends with a dot of glue. Then add a tiny gold star to the top of the tallest tree.
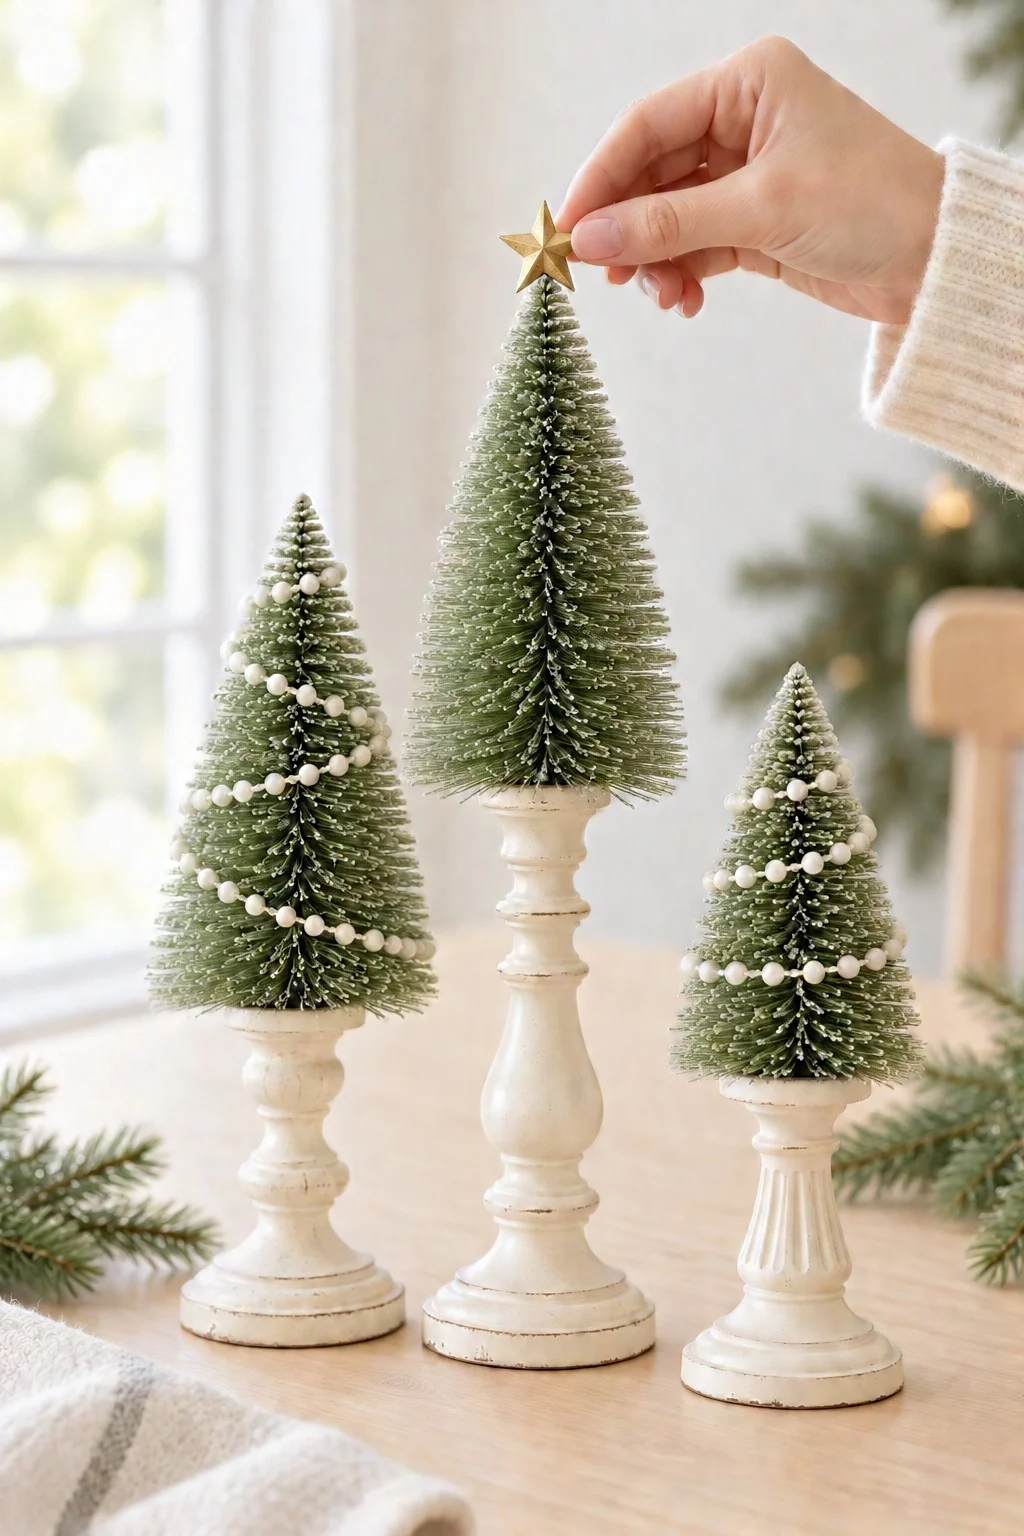
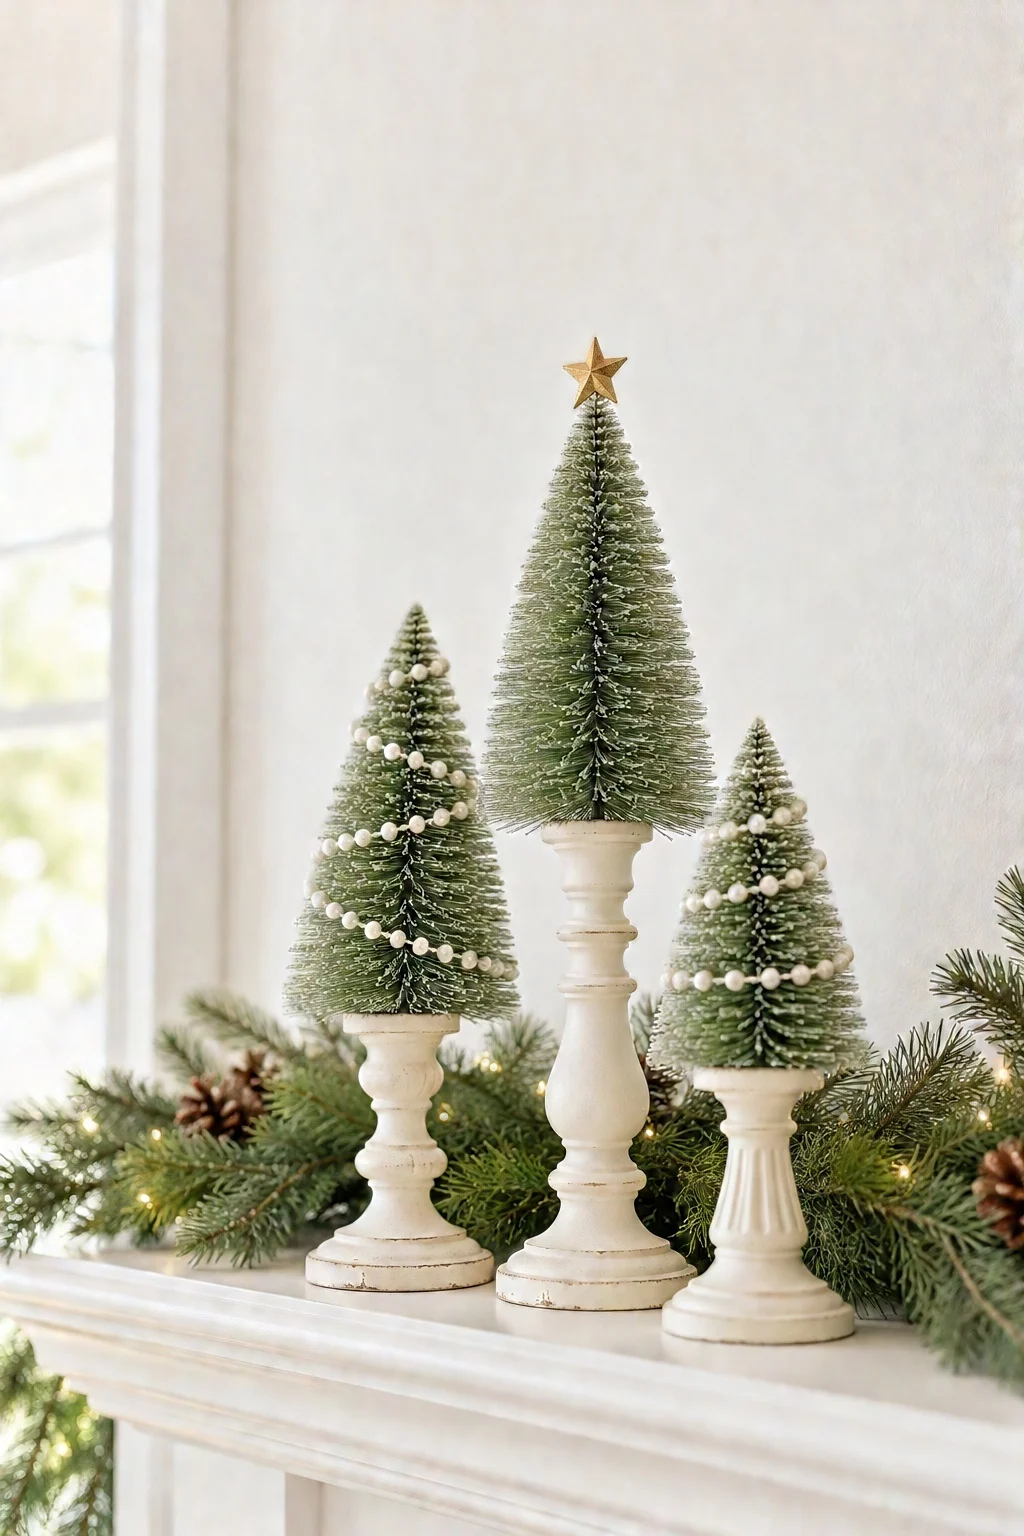
And you’re done! Look how sweet these turned out:
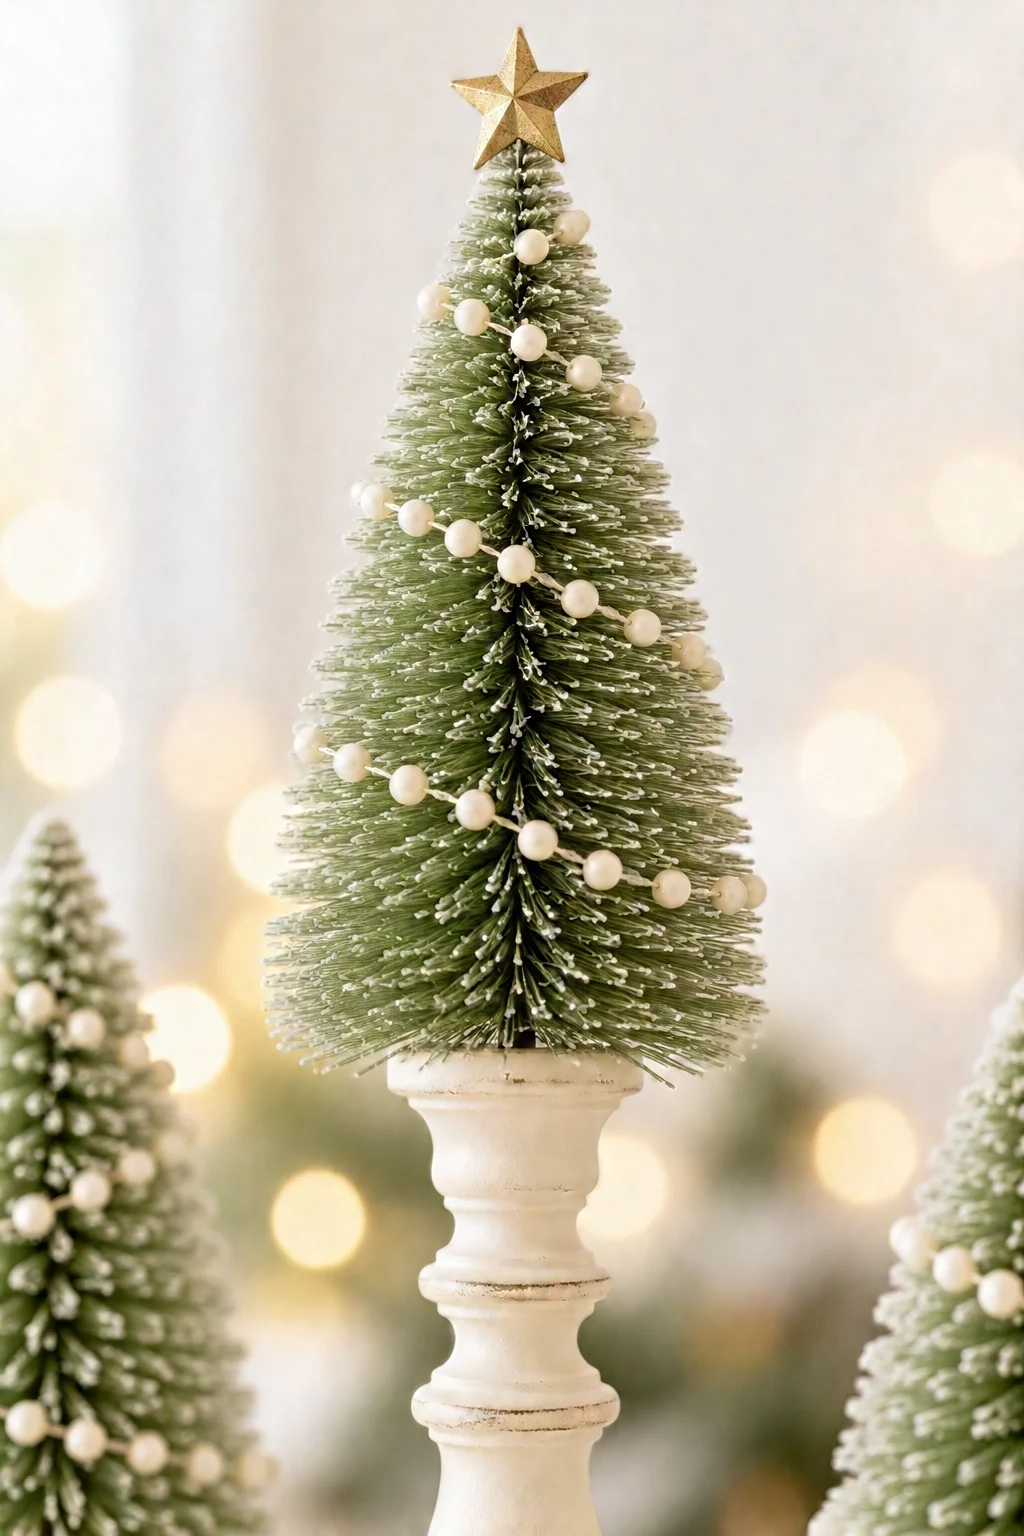
Here are a few ways to style them:
- grouped on a mantel with pine garland and pinecones
- as a centerpiece down the middle of your dining table
- on a bookshelf or entryway table
- as a pair on either side of a sideboard or console
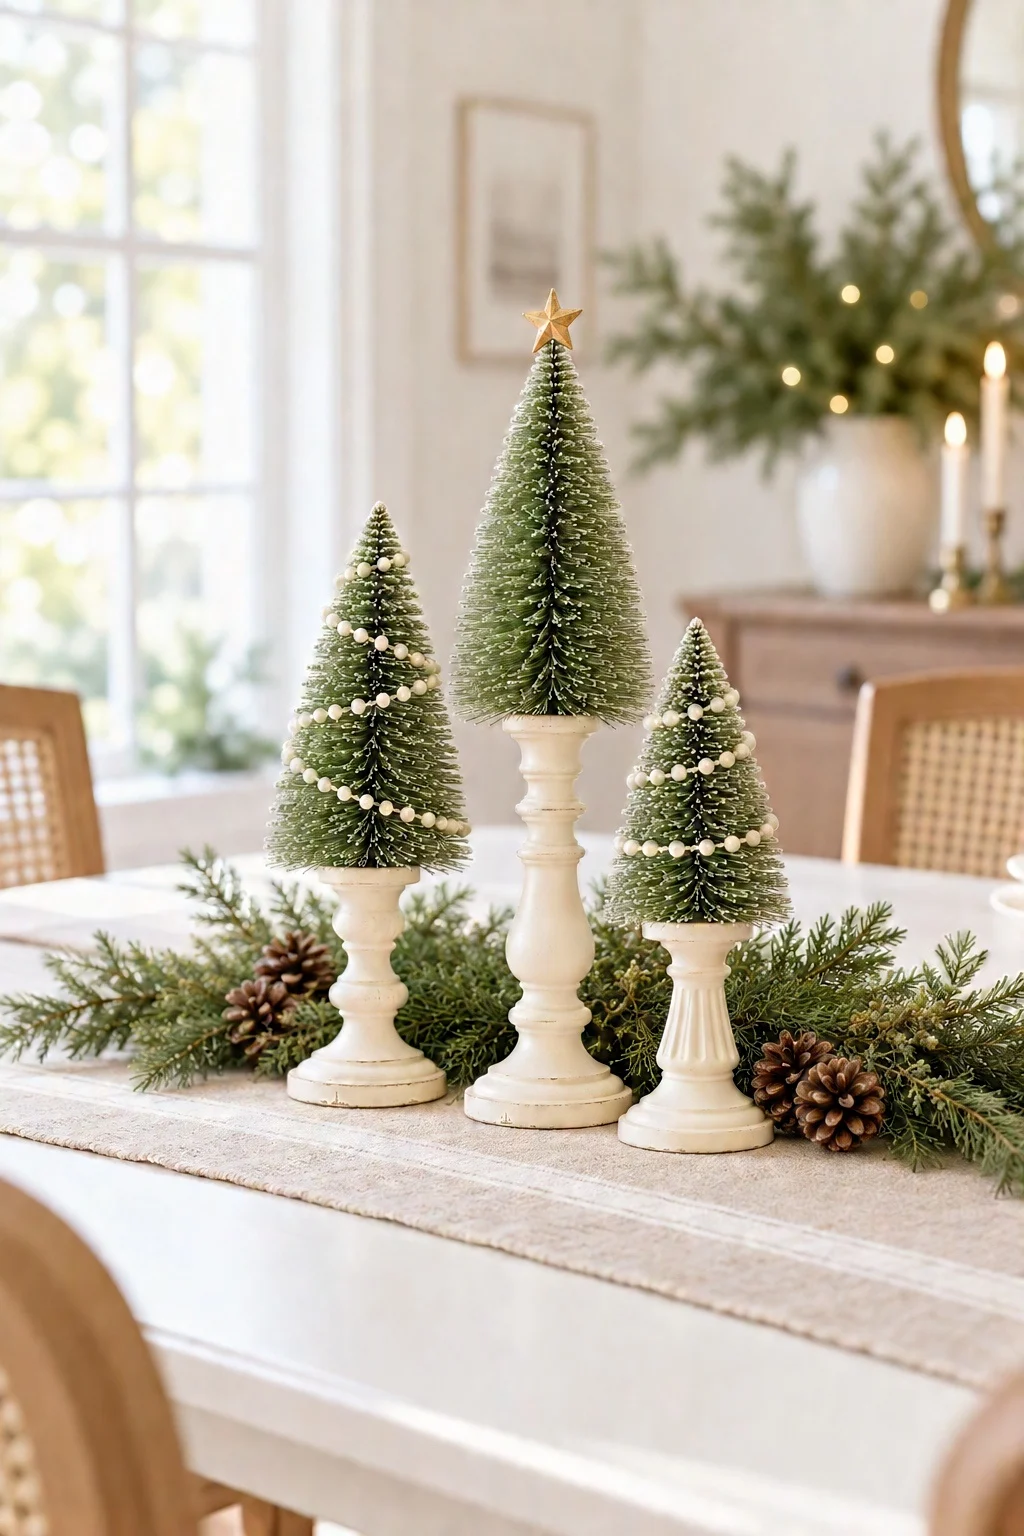
DIY Thrift Flip Candlestick Christmas Trees
I hope you love this easy thrift flip! It’s such a budget-friendly way to make your Christmas decor feel special. Looking for more ideas? Try my air dry clay Christmas ornaments or grab my free Cozy Christmas Printable Pack.
Happy crafting!
Don’t forget to pin and save for later!