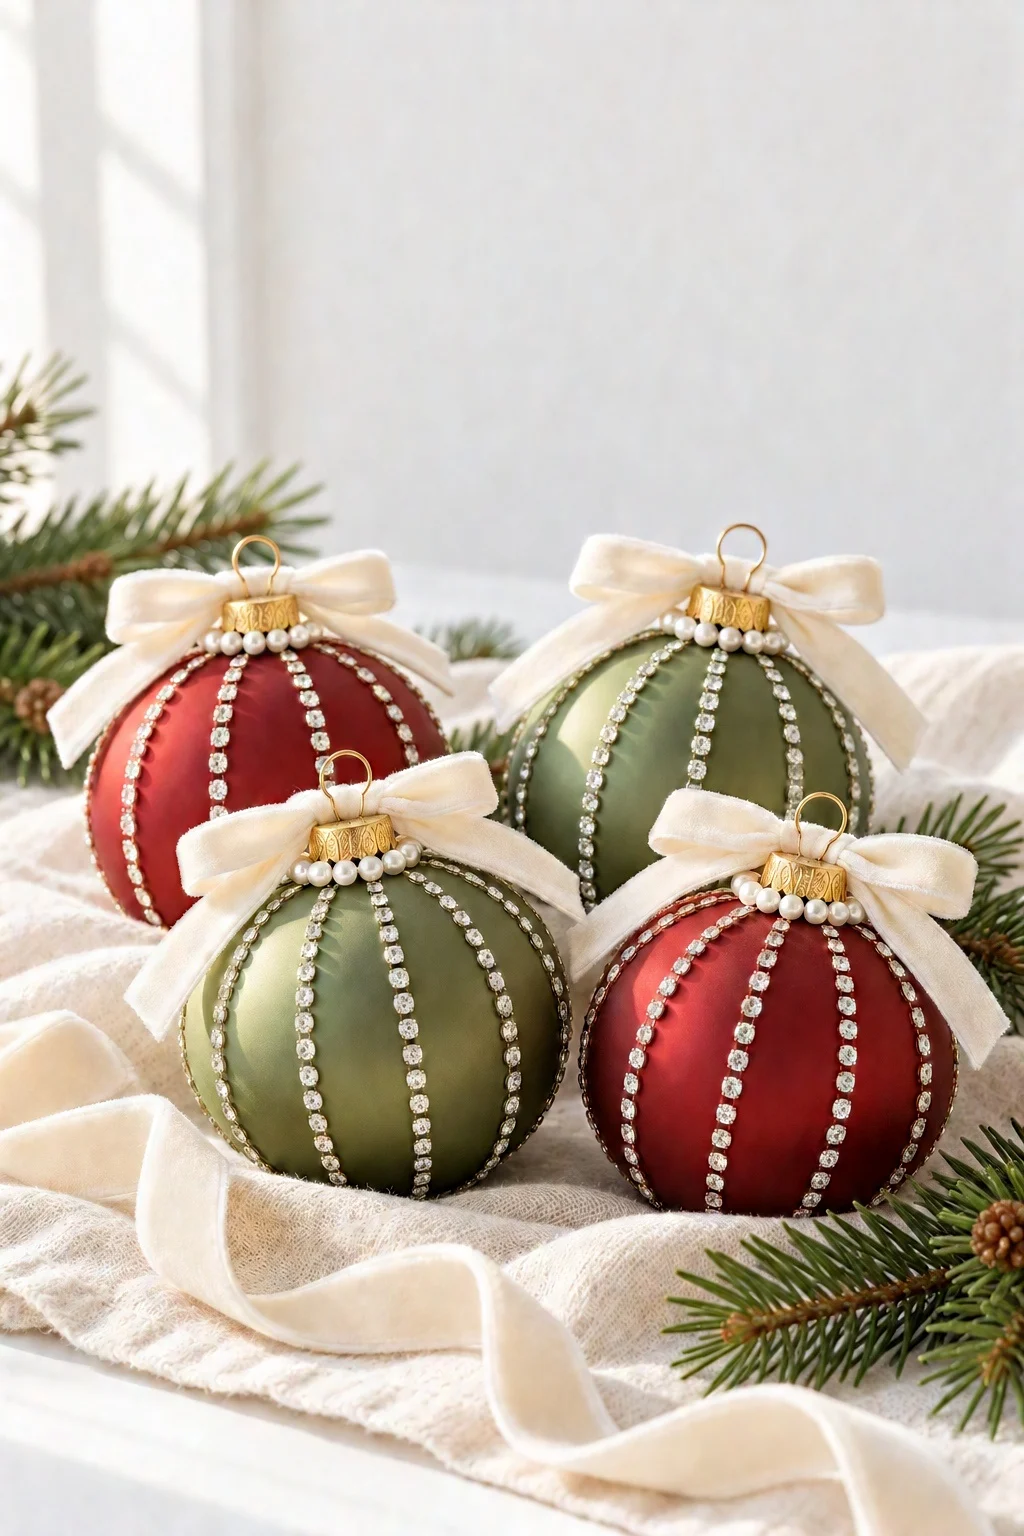
Turn plain ornaments into sparkly bedazzled Christmas ornaments with rhinestones, pearls and velvet bows! Easy, elegant and fun to make!
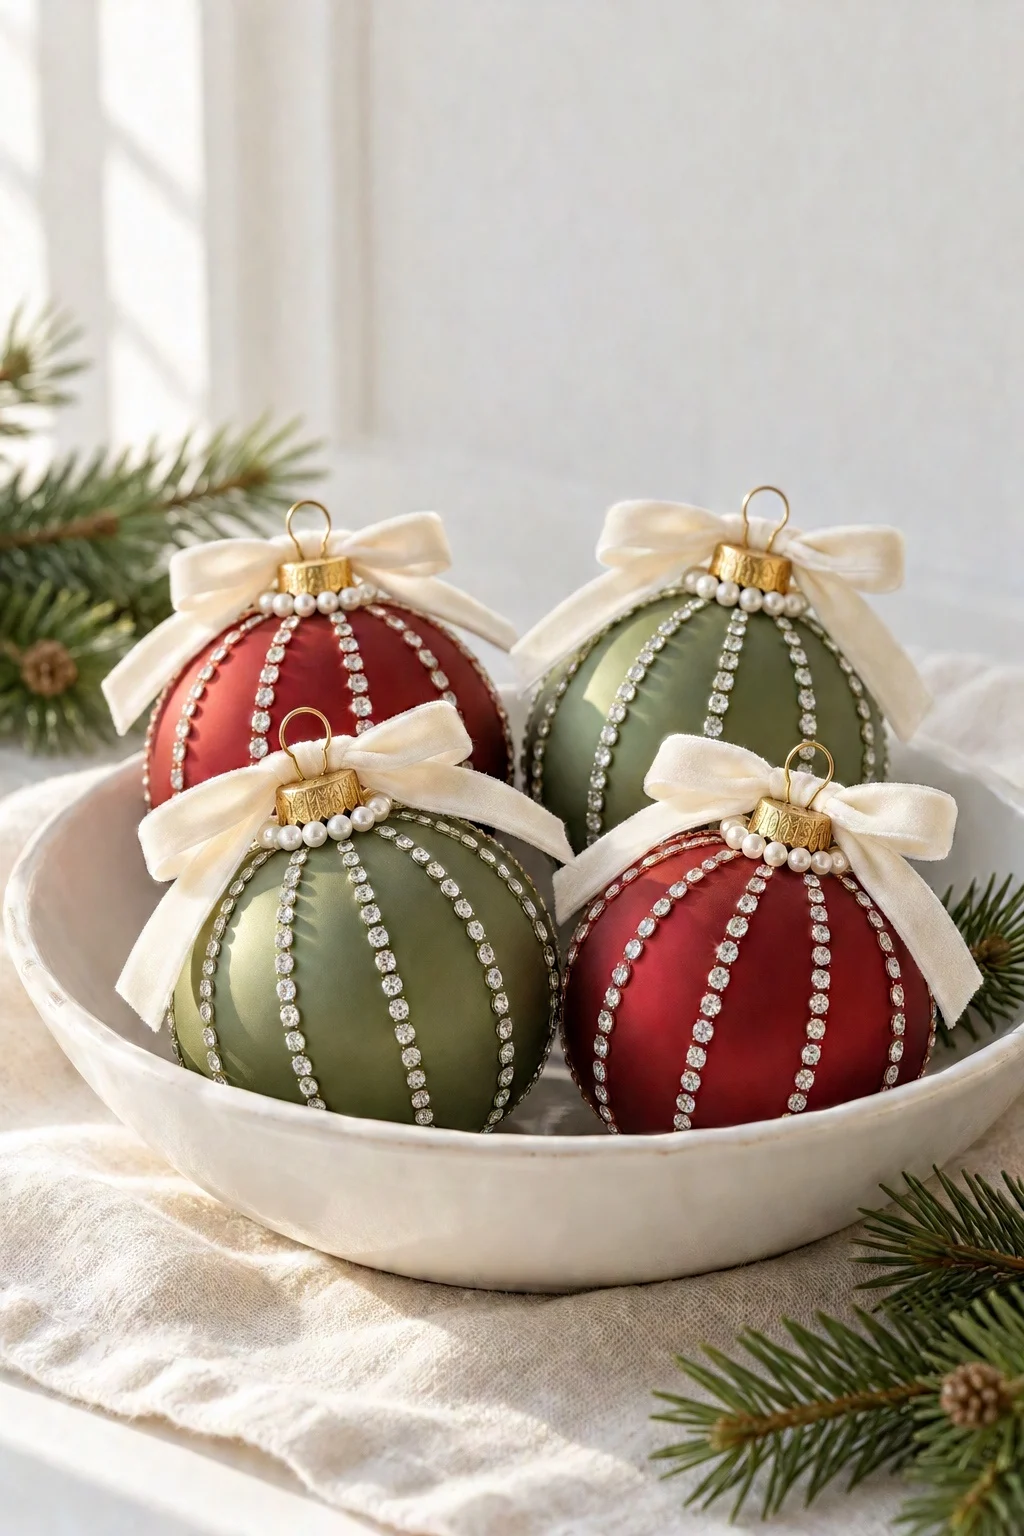
Bedazzling is having a big moment, and Christmas ornaments are the perfect place to try it! Plain matte ornaments get neat stripes of tiny rhinestones, a ring of pearls around the cap and a soft velvet bow. The result looks vintage, glam and so much more expensive than it is.
It’s also one of those wonderfully relaxing crafts you can do on the couch with a Christmas movie on. Keep reading for the step-by-step tutorial, plus the one little tool that makes bedazzling so much easier!
What you need to make bedazzled Christmas ornaments
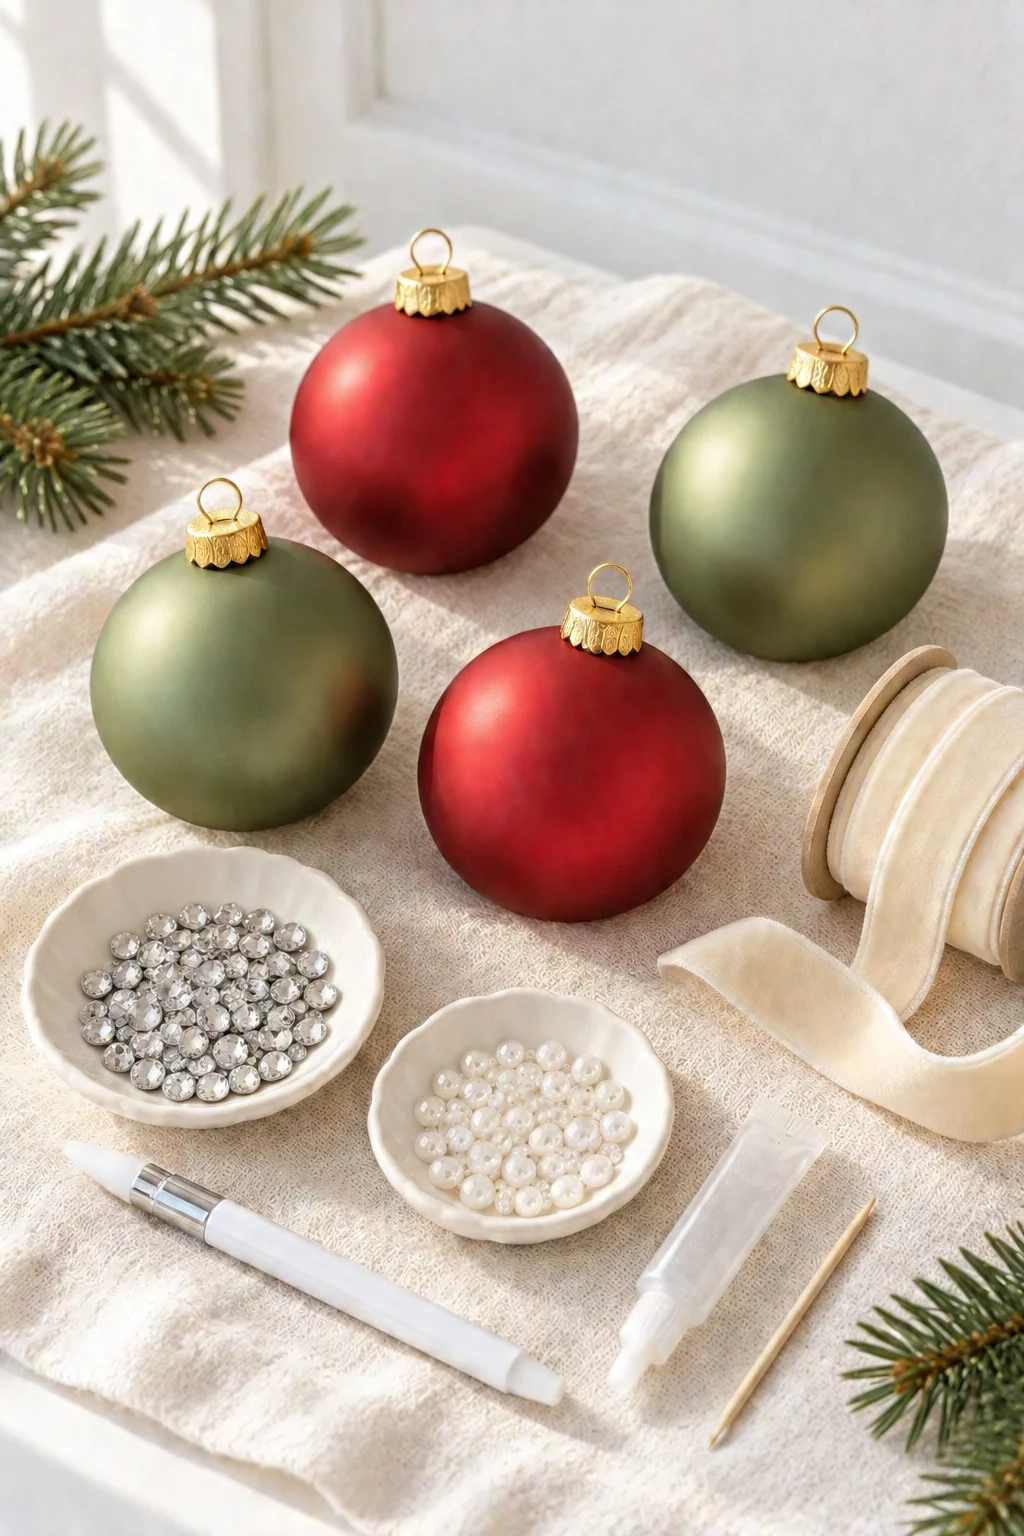
- plain matte ball ornaments: I used sage green and deep red. Shatterproof plastic ornaments are lighter and safer than glass, especially if kids are helping.
- clear flatback rhinestones: small 3 mm gems are easiest to line up in neat stripes
- flatback half pearls: about 3 to 4 mm, for the ring around the cap
- clear-drying gem glue: look for one made for rhinestones and jewelry
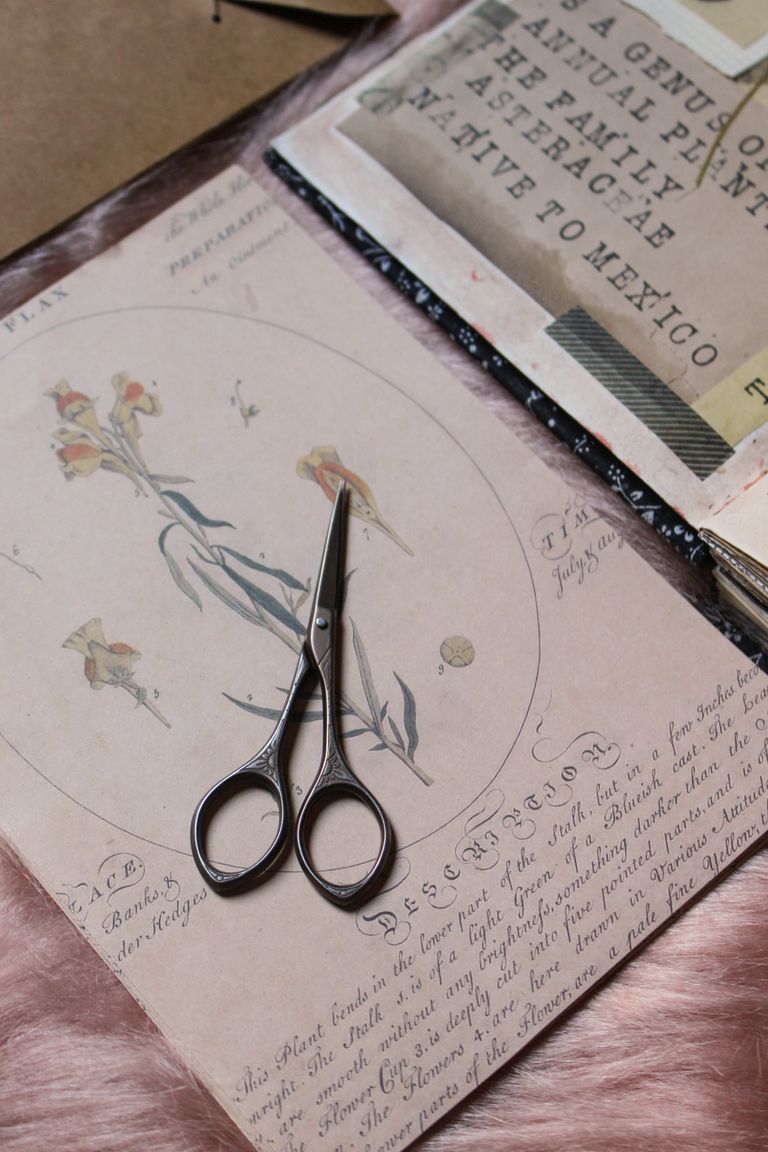
- a wax-tipped gem picker: honestly my favorite tool for this. It picks up one rhinestone at a time and sets it down exactly where you want it.
- a toothpick: for dotting on thin lines of glue
- velvet ribbon: about 1 inch wide, for the bows
What’s the best glue for bedazzling ornaments?
A clear-drying gem or jewelry glue is best because it grips smooth surfaces, stays a little flexible and dries invisible. Skip hot glue (it leaves strings and lumps) and super glue, which can leave a cloudy white haze on rhinestones. Gem glue starts to set after a few minutes, so only apply it to one small line at a time.
How long does it take to bedazzle an ornament?
Plan on about 30 to 45 minutes per ornament for full rhinestone stripes, a little less if you do fewer stripes. Let the finished ornaments dry for 24 hours before you hang them so the gems are completely set.
How to make bedazzled Christmas ornaments
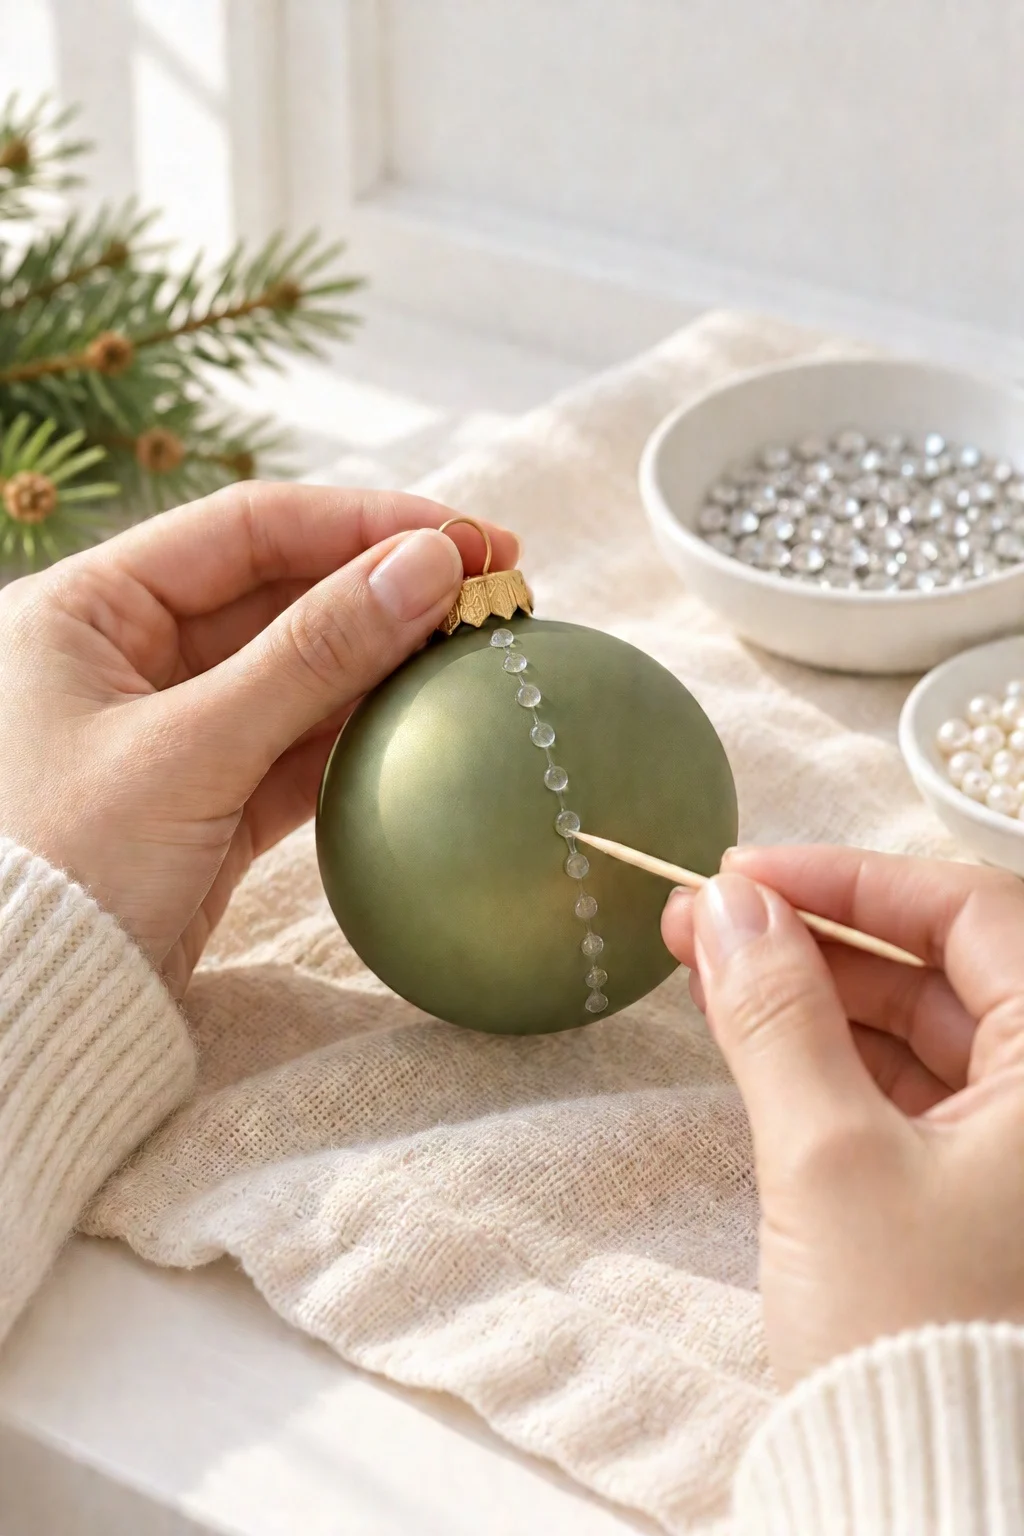
Step 1: Add a thin line of glue
Hold the ornament by its cap and use a toothpick to dot a thin line of gem glue from the cap straight down the side. Keep it to one line at a time so the glue doesn’t dry before you get there.
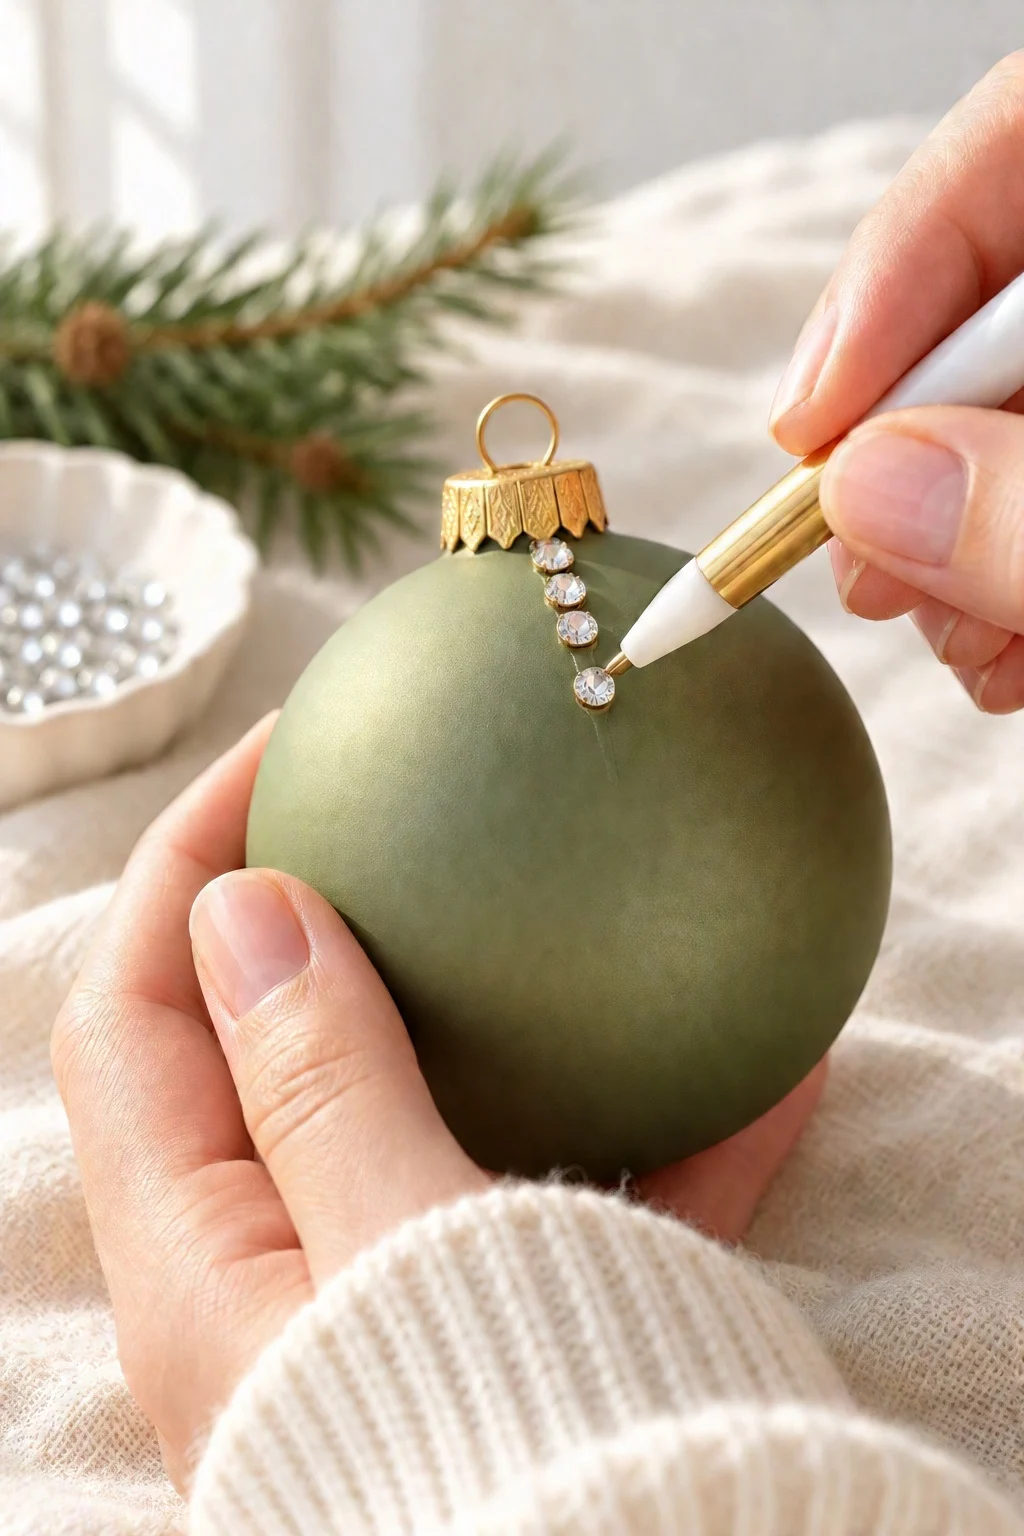
Step 2: Place the first rhinestones
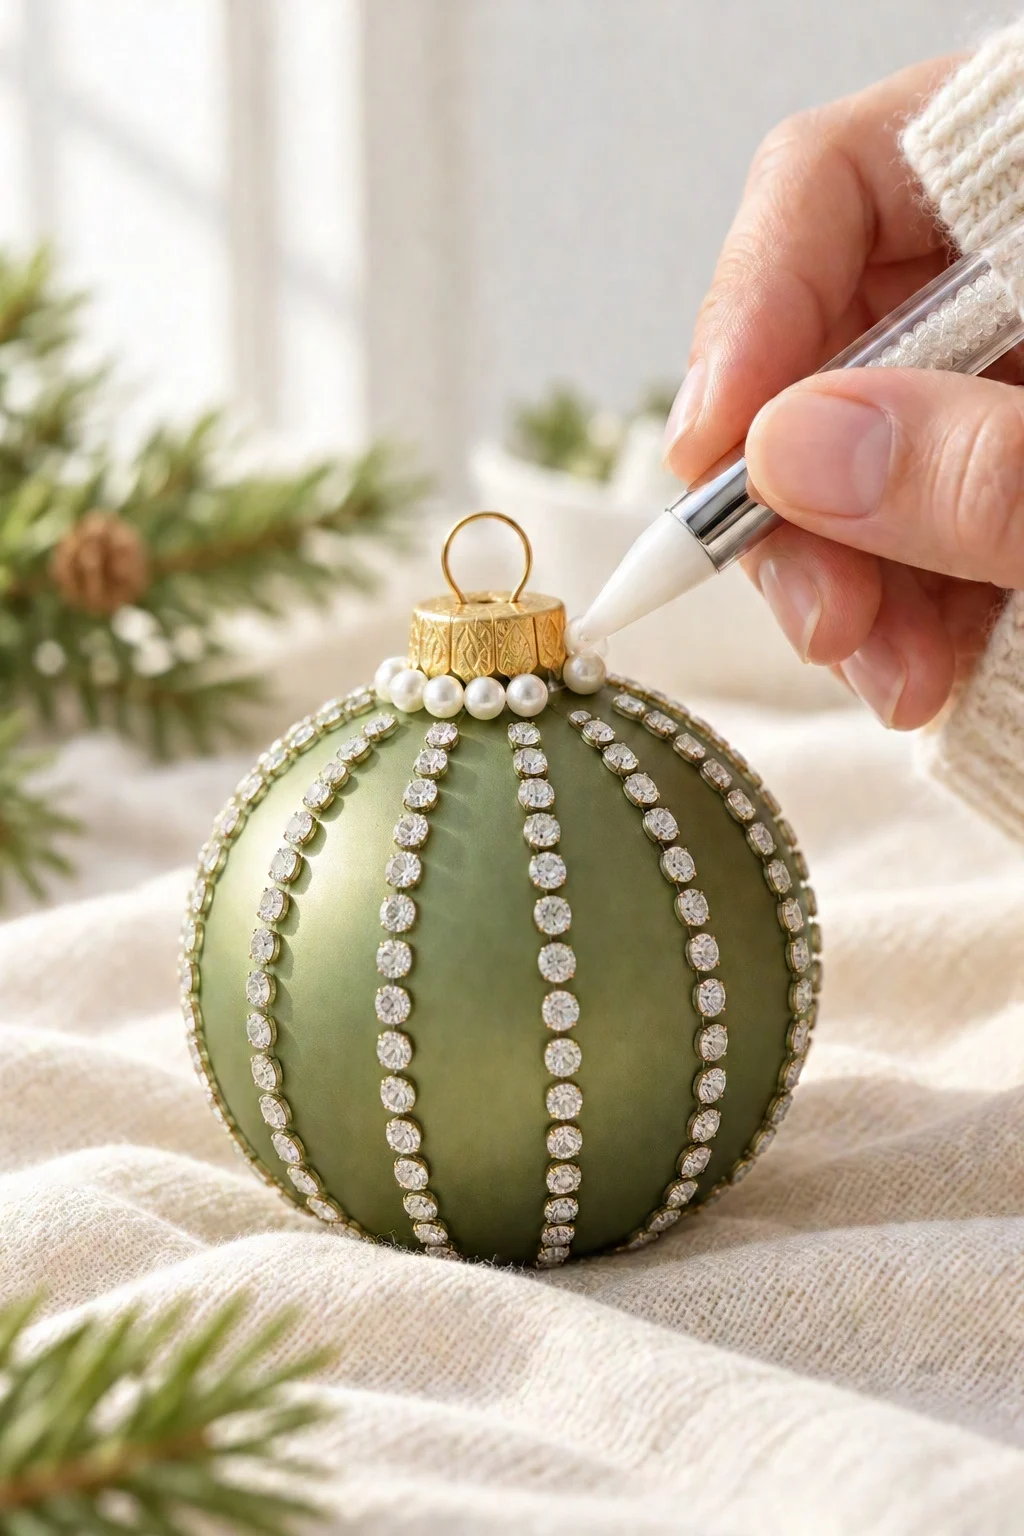
Touch the wax tip of the gem picker to the top of a rhinestone. It picks it right up! Set it onto the glue line just below the cap, then place the next one right beside it. Nudge any wonky gems straight with the toothpick before the glue sets.
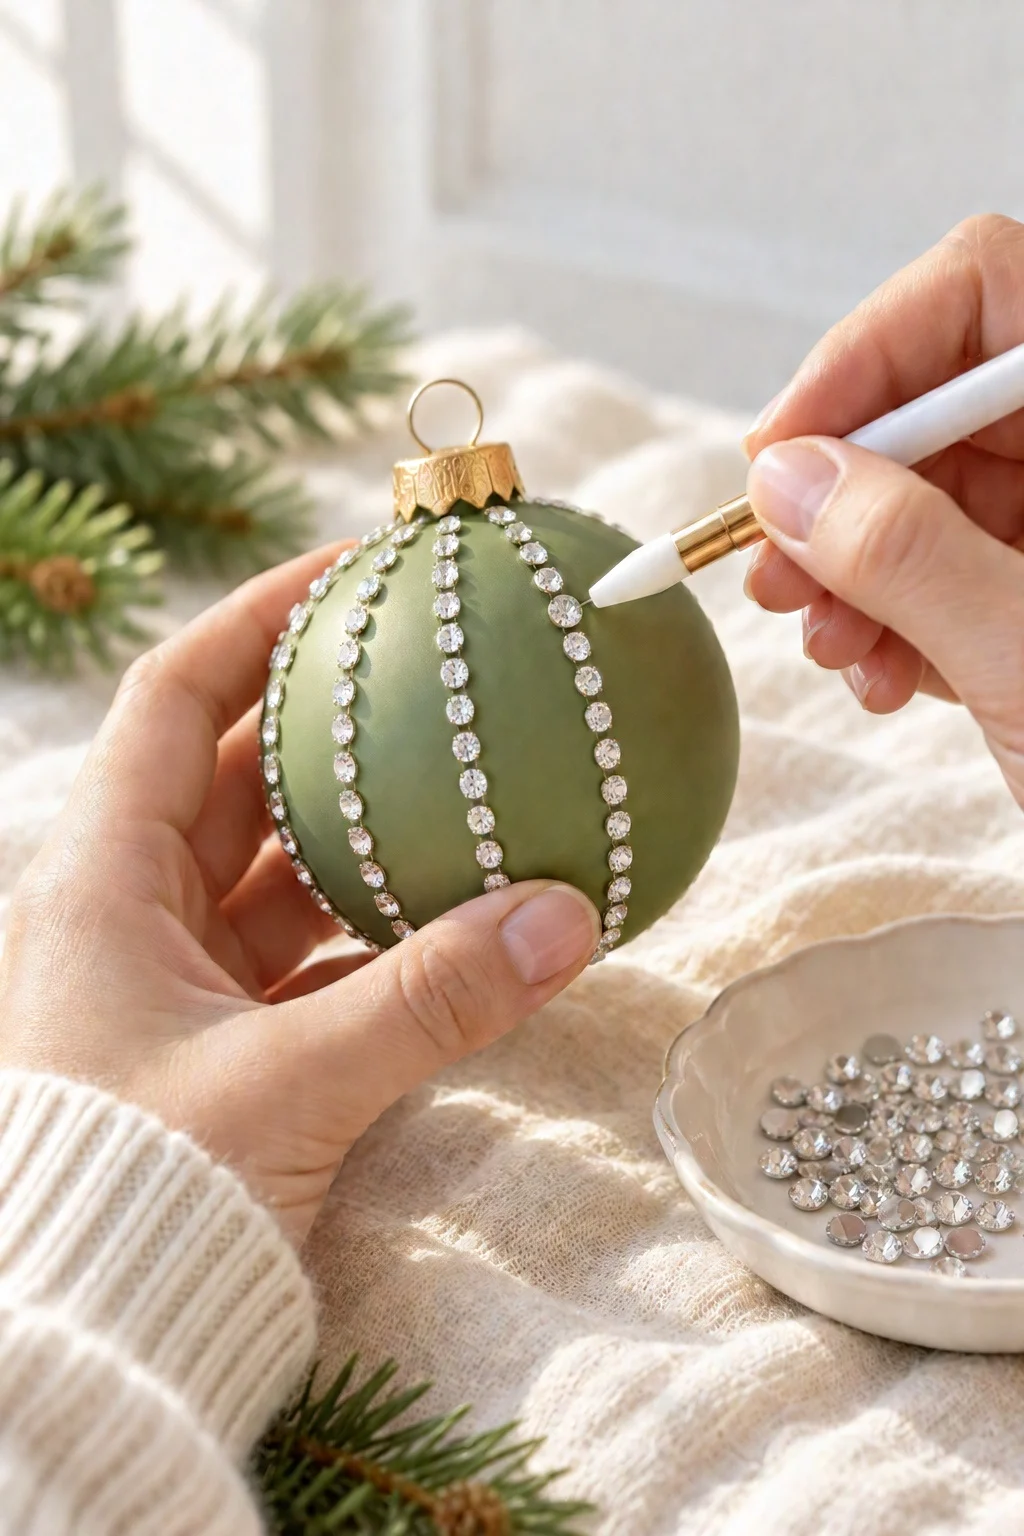
Step 3: Build up the stripes
Keep adding lines of glue and rhinestones all the way around the ornament. For even spacing, start with four stripes at the 12, 3, 6 and 9 o’clock positions, then fill in one stripe between each pair. That gives you eight neat stripes without any measuring.
Step 4: Add pearls around the cap
Dot a little glue around the base of the cap and press on small half pearls, one at a time, until you’ve made a full ring. It’s such a pretty, vintage-looking detail!
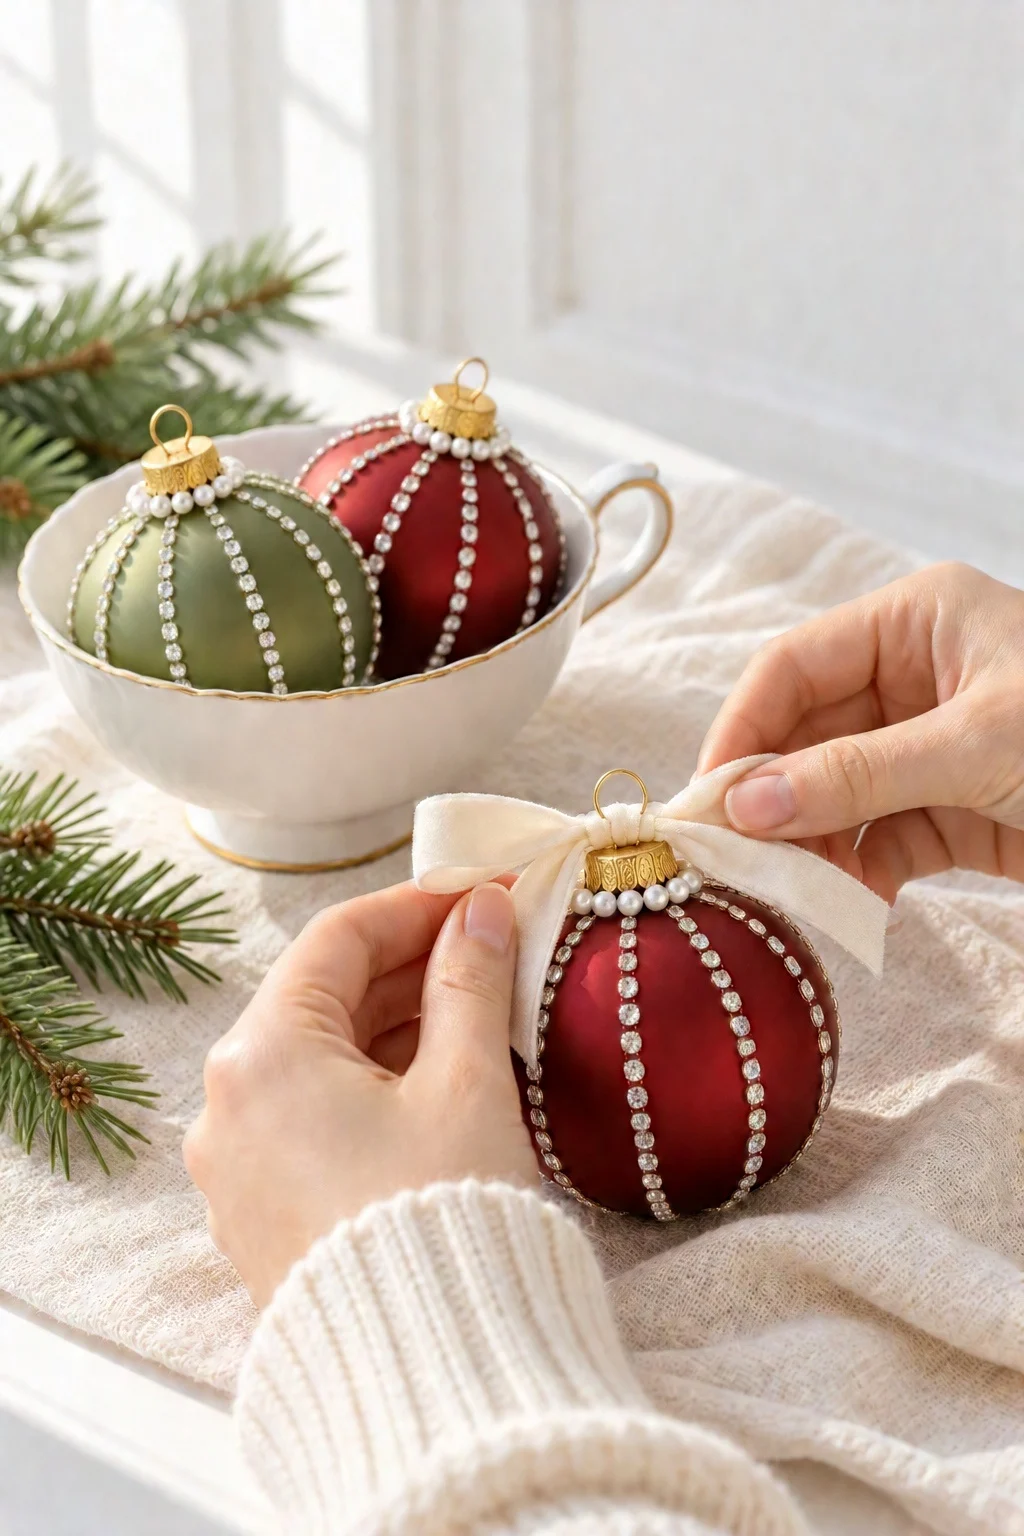
Step 5: Let them dry and add a bow
Rest the finished ornaments cap-side up in a teacup or an egg carton so nothing touches the wet glue. Once they’re dry, tie a velvet bow around the hanger at the top of each one.
And you’re done! Look at all that sparkle:
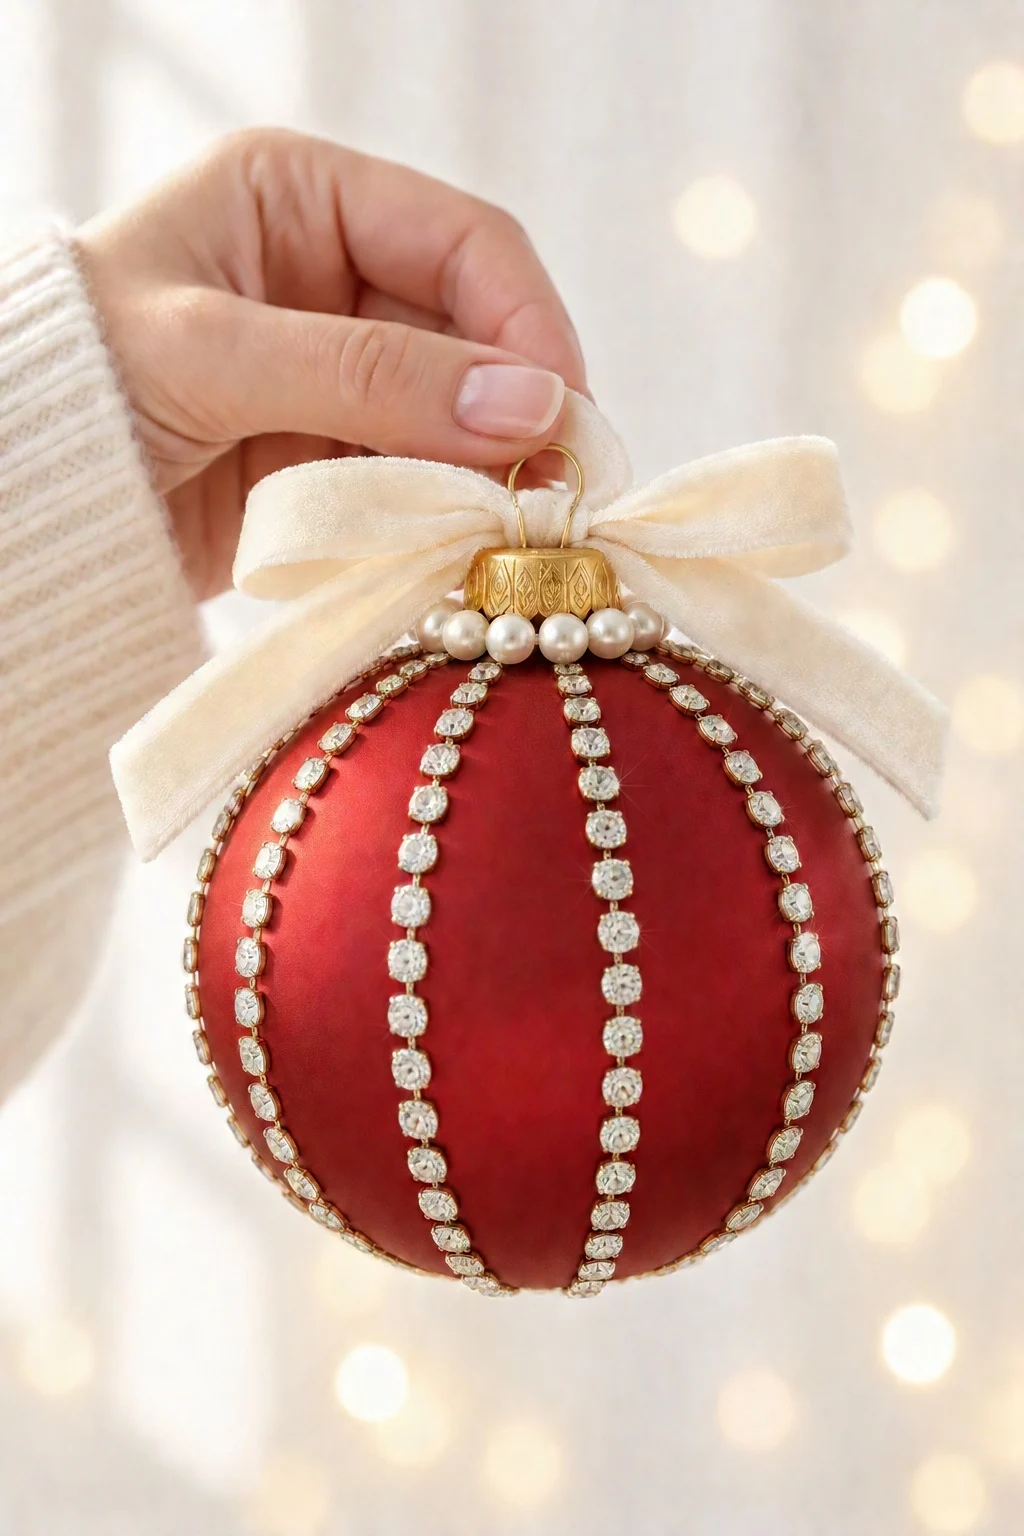
Here are a few ways to use your bedazzled ornaments:
- hang them front and center on your Christmas tree, where the lights make them sparkle
- pile them in a pretty bowl as a quick coffee table centerpiece
- tie one onto a wrapped gift as a gift topper the recipient gets to keep
- give a set of two or three as a handmade Christmas gift

DIY Bedazzled Christmas Ornaments
I hope you love making these bedazzled Christmas ornaments as much as I do! They’re easy, relaxing and add so much sparkle to the tree. Looking for more handmade ornaments? Try my air dry clay Christmas ornaments with a lace texture.
Happy crafting!
Don’t forget to pin and save for later!