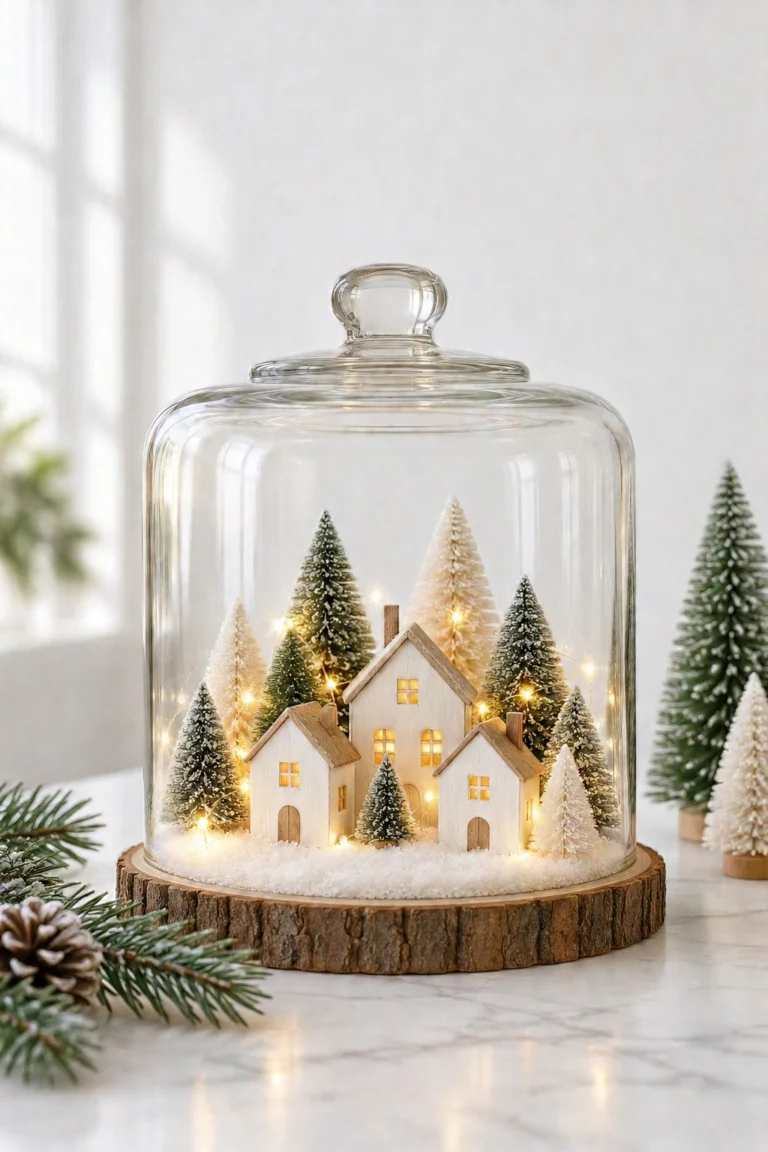
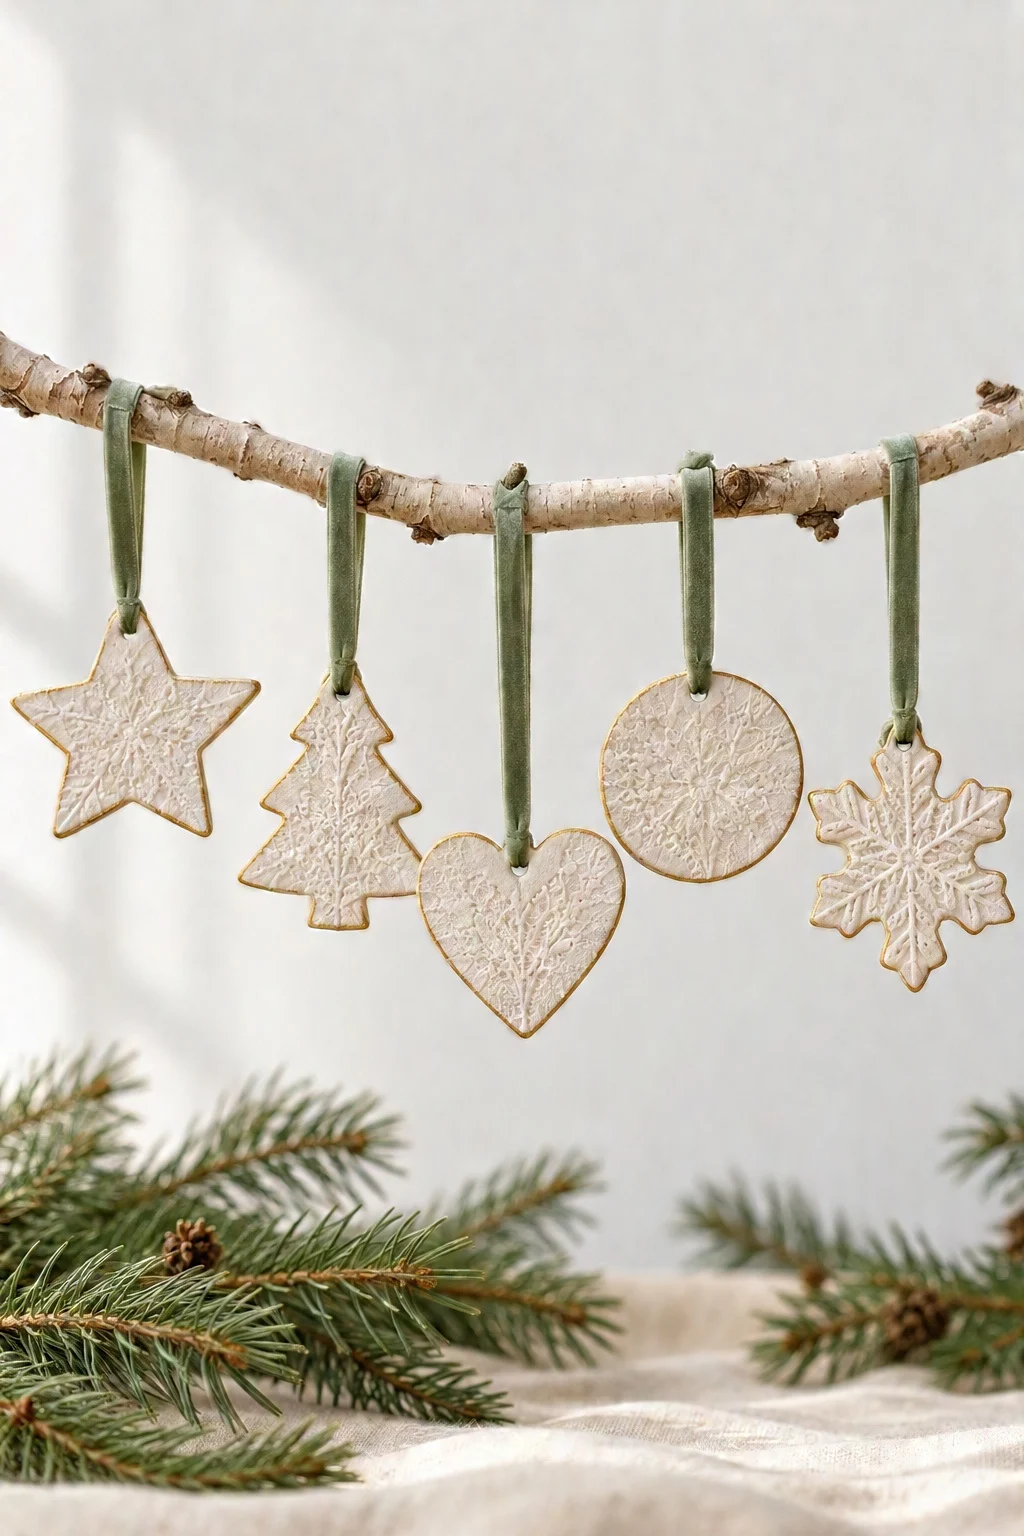
Make beautiful air dry clay Christmas ornaments with a pretty lace texture and gold edges! No kiln, no oven, and so easy to make!
If you loved my air dry clay pumpkins, you’re going to love these! These little white ornaments have the prettiest lace pattern pressed right into the clay, plus a thin gold edge that makes them look like something from a fancy boutique.
All you need is a block of air dry clay, a few cookie cutters and a lace doily. There’s no baking and no special tools, and they make the sweetest handmade gifts. Keep reading for the step-by-step tutorial, plus my tips for getting a crisp lace pattern every time!
What you need to make air dry clay Christmas ornaments
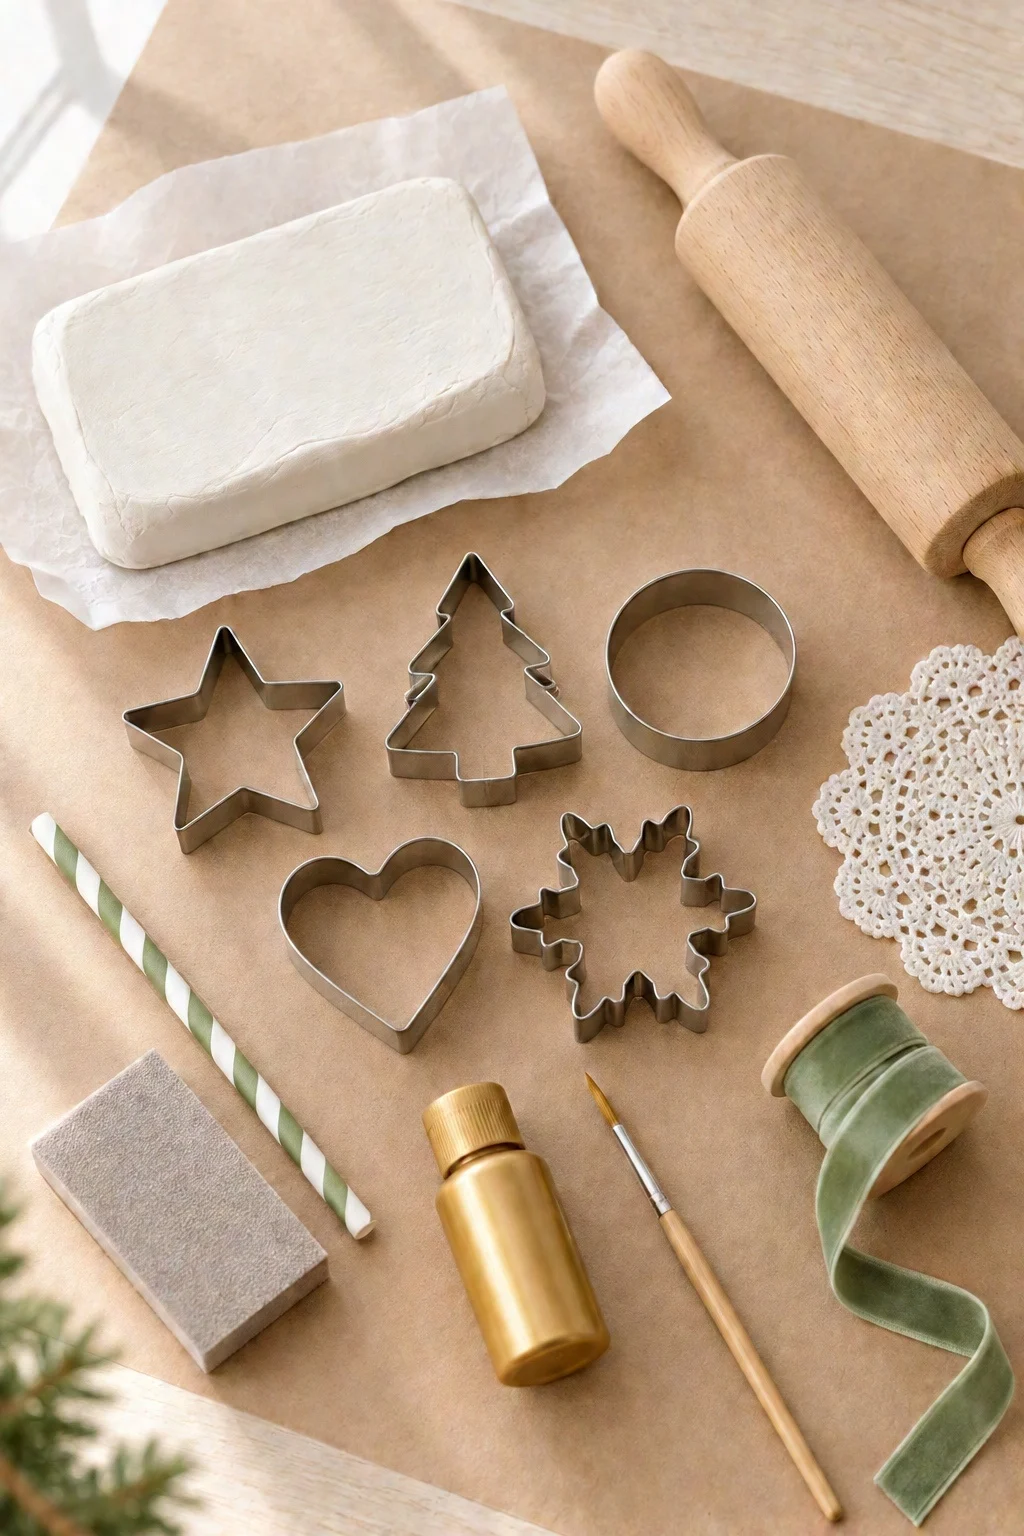
- white air dry clay: a 1 lb block makes about 10 to 12 ornaments, depending on the size of your cutters
- a rolling pin
- a lace doily: a cotton crochet doily with a raised pattern works best. Paper doilies are too flat to leave much texture.
- cookie cutters: I used a star, a tree, a heart, a circle and a snowflake
- a paper straw: for punching neat hanging holes
- parchment paper: so the clay doesn’t stick to your table
- a fine sanding sponge: for smoothing the edges once they’re dry
- gold acrylic paint and a thin brush: optional, but the gold edge makes them look so polished
- velvet ribbon: I love sage green, but any color works
How long do air dry clay ornaments take to dry?
Ornaments rolled about 1/4 inch thick take 24 to 48 hours to dry completely. Flip them over once or twice so both sides dry evenly and they stay nice and flat. They’re ready when they feel light, look chalky white all over and aren’t cool to the touch.
If the edges start to curl up while drying, set a light book on top of them for a few hours once they’re mostly dry. That flattens them right out.
What can you use to add texture to clay ornaments?
A cotton lace doily is my favorite because the pattern looks so delicate, but you have lots of options: a piece of lace fabric, a rubber stamp, a textured placemat, or even real leaves and pine sprigs pressed into the clay. Just give them a quick rinse afterward.
How to make air dry clay Christmas ornaments
Step 1: Roll out the clay
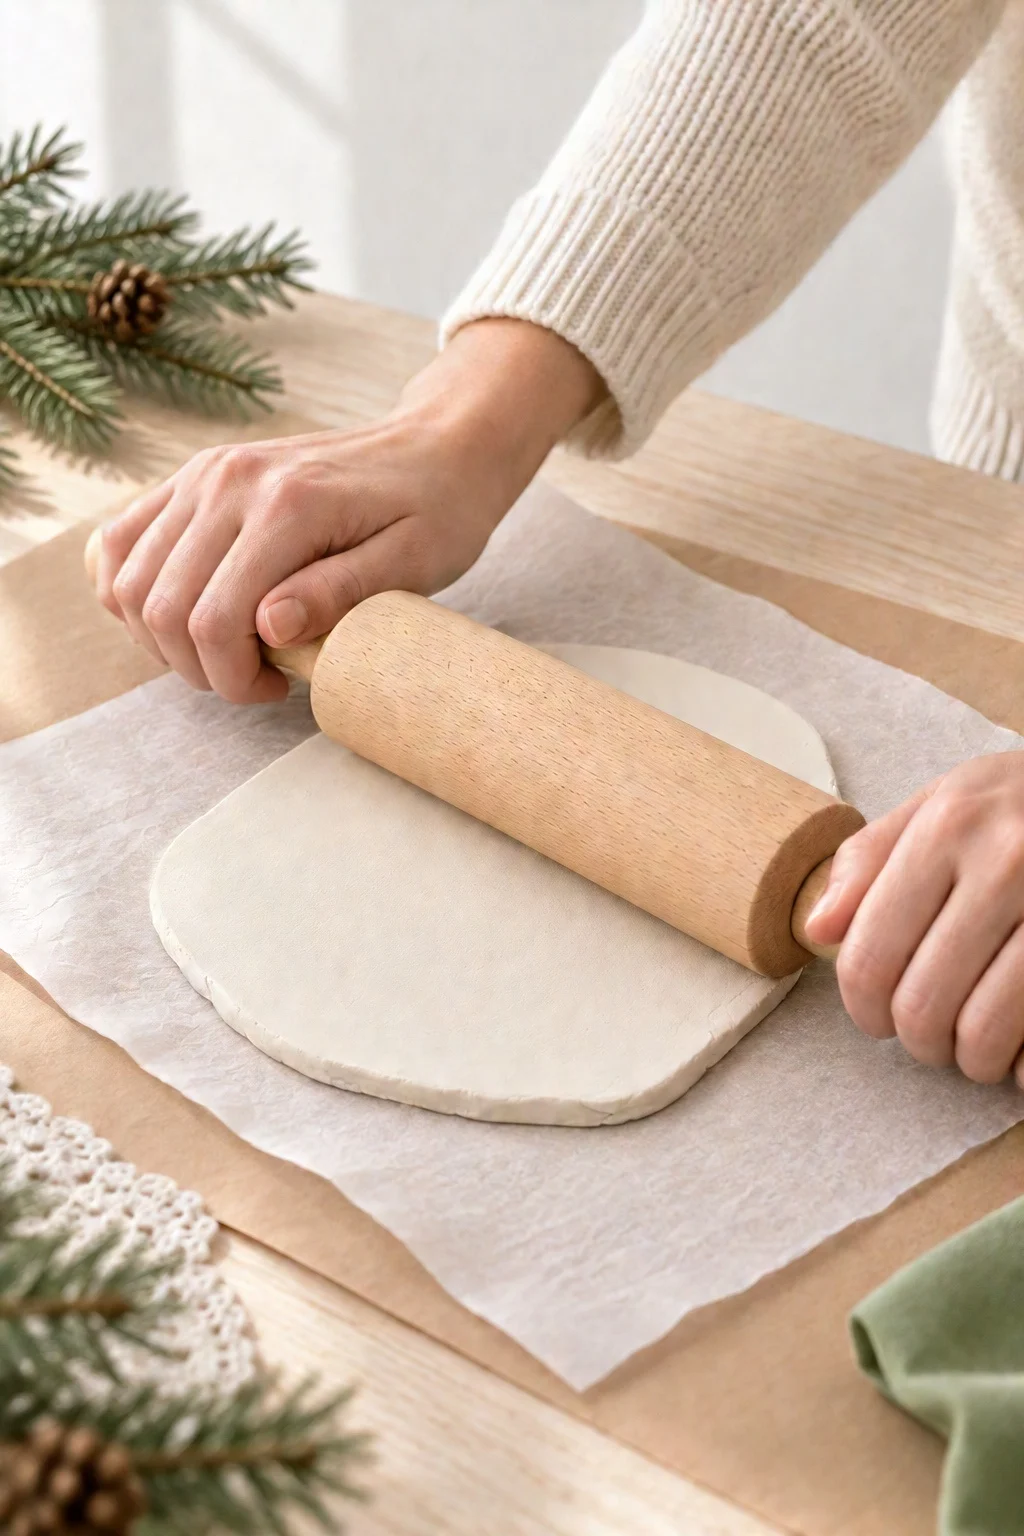
Knead a chunk of clay in your hands for a minute to soften it, then roll it out on parchment paper until it’s about 1/4 inch thick. Try to keep it the same thickness all over so your ornaments dry evenly.
Step 2: Press in the lace texture
Lay the lace doily flat on top of the clay and roll over it once with firm, even pressure. Then slowly peel the doily back to reveal the pattern.
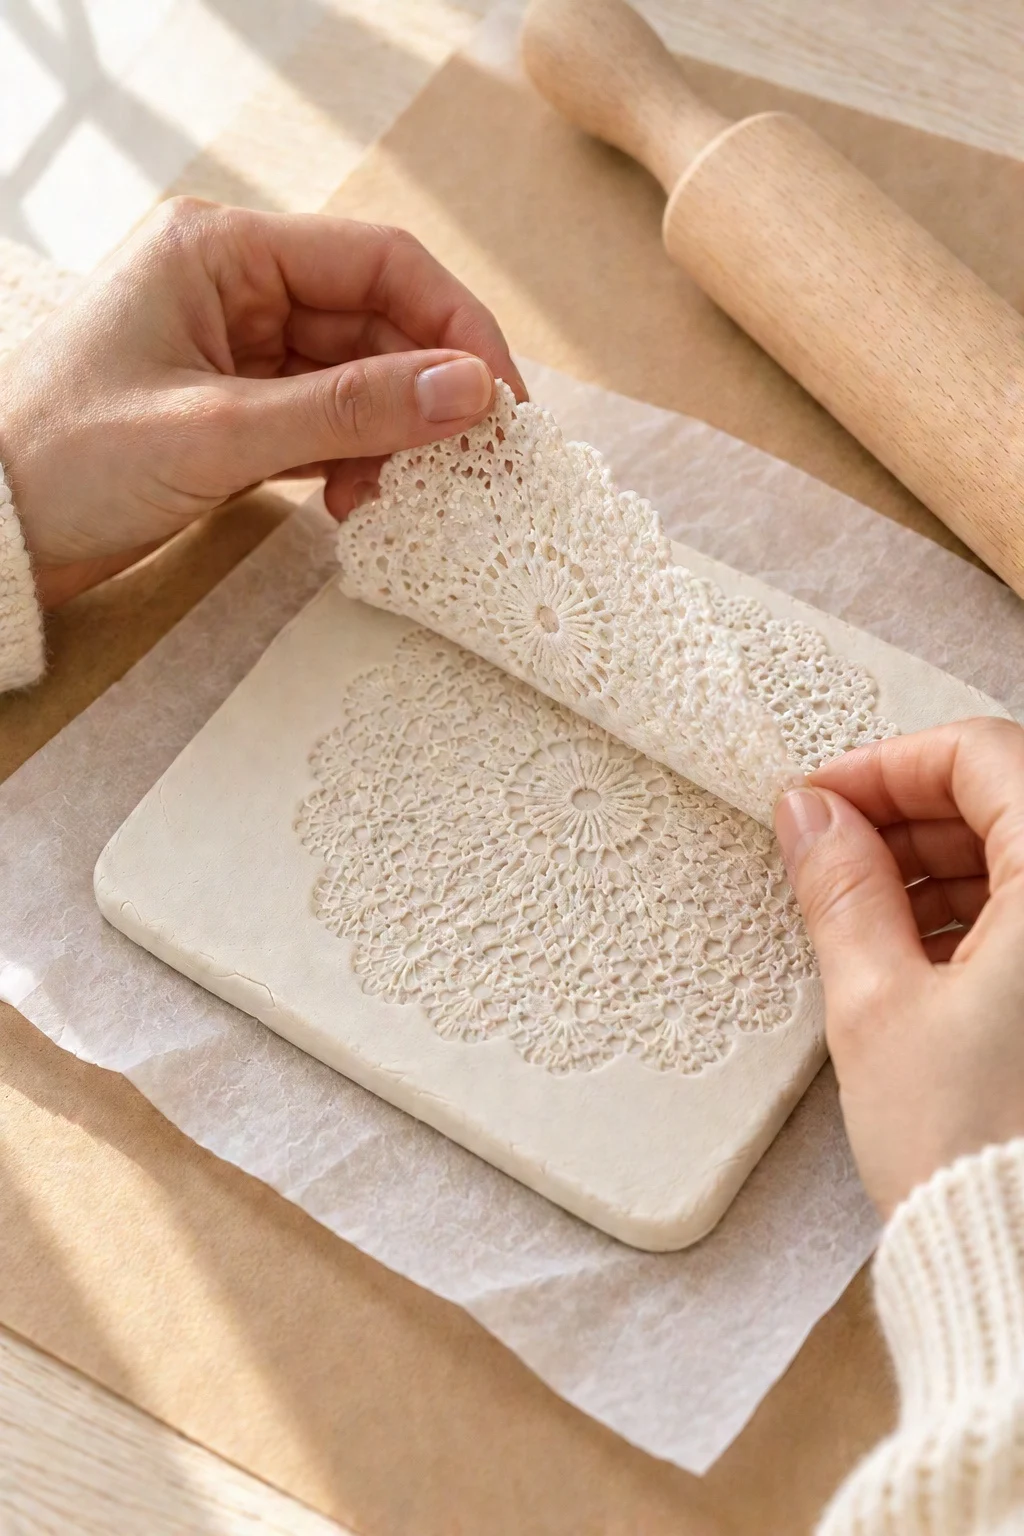
If your doily sticks, dust it lightly with a little cornstarch before you press it in. And don’t roll back and forth, or the pattern can blur. One firm pass is all you need!
Step 3: Cut out your shapes
Press your cookie cutters straight down into the textured clay, give them a tiny wiggle, then lift them away. Place the cut shapes on a fresh piece of parchment paper.
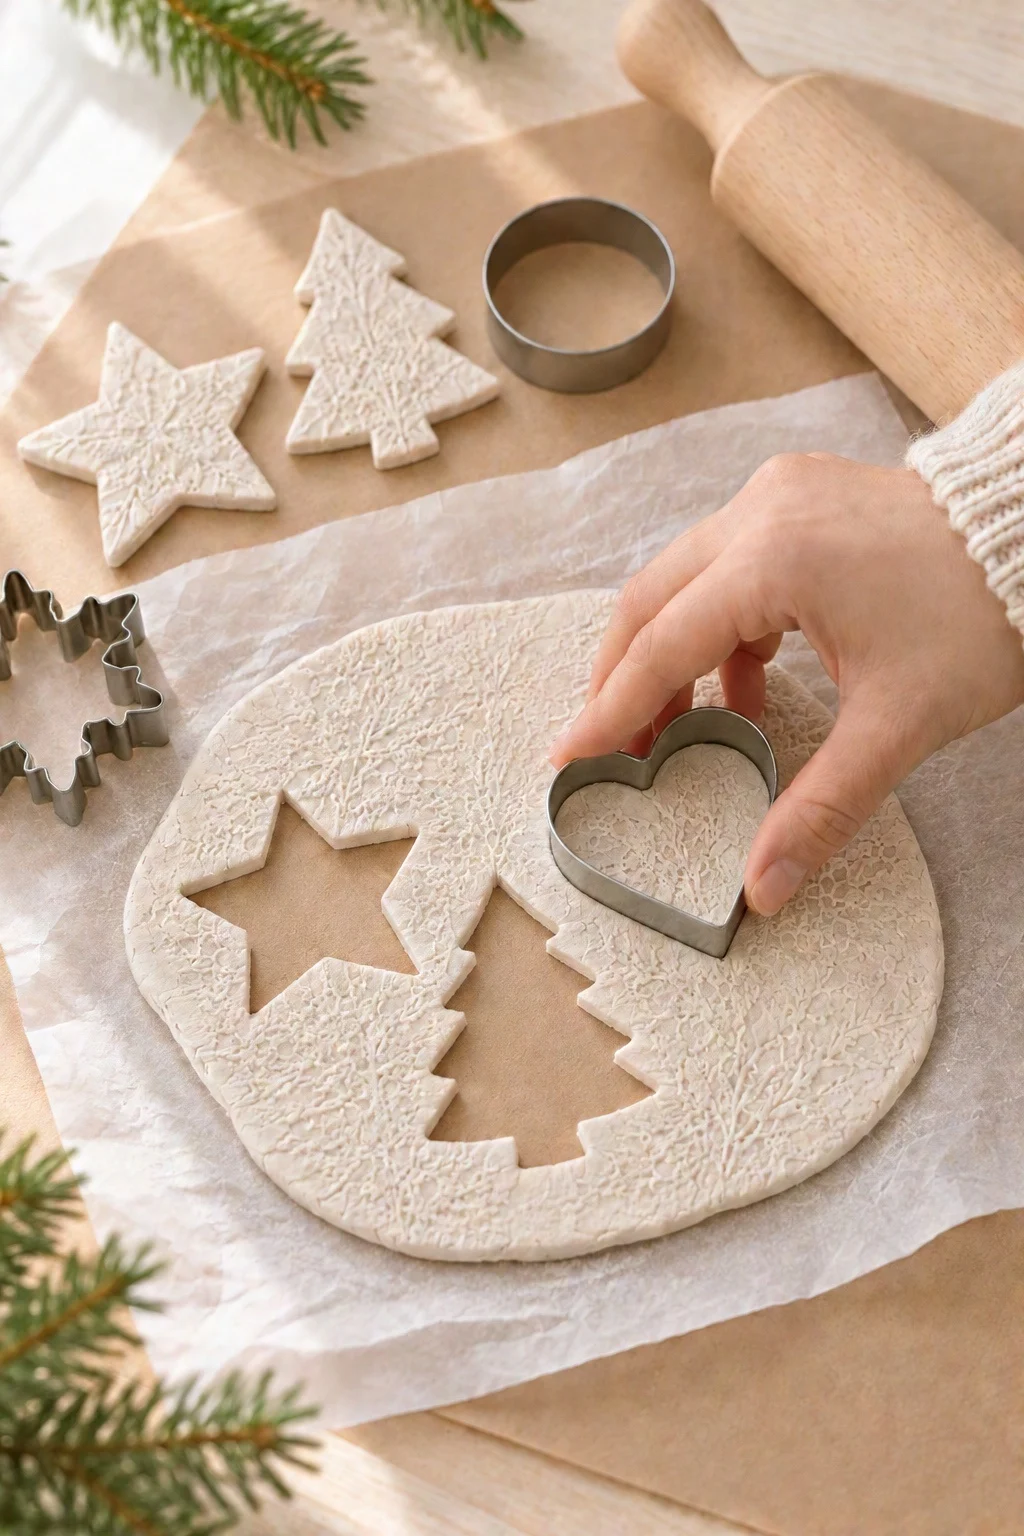
Plan where you cut so each shape gets a nice bit of the lace pattern. You can re-roll the scraps and press the lace in again for a second batch.
Step 4: Poke the hanging hole
Push a paper straw straight down near the top of each shape, about 1/4 inch from the edge, and lift it out. Smooth any rough bits around the hole and edges with a slightly damp fingertip, then let your ornaments dry for 24 to 48 hours.
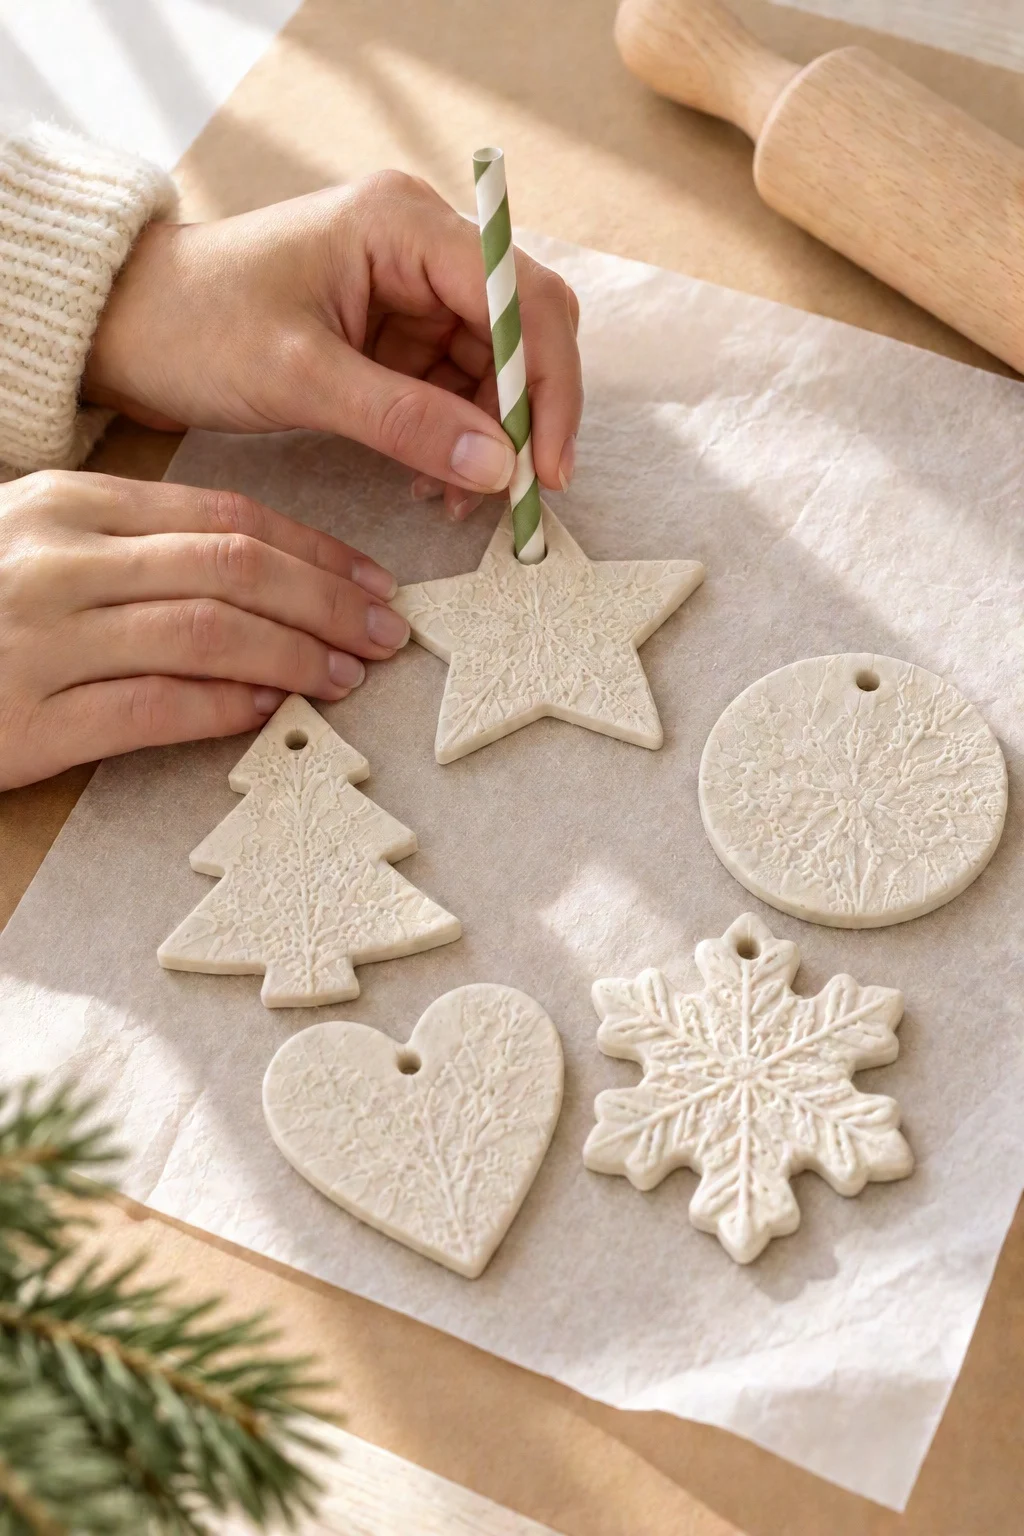
Step 5: Paint the edges gold
Once the ornaments are completely dry, lightly sand any rough edges with a fine sanding sponge. Then run a thin brush with a little gold paint along the outside edge of each one. Go slowly and turn the ornament as you paint.
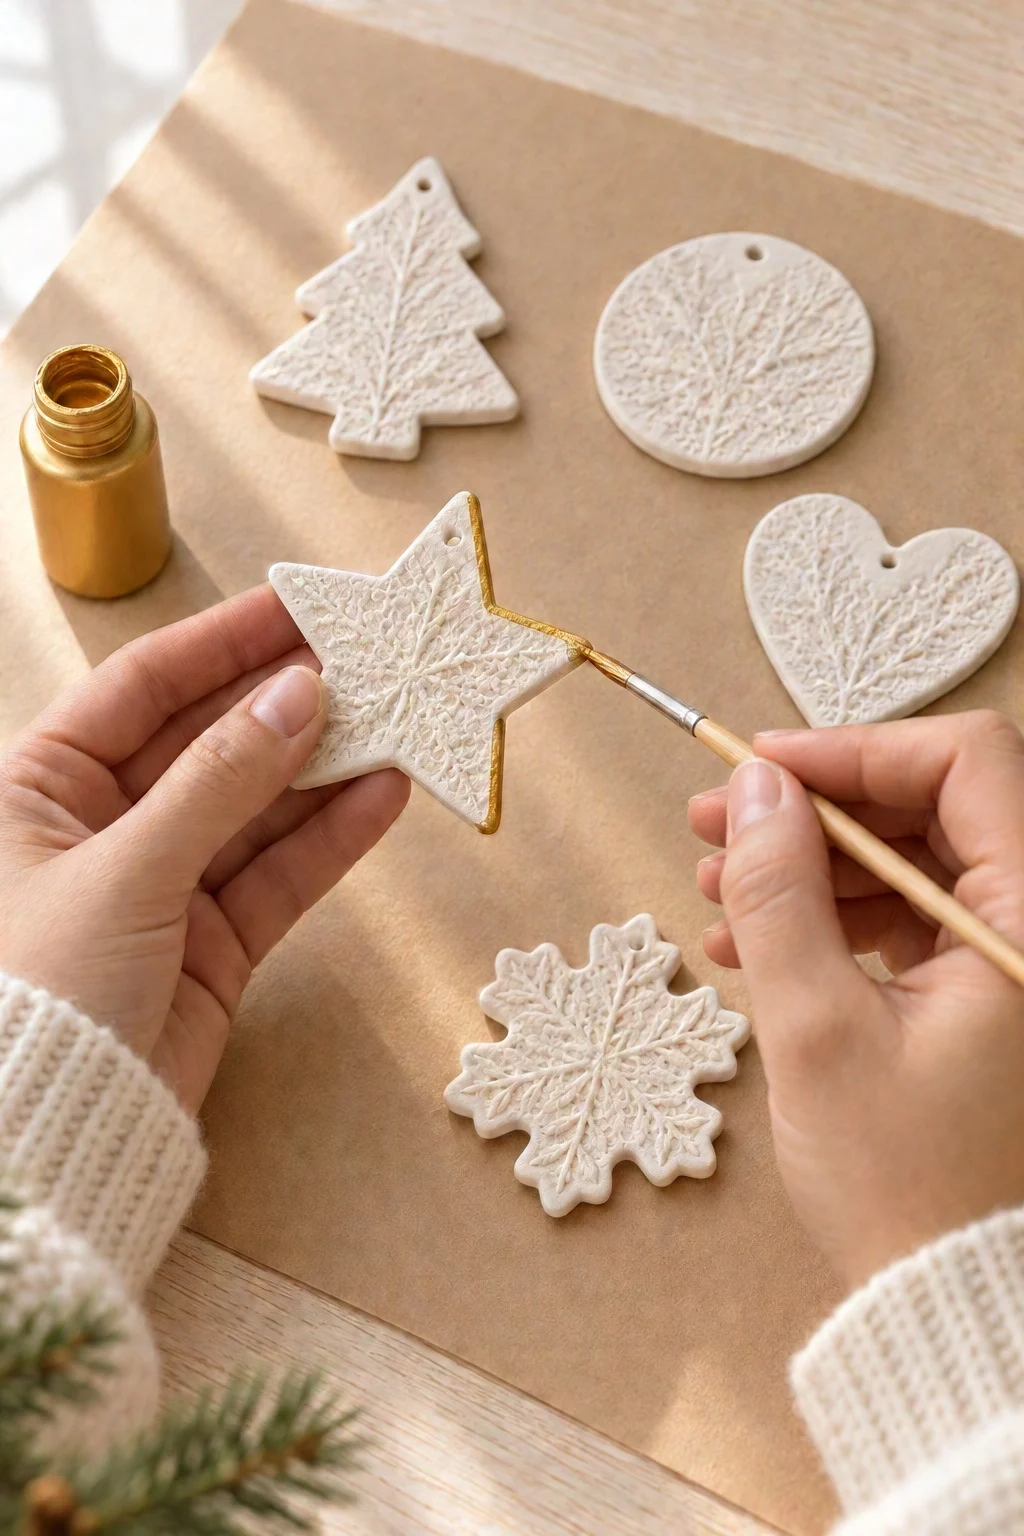
When the paint is dry, thread a piece of velvet ribbon through each hole and tie a loop.
And you’re done! Aren’t they lovely?

Here are a few ways to use them:
- on your Christmas tree (they look so pretty with gold and white ornaments)
- as gift toppers tied onto wrapped presents
- strung along a bare branch as a minimalist garland
- as handmade gifts for teachers, neighbors and friends

DIY Air Dry Clay Christmas Ornaments
I hope you love making these air dry clay Christmas ornaments! They’re simple, budget friendly and look so elegant on the tree. If you enjoyed this project, don’t miss my air dry clay pumpkins and my free Cozy Christmas Printable Pack.
Happy crafting!
Don’t forget to pin and save for later!