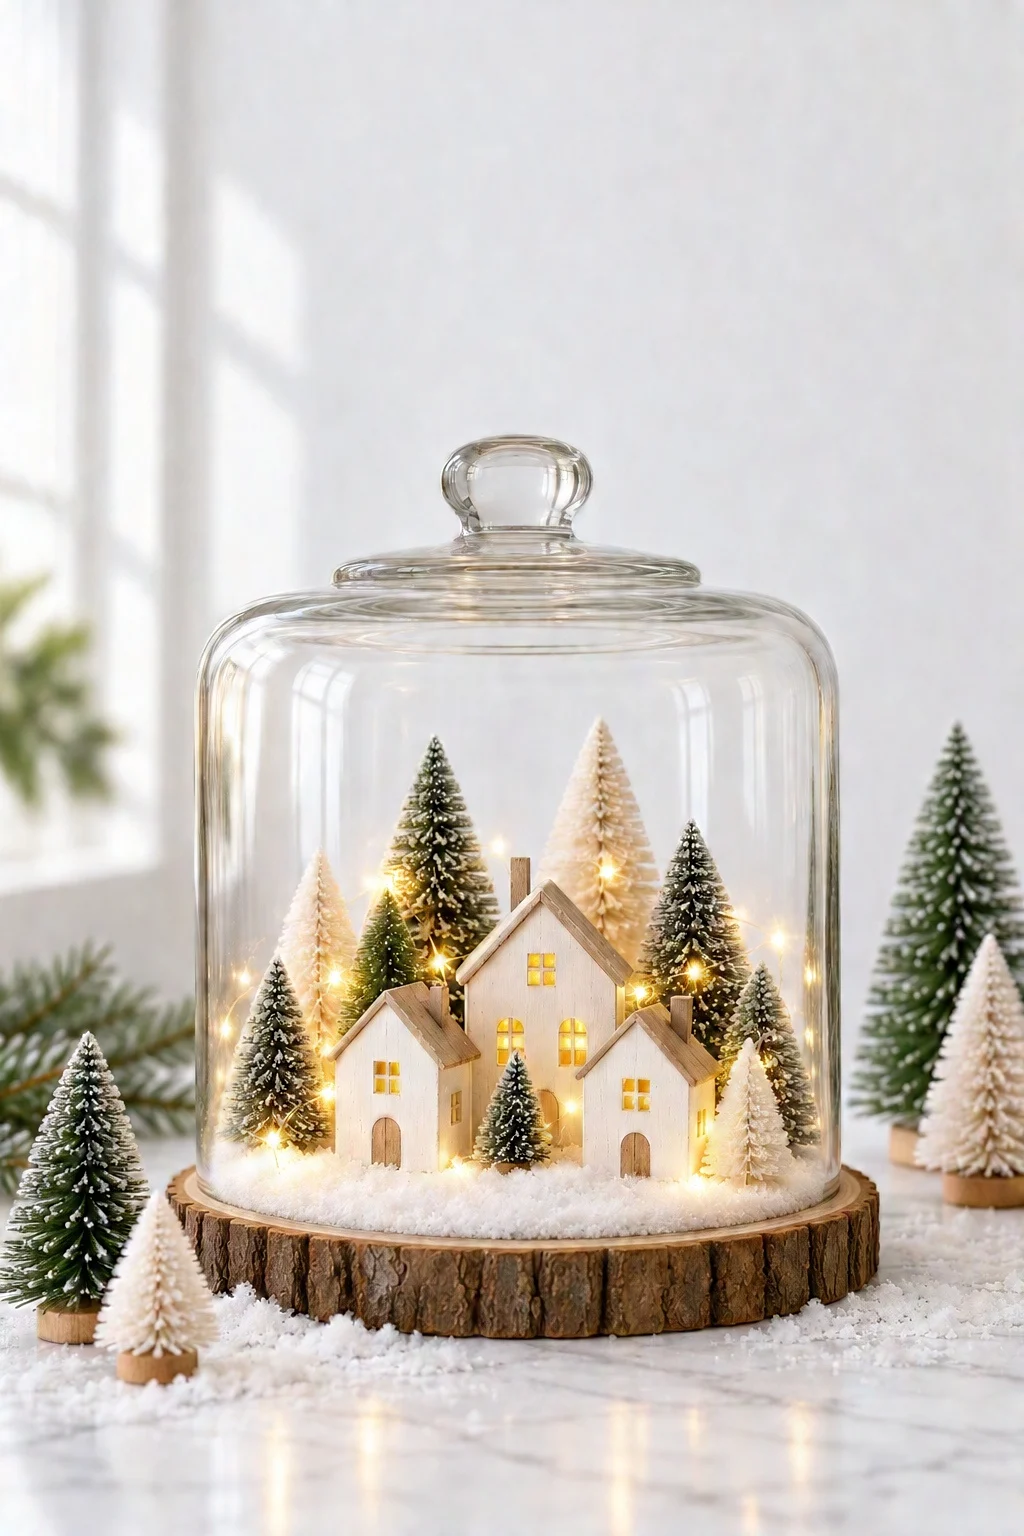
Make a glowing mini Christmas village in a jar with tiny houses, bottle brush trees and fairy lights! A cozy, easy Christmas decor DIY!
There’s something so magical about a tiny snowy village glowing under glass. This one has little white wooden houses, frosty bottle brush trees and a strand of micro fairy lights that make the whole scene twinkle. It looks like something from a fancy holiday shop, but it’s surprisingly easy to make in an afternoon.
Miniature crafts are having a big moment right now, and this is the perfect way to try one. Keep reading for the step-by-step tutorial!
What you need to make a Christmas village in a jar
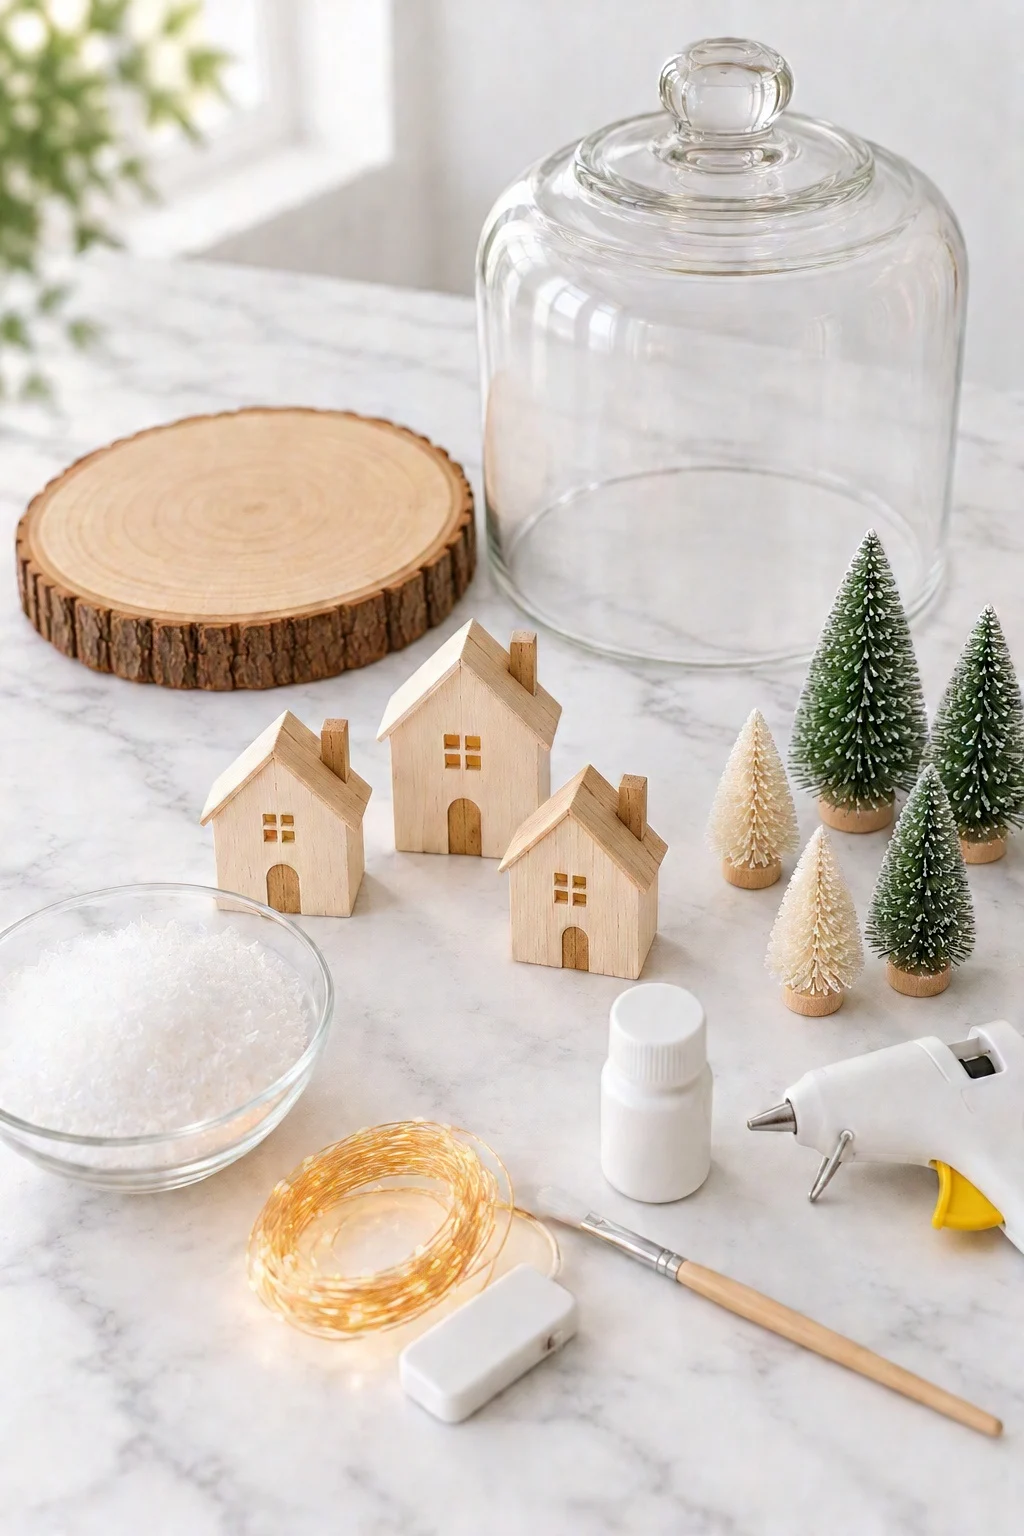
- a large glass jar or cloche: a glass dome (cloche), a big apothecary jar or a large cookie jar all work. You’ll set it upside down over the scene.
- a round wood slice: about an inch wider than the opening of your jar
- 3 tiny wooden houses: unfinished ones from the craft store are perfect
- mini bottle brush trees: a mix of green and white, in different heights
- faux snow
- battery micro fairy lights: the kind on thin copper wire, with a small battery pack
- white acrylic paint and a small brush
- a hot glue gun
What kind of jar works best?
Anything clear that can sit upside down over your wood slice works. A glass cloche with a knob on top is the easiest because it’s made for this, but large apothecary jars and big cookie jars look lovely too. Just make sure your village fits comfortably inside with a little space around the edges.
Are the fairy lights safe under glass?
Yes, as long as you use battery-operated LED micro lights. They stay cool to the touch, so they’re safe under glass. Tuck the little battery pack behind the jar or under the edge of the wood slice so it’s hidden. Never use real candles inside.
How to make a Christmas village in a jar
Step 1: Paint the houses
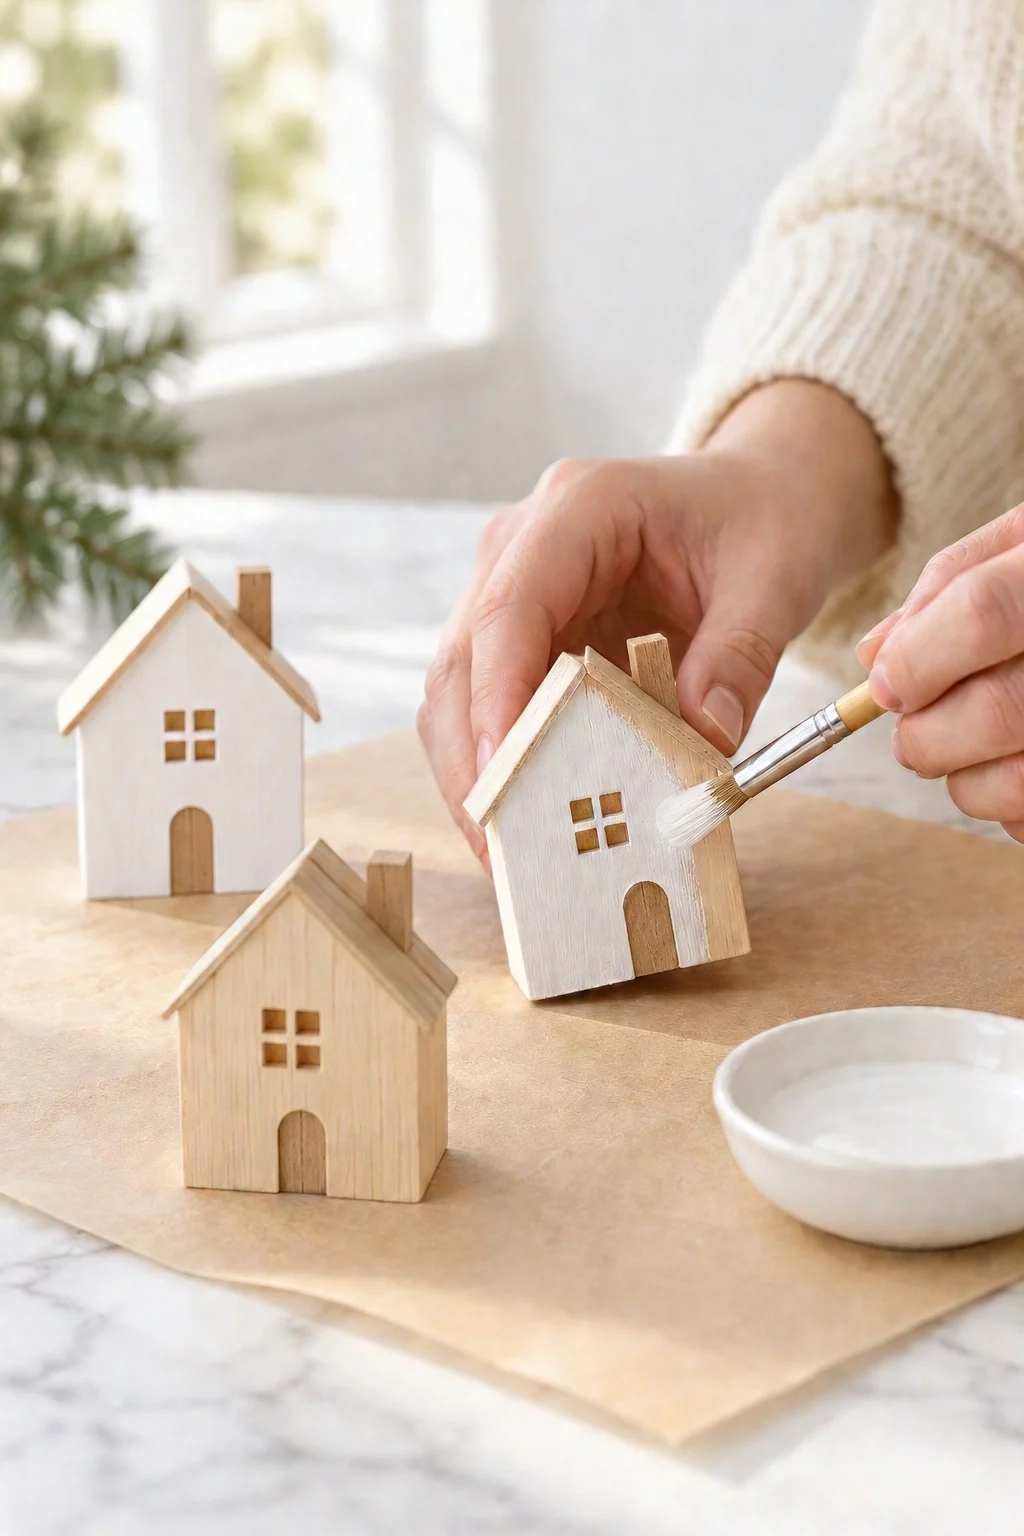
Paint each little wooden house matte white, including the roof. You may need two coats to cover the wood completely. Let them dry while you work on the base.
Step 2: Add the snow
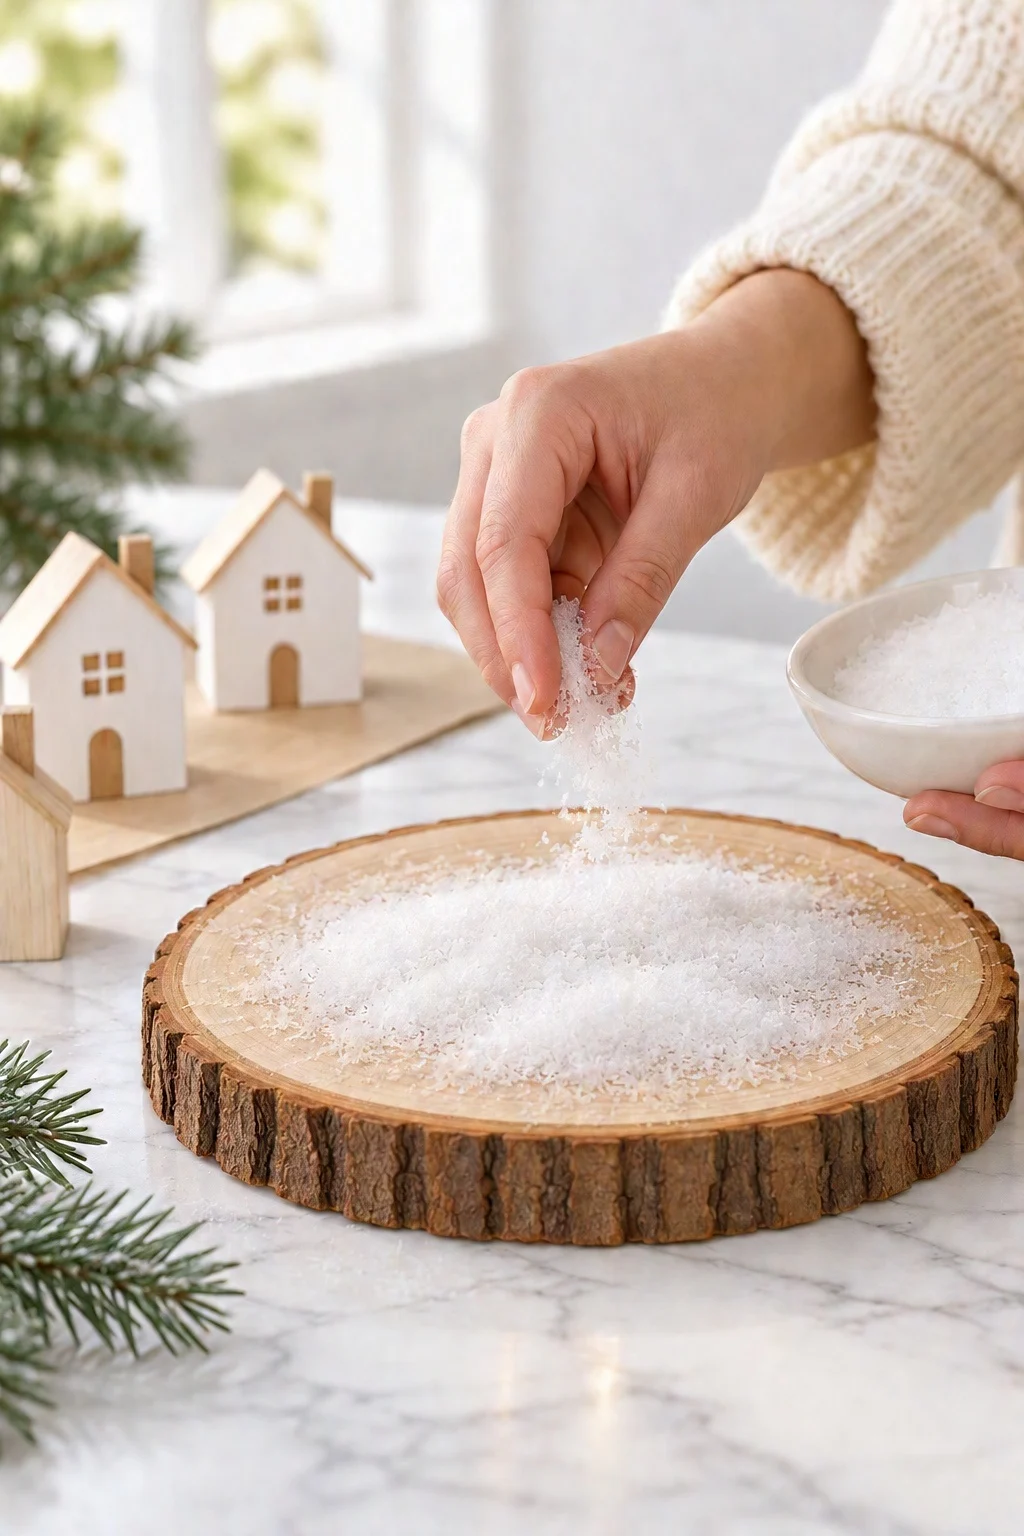
Sprinkle a soft, even layer of faux snow over the center of the wood slice, leaving a little bit of the wood showing around the edge. If you want it to stay put, brush a thin layer of white glue on the wood first.
Step 3: Place the houses and trees
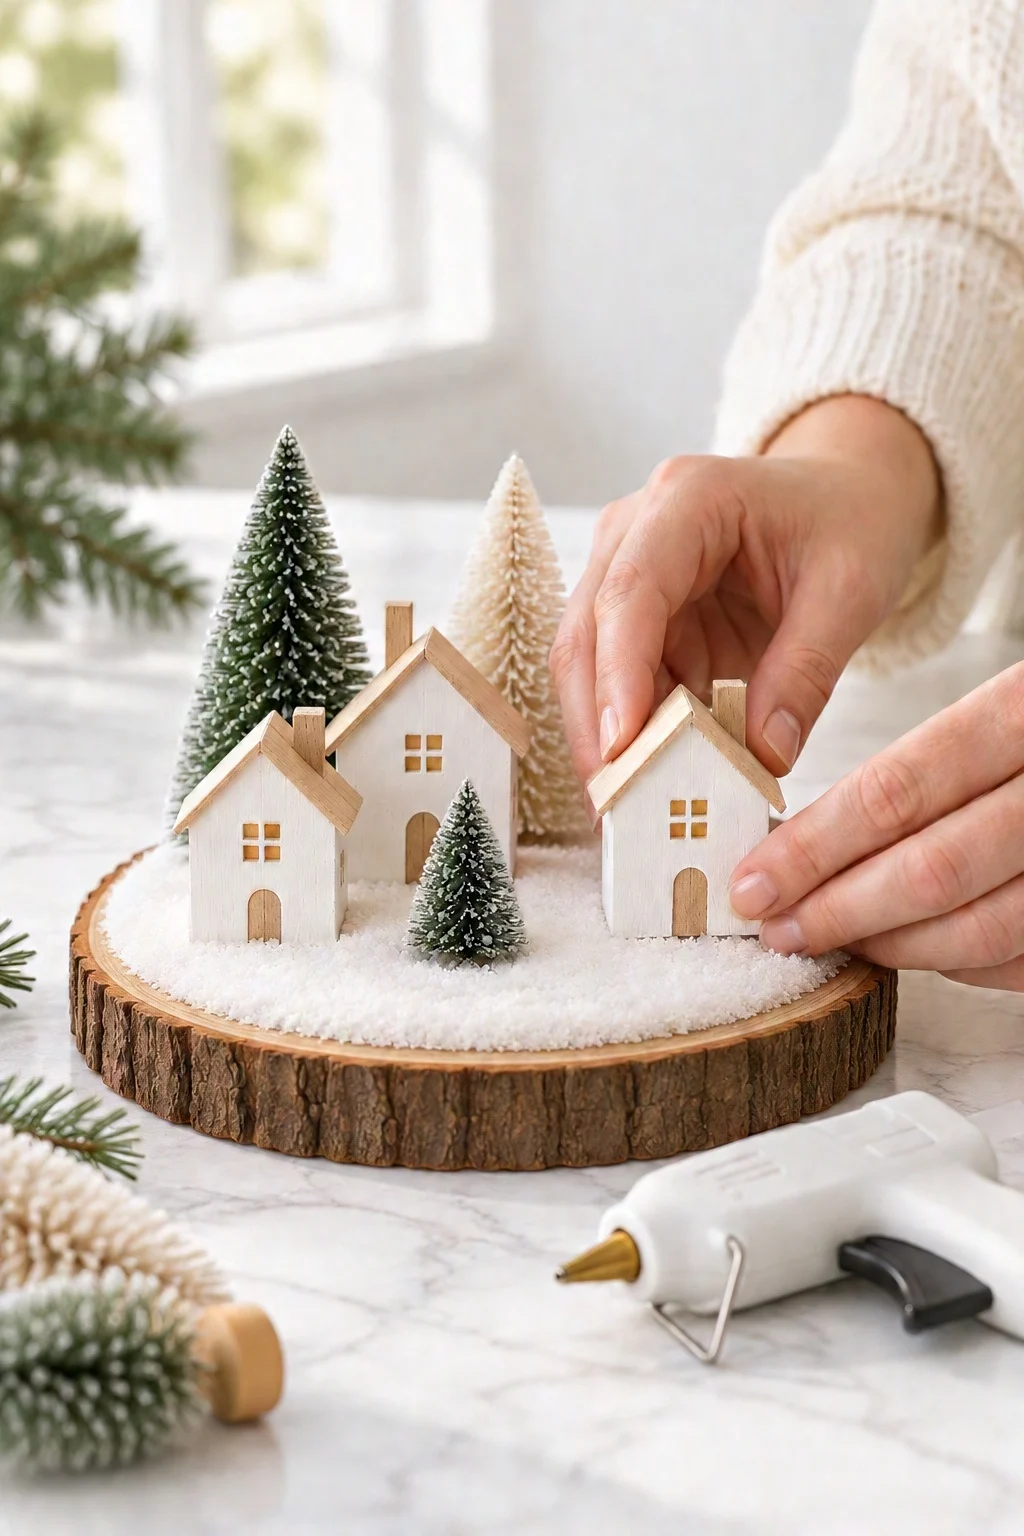
Arrange your houses and trees on the snowy base until you love how it looks. Tall trees at the back and small ones in front gives it nice depth. Then glue each piece down with a small dab of hot glue.
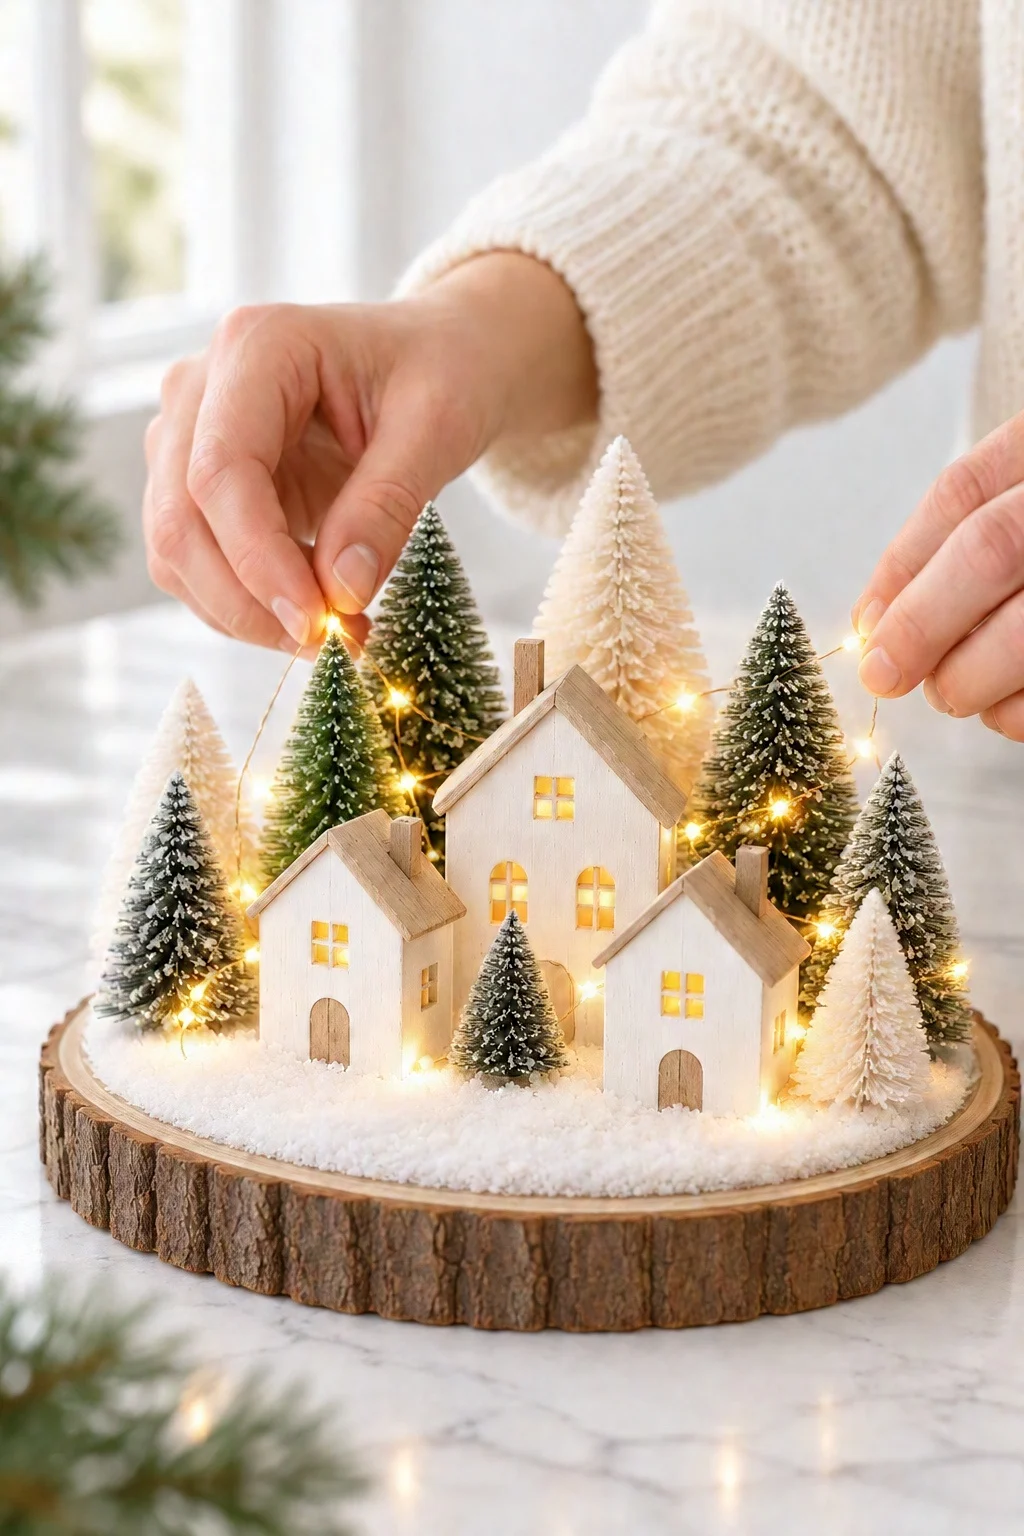
Step 4: Weave in the fairy lights
Starting at the back, weave the micro fairy lights between the trees and around the houses. Tuck the thin wire behind the trees so you mostly see the tiny glowing lights, and bring the end out at the back for the battery pack.
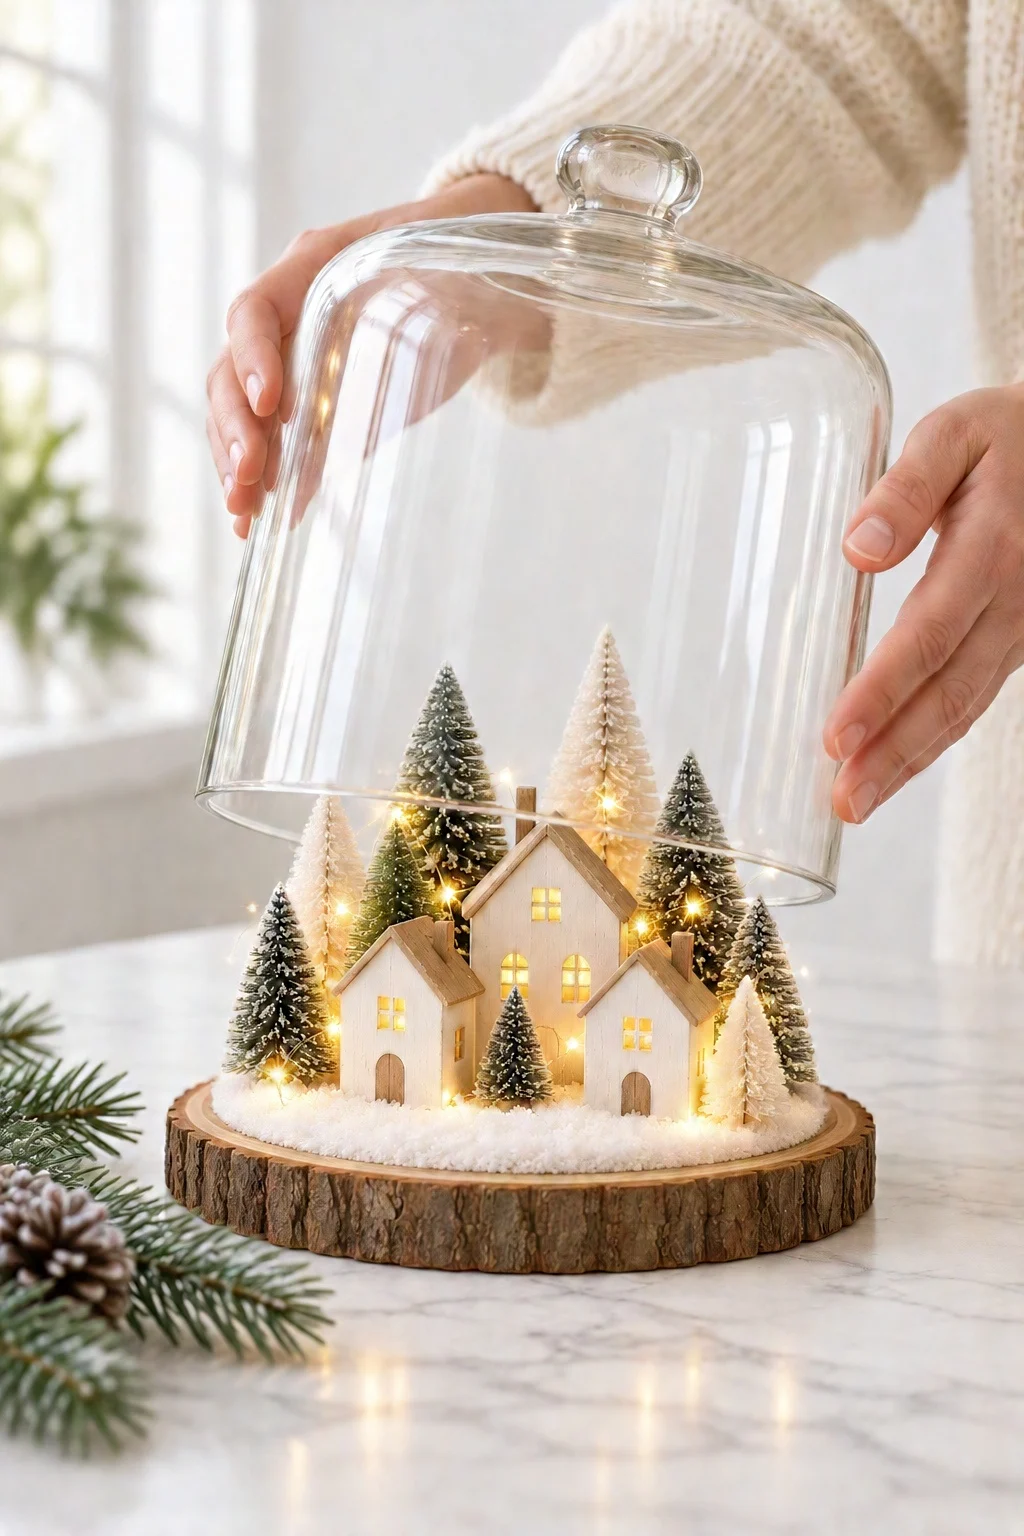
Step 5: Cover it with the glass
Turn the lights on, then carefully lower your jar or cloche straight down over the scene so it sits on the wood slice.
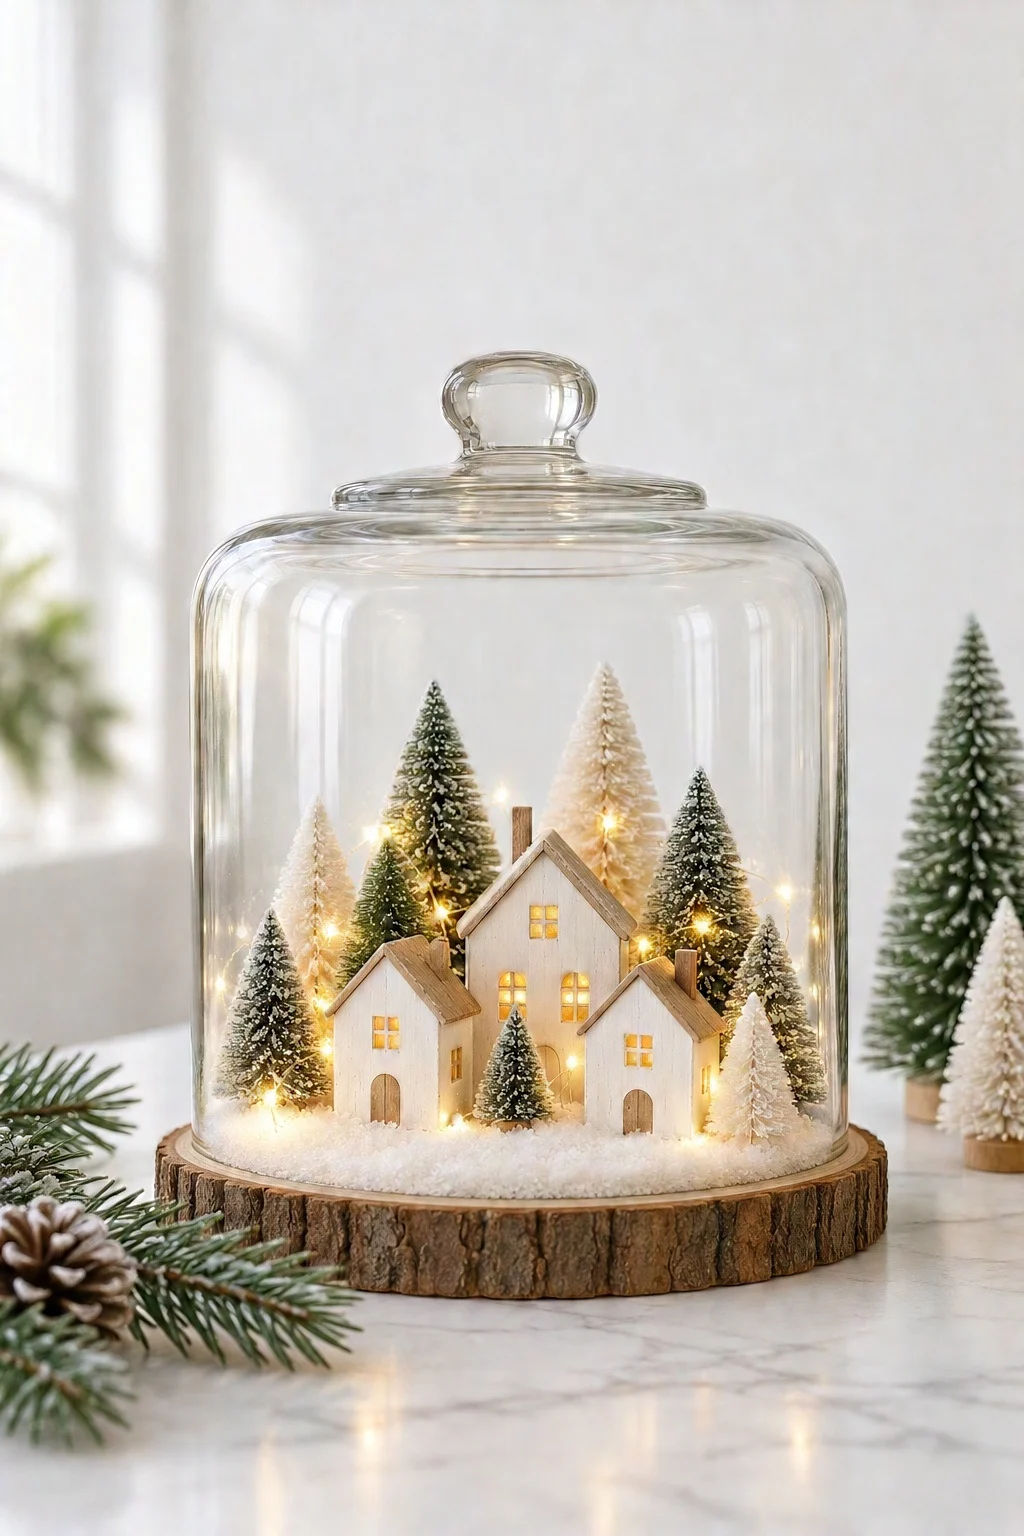
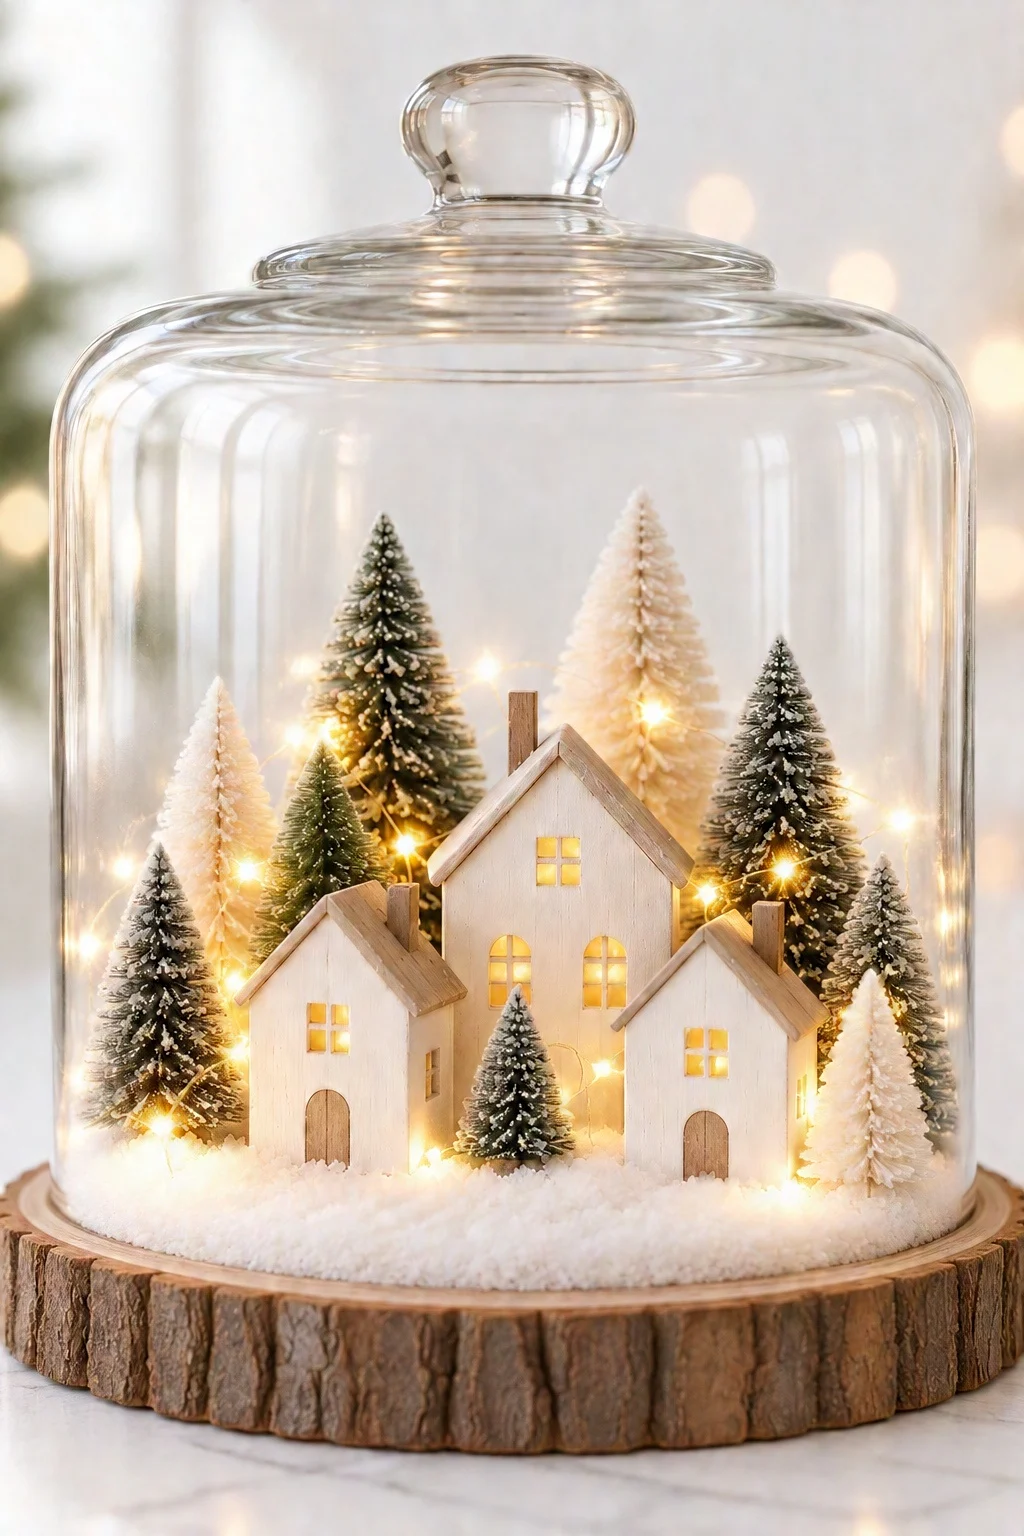
And you’re done! Isn’t it dreamy?
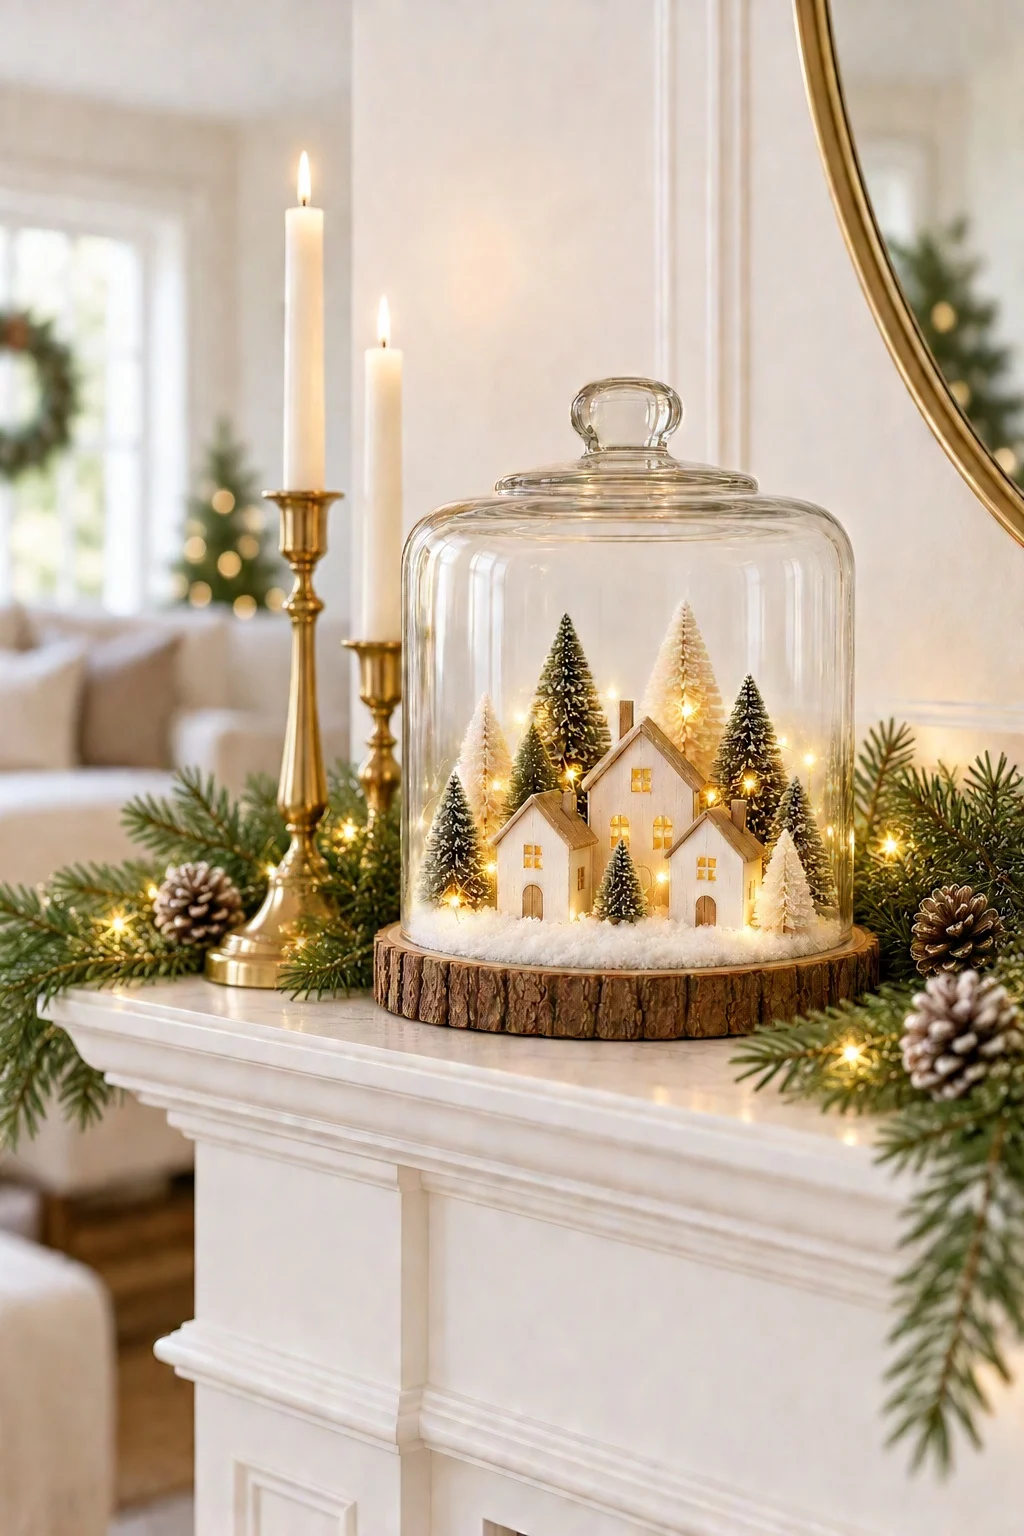
Here are a few places it looks especially cozy:
- on the mantel between candlesticks and garland
- on an entryway table to welcome guests
- on a kitchen counter or open shelf
- on a bedside table as a gentle night light
DIY Mini Christmas Village in a Jar
I hope you love making your own little Christmas village! It’s such an easy way to add a bit of magic to your home this season. For another cozy thrift-store project, check out my candlestick Christmas trees.
Happy crafting!
Don’t forget to pin and save for later!